Synopsis: Ian Kirby writes in this series on mortise-and-tenon joints about how to use tablesaws, radial saws, drill presses, or routers to make them. He begins by making the mortise, drilling a series of holes to remove the bulk of the waste. He says the diameter of the drill should be 1/16 in. less than the width of the mortise chisel that is to be used to clean out the remainder of the waste. He addresses mortising machines — how they work, how to set them up, and how to use them, though he thinks they are frequently priced over a hobbyist’s budget. He cuts tenons on a tablesaw, bandsaw, or router, or on industrial tenoning machines. He devotes a section to using a router as a mortiser and explains how to avoid injury.
Woodworkers have devised endless methods for cutting mortise and tenon joints, relying upon hand tools, machine tools and various combinations of the two. Deciding which method to use depends primarily on the tools one has at one’s disposal.
Up to now in this series of articles, I have concentrated on hand-tool methods, which have several virtues. The tools are not special. There is a logic to the process. It is reasonably quick. Once one has mastered the skill, one can achieve the desired result exactly. Having designed a joint, the workman need never compromise in its manufacture. However, the result is always at risk and one must concentrate to avoid spoiling it. It can become exceedingly tedious if one has a lot of joints to do.
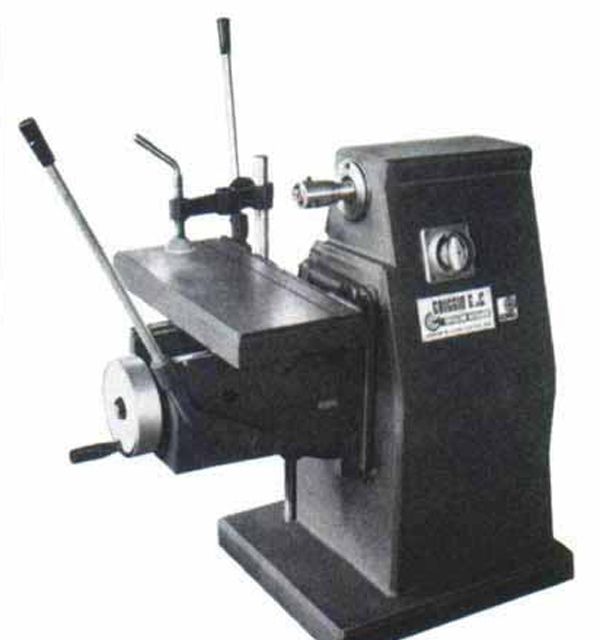
Special-purpose machines designed for mortising are one alternative. I’ll discuss some of them later; they are generally fast and accurate, but expensive and beyond the needs of most shops. The middle ground is to use a machine not specifically designed to cut a given joint, such as the table saw, radial saw, drill press or router. These machines, with the assistance of suitable jigs, can remove the bulk of the waste accurately and efficiently. Some hand-finishing can then produce the desired result. The notion that there is only one way to achieve a result is simply wrong, for every workman develops his own techniques, and this article thus cannot be exhaustive. But regardless of methods, every workman should arrive at the same result in the end. The available tools do not determine the size or proportions of the joint, nor excuse inaccuracy in its manufacture.
The mortise — To deal with the mortise first, and ignoring such details as sloping haunches, twin joints and dimensioning, the main consideration is that the two inside faces be parallel to each other and to the face side or edge of the stock.
A frequent question is, “Can I drill out most of the waste and then pare down the cheeks with a wide chisel?” The answer is “yes” to the drilling, and “no—or only with great difficulty” to the chiseling. To keep the mortise square and parallel when using a wide chisel really requires a jig. Sighting the chisel while paring across the grain is too hit-or-miss. And a jig would probably be too complex because of the nature of the operation. An acceptable result can be achieved, however, by drilling a row of overlapping but undersized holes to remove the bulk of the waste, and squaring up to the line with a mortise chisel. The joint still has to be marked out with the mortise gauge, to assist at the chiseling stage.
From Fine Woodworking #19
For the full article, download the PDF below:
Fine Woodworking Recommended Products

Blackwing Pencils

Veritas Wheel Marking Gauge

Stanley Powerlock 16-ft. tape measure


Log in or create an account to post a comment.
Sign up Log in