Build a Sturdy Footstool
Simple jigs ensure that angled joints come together without a hitch.

Synopsis: Find challenging lessons in joinery and hand-tool work in this weekend project perfect for woodworkers of all skill levels. Building this attractive footstool involves cutting 10 wedged, angled through-tenons, giving you the confidence to add this fussy joint to your repertoire. End up with a sturdy footstool that is guaranteed to be a favorite in your home.
That top shelf is always just inches out of your reach. If you were a couple of inches taller, you would not have to trudge to the garage for that shaky, paint-spattered stepladder. At a time like this, wouldn’t a neat little footstool be the perfect answer, tall enough to give the needed boost but small enough to tuck underneath a desk or in a corner? Small stools are also a favorite with kids, helping them do things on their own, from sneaking cookies to brushing teeth.

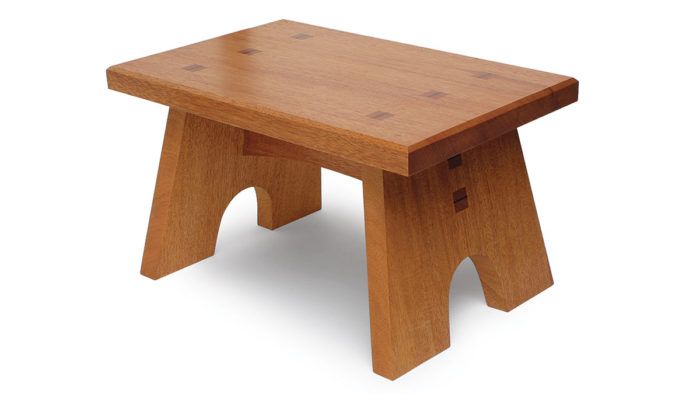
Recently I built this sturdy stool in mahogany. This simple project is a perfect way to spend a woodworking weekend. It can be made of short scrap pieces or a single board 10 in. wide by 50 in. long. It has just four parts (two of them identical), and only one type of joint to practice and perfect. It’s a manageable project for a novice, but the angled through-tenons will offer a challenge to any level of woodworker.
The height of the stool is about 9 in., a little taller than a typical stair tread, keeping it compact. Yet the step is large enough to easily accommodate two adult feet, side by side, with the splayed legs adding stability.
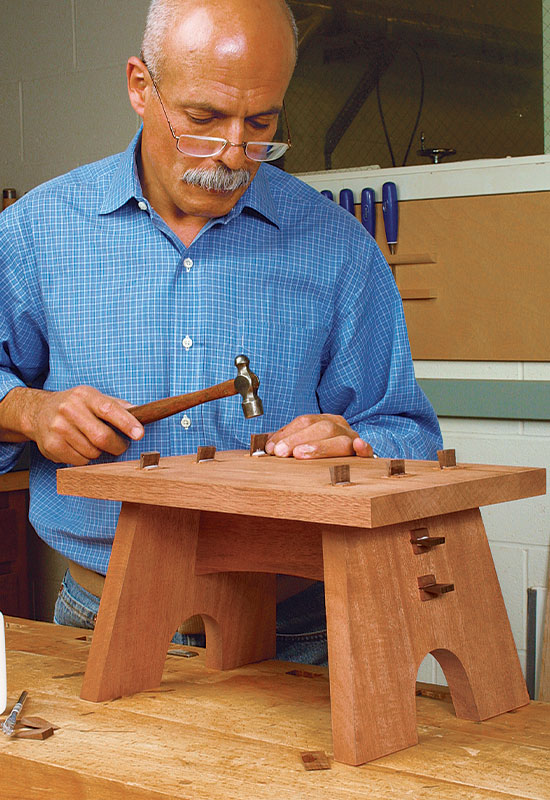
As with the dovetail, I find the through-mortise-and-tenon joint irresistible. I like the strong contrasting squares of end grain that break up the wood’s surface. But this joint invites close inspection, so make it tight and clean. Unlike a single mortise and tenon, where a misfit can be fudged 1 ⁄16 in. one way or another, this joint must be dead-on. Wedging the tenons fills gaps, but only in one direction. Making the joinery more complicated is the 10° cant of the legs. However, I’ve come up with some jigs and techniques that will make things much easier on you.
Success starts on paper
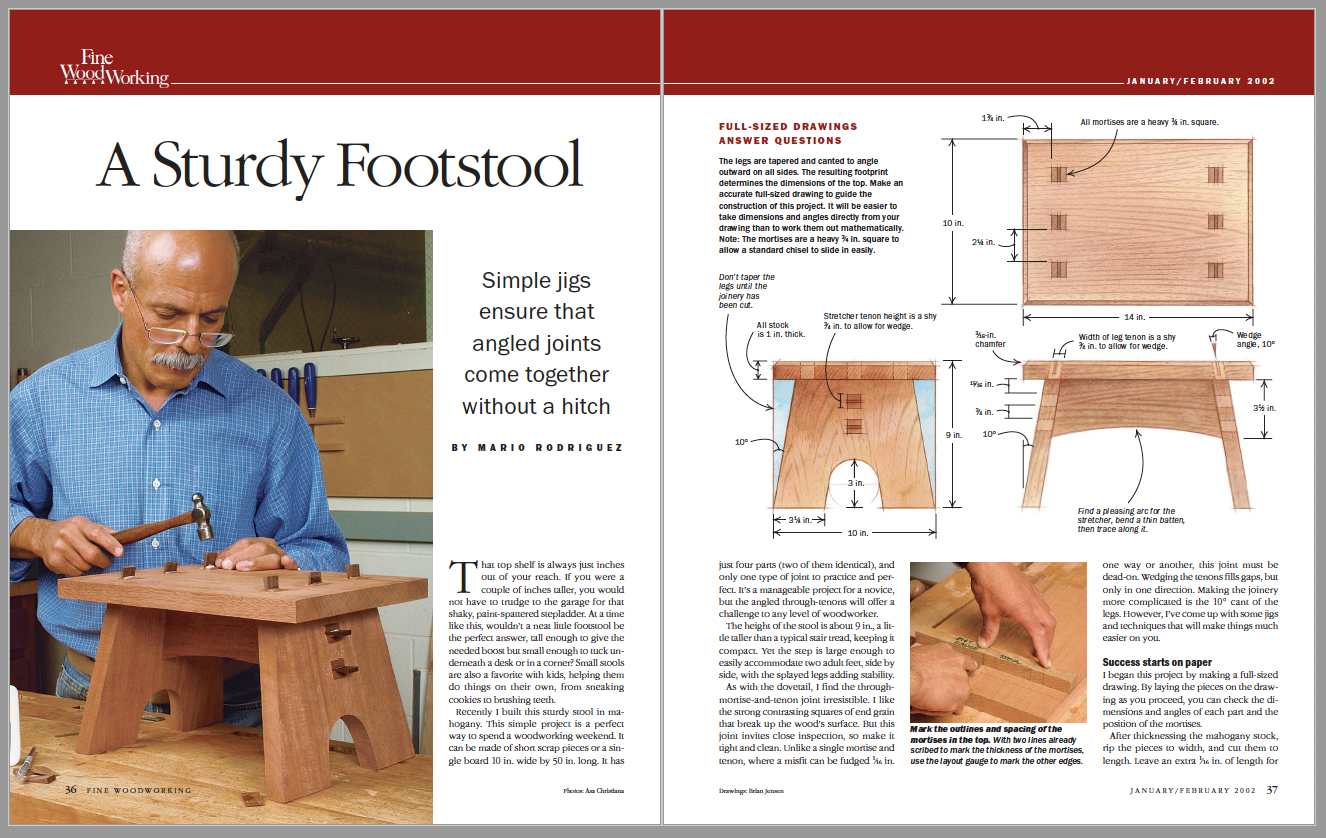
I began this project by making a full-sized drawing. By laying the pieces on the drawing as you proceed, you can check the dimensions and angles of each part and the position of the mortises.
 From Fine Woodworking #154
For the full article, download the PDF below:
Fine Woodworking Recommended Products

Blackwing Pencils

Sketchup Class

Stanley Powerlock 16-ft. tape measure


Comments
I have built many of these indestructible little stools. I find that multiplying all dimensions by 1.25 with the exception of material thickness makes them more suitable for my purposes. That makes the top 12.5 x 17.
Log in or create an account to post a comment.
Sign up Log in