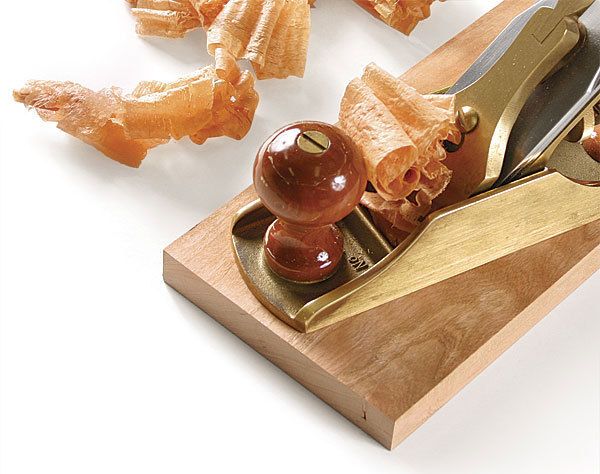
Synopsis: This companion piece to Plane Like a Pro gives the basics of handplaning a surface so that it is flat, straight, and smooth. Handplane users who have struggled with technique will find tips from expert Chris Gochnour to guide them along their way.
From Fine Woodworking #204
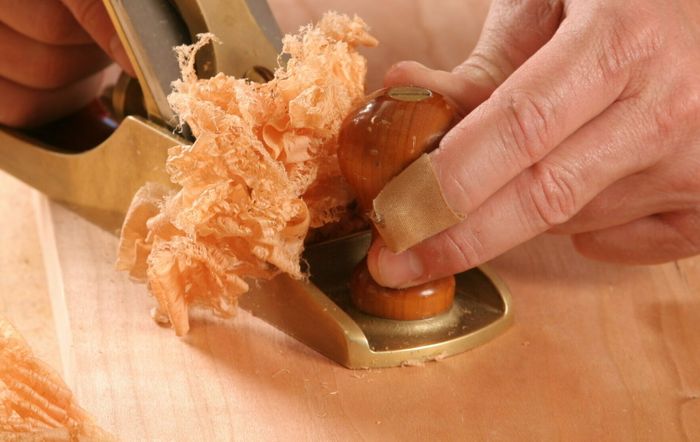
The smoothing plane is one of my best friends in the shop, and I reach for it frequently. A sharp smoothing plane meticulously shaves the surface of a board, creating a glass-smooth sheen that highlights the wood’s figure while leaving a dead-flat surface in its wake. For most furniture parts, a handplaned surface is good enough for finishing. But not everyone has success with the handplane. Many who buy a smoothing plane have so much trouble getting good results that they set the tool on a shelf, where it becomes a dusty spectator to the real action in the shop.
Problems occur for three main reasons: The blade is not sharp, the tool is out of tune, or it’s not being used properly. This article focuses on the third factor, showing how to set up and adjust a traditional bevel-down plane, and how to use it for optimal performance. For space reasons, we will assume a handplane is in good working order with a blade that is razor-sharp.
Install the chipbreaker and blade: The first task is to understand the parts of the plane and to make sure they are assembled correctly. Mounted on top of the blade, the chipbreaker deflects shavings up and out of the plane. The first step in setting up the plane is to secure the chipbreaker to the blade. Put the assembly on the frog (the angled bed that connects the plane body to the iron) and secure it with the lever cap. Set the tension on the lever cap just enough to hold the blade assembly in place while allowing for blade adjustments.
Open the mouth: As the plane cuts, shavings pass through an opening in the sole called the mouth. How wide you open the mouth depends on how thick you want the shavings. Heavier cuts need a larger opening, while lighter cuts need a smaller one.
To adjust the mouth opening, advance the blade until it barely projects through the plane’s mouth. Then move the frog forward or backward until you get the desired mouth opening. The bedrock-style frog offered by Stanley, Lie-Nielsen, and Clifton makes these adjustments convenient. Simply loosen the two side screws at the rear of the frog, then use the central adjusting screw to move the frog to open or close the mouth. Once set, tighten the side screws to lock the frog in position. The Bailey pattern planes require the blade to be removed to access the frog screws, making the adjustments a little less convenient.
For the full article, download the PDF below:
Fine Woodworking Recommended Products

Tite-Mark Marking Gauge

Suizan Japanese Pull Saw

Veritas Micro-Adjust Wheel Marking Gauge


Log in or create an account to post a comment.
Sign up Log in