How to Choose the Right Smoothing Plane
Learn how to shop for a handplane and find out what separates a high quality tool from its bargain basement brethren
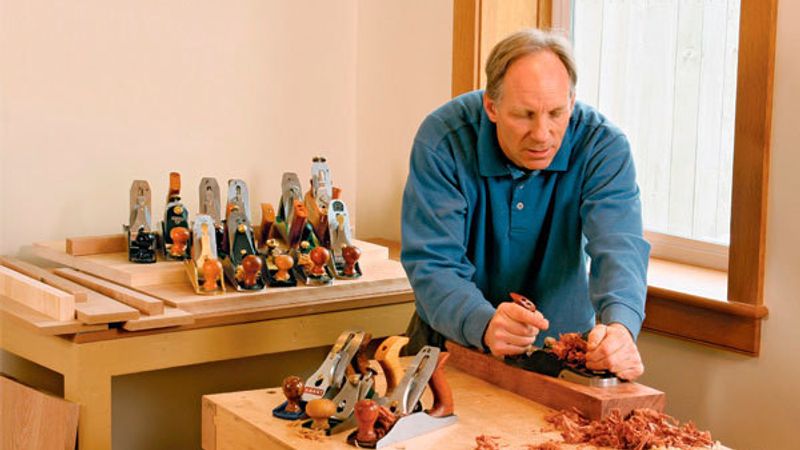
Most budding woodworkers eventually become ensnared by the siren song of the good, old-fashioned handplane. Machine milling does a great job at smoothing and flattening rough stock, but there’s nothing quite like that smooth-as-glass finish imparted by a well-tuned smoothing plane. Trouble is, most beginner-intermediate woodworkers are often left frustrated following their first attempts to smooth away milling marks with a handplane. The trouble can generally be attributed to one of two things: a poorly manufactured tool, or a less-than-stellar tool set-up.
In Fine Woodworking #219, handplane pro Chris Gouchner took 14 smoothing planes for a test drive, and to help you become a more savvy tool shopper, FWW senior editor Tom McKenna has picked up where Gouchner left off. In this short video, learn what to look for when shopping for a new smoothing plane, why you should stay away from bargain basement planes, and what separates a high-priced plane from it’s more cost-conscious brethren.
Handplane Terms You’re Likely to Hear
When it comes to lingo, handplanes have plenty of terms associated with them that might as well be Greek to the more novice woodworker. Here are two of the most common ones you’ll want to pay particular attention to:
Chatter: A common problem with lower quality handplanes, chatter is a term used to describe a plane that skips or stutters through a cut, leaving ugly marks behind.
Backlash: Backlash is a necessary evil in tooling; without it, moving parts would seize up. On handplanes, you’ll notice it the most when you adjust the blade forward or backward while dialing in the depth of cut: the knob will spin freely for a moment before engaging the threads. Too much slop in the backlash indicates subpar machining.
Anatomy of a Handplane
For a handplane to cut cleanly and without chatter, its parts must be machined to high tolerances and fit together perfectly. You are unlikely to find this precision on a mass-produced plane. However, refining the fit of the parts and replacing the iron will soon have your $100 plane cutting like a $300-plus model.
Hand tool expert David Charlesworth broke down handplane anatomy back in Fine Woodworking #172. Here are the basics:
Lever Cap
The lever cap holds the plane iron and chipbreaker assembly into place. Smoothing the underside allows for easier depth adjustment.
Chipbreaker
Reshaping the top and the bottom allows shavings to slide up and over the chipbreaker instead of getting stuck.
Blade, or Iron
A replacement blade made from A2 cryo steel will keep an edge longer than other steel types.
Frog
The frog connects the blade to the body. Poor contact with either will result in vibration and chatter.


Log in or create an account to post a comment.
Sign up Log in