Modified Roubo Is the Ultimate Workbench
State-of-the-art vises take this classic bench to another level.

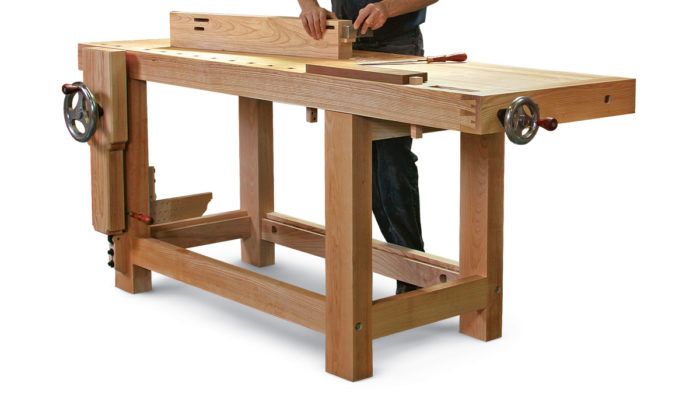
Synopsis: When Jeff Miller built a small bench about a year ago to test two new vises from BenchCrafted, he little realized he would love the vises so much he’d soon be building a full-size bench to live up to their potential. The leg vise and wagon vise held more securely and were easier to adjust than any other vises he had used. So to showcase these powerhouses, he built a modified Roubo bench with a beefy base, a heavy top, and blocky legs flush to the front edge of the benchtop. Here’s how to make one of your own, plus tips for installing these two excellent vises.
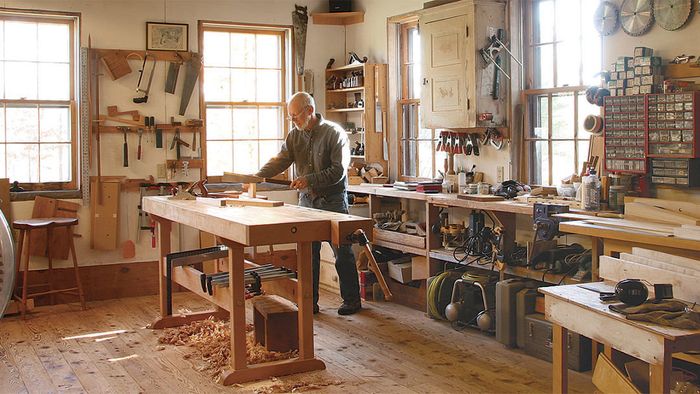
Most woodworkers build only one workbench. I’ve had the luxury of building seven so far. Why so many? Partly because I need extra benches in my shop for teaching classes. But also because I love having benches that excel at holding different kinds of work.

With all the different benches and vises in my shop, I thought I’d experienced about everything in the realm of workbenches. But a year ago I built a small bench to test out two new vises from BenchCrafted that had caught my eye—one a leg vise and the other a wagon vise (see Tools & Materials, FWW #225). Both are based on traditional designs but updated with wheel-style handles and acme threads, and built to exceptional standards of quality. For all-around work-holding, these vises were a revelation. They held more securely and were easier to adjust than any other vises I’ve used. Spin the wheel with one finger and the vises closed on a workpiece with a convincing thonk. They were also easier to install than many other vises. Before I’d had the use of the new bench for a month, it had become my favorite, and I decided that I needed to make a full-size version using BenchCrafted vise hardware.
Powerhouse vises left and right
The bench I built is a modified Roubostyle with a very heavy top and a beefy base. What makes it a Roubo (André Jacob Roubo was a French cabinetmaker in the 1700s who wrote an influential treatise on woodworking) is the massive size, the blocky legs flush to the front edge of the benchtop, and the leg vise, a centuries-old style with a huge jaw that offers superb clamping pressure and lots of space for the workpiece. To function properly, a leg vise requires that the front edge of the benchtop be in the same plane with the front face of the leg.
The vise screw is 8 in. below the surface of the bench, allowing the vise to accommodate very large workpieces, with the vise jaw, leg, and edge of the bench providing a solid grip unmatched by other vises. however, to do so, the leg vise incorporates an adjustable “parallel guide” at the bottom that must be set to roughly the thickness of the workpiece with a removable pin. The extra step takes a little getting used to, but the results are well worth it. BenchCrafted will soon have a new version of the leg vise available, at a higher price, with a scissor mechanism that will eliminate this step.

From Fine Woodworking #230
For the full article, download the PDF below:

Get the Plan
When Jeff Miller built a small bench to test two new vises from BenchCrafted, little did he realize that he would love the vises so much, he’d soon build a full-size bench to live up to their potential. Both the leg vise and wagon vise hold more securely and are easier to adjust than any other vises he has used. So to showcase these powerhouses, he built this modified Roubo bench with a beefy base, a heavy top, and blocky legs flush to the front edge of the benchtop.


Comments
Hello, the link to the video of him flattening the top in the extras does not work. It appears in the the extras section of issue 230 as described in the magazines, however the link is a dead end. I would very much like to see if possible.
Log in or create an account to post a comment.
Sign up Log in