Salt and Vinegar: Nature’s Rust Remover
Remove rust without harsh chemicals or solvents.
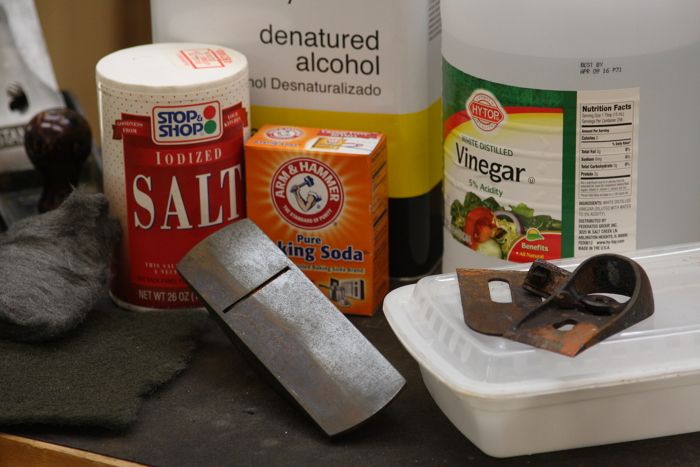
Salt, vinegar, baking soda, alcohol: the ingredients for a like-new plane.
As a beginning woodworker and recent college graduate, I don’t have the cash to buy brand new planes and tools. The issue with many old woodworking tools from tag sales and garages is that they have been sitting in a drawer, or worse a damp box, and have accumulated surface grime and rust over the decades or disuse or abuse.
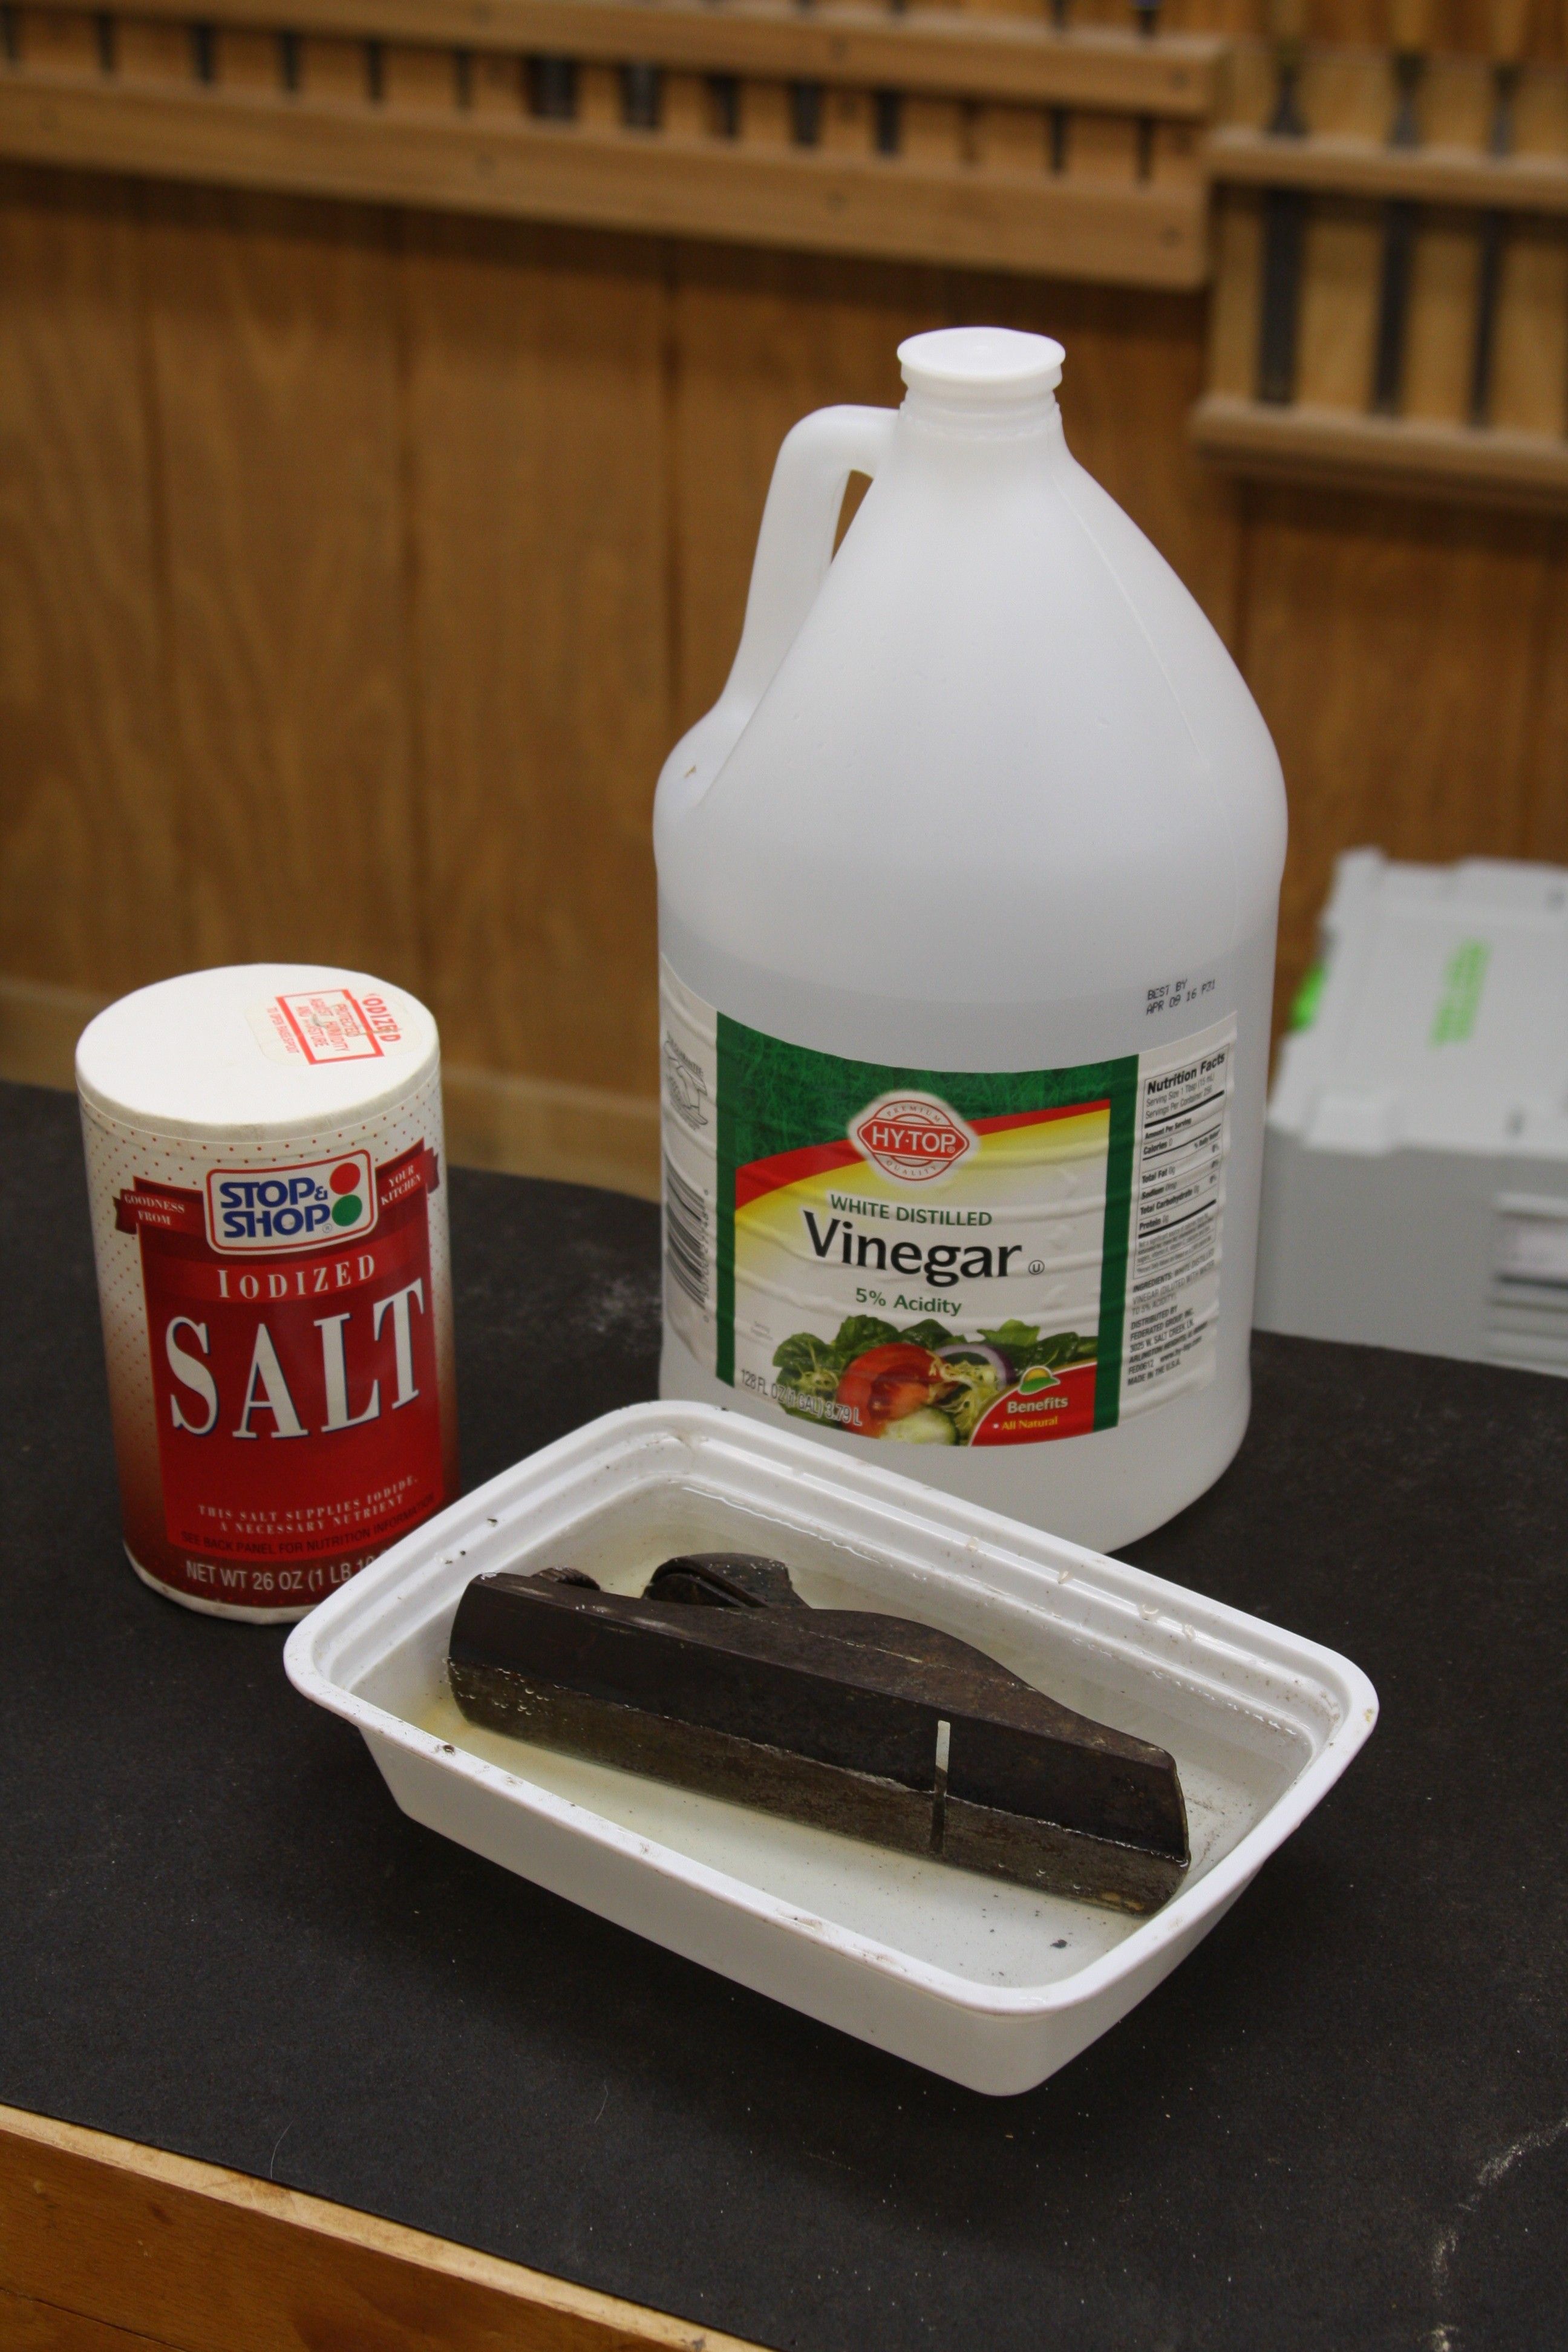
I’ll explain how to remove rust on vintage hand tools in a cheap and easy way without dealing with harsh chemicals or paying to have it cleaned. All you need is some salt, vinegar, baking soda, denatured alcohol, some abrasives like a 3M pad or steel wool, and a mat for your work bench.
Step 1: Use vinegar and salt to eat rust
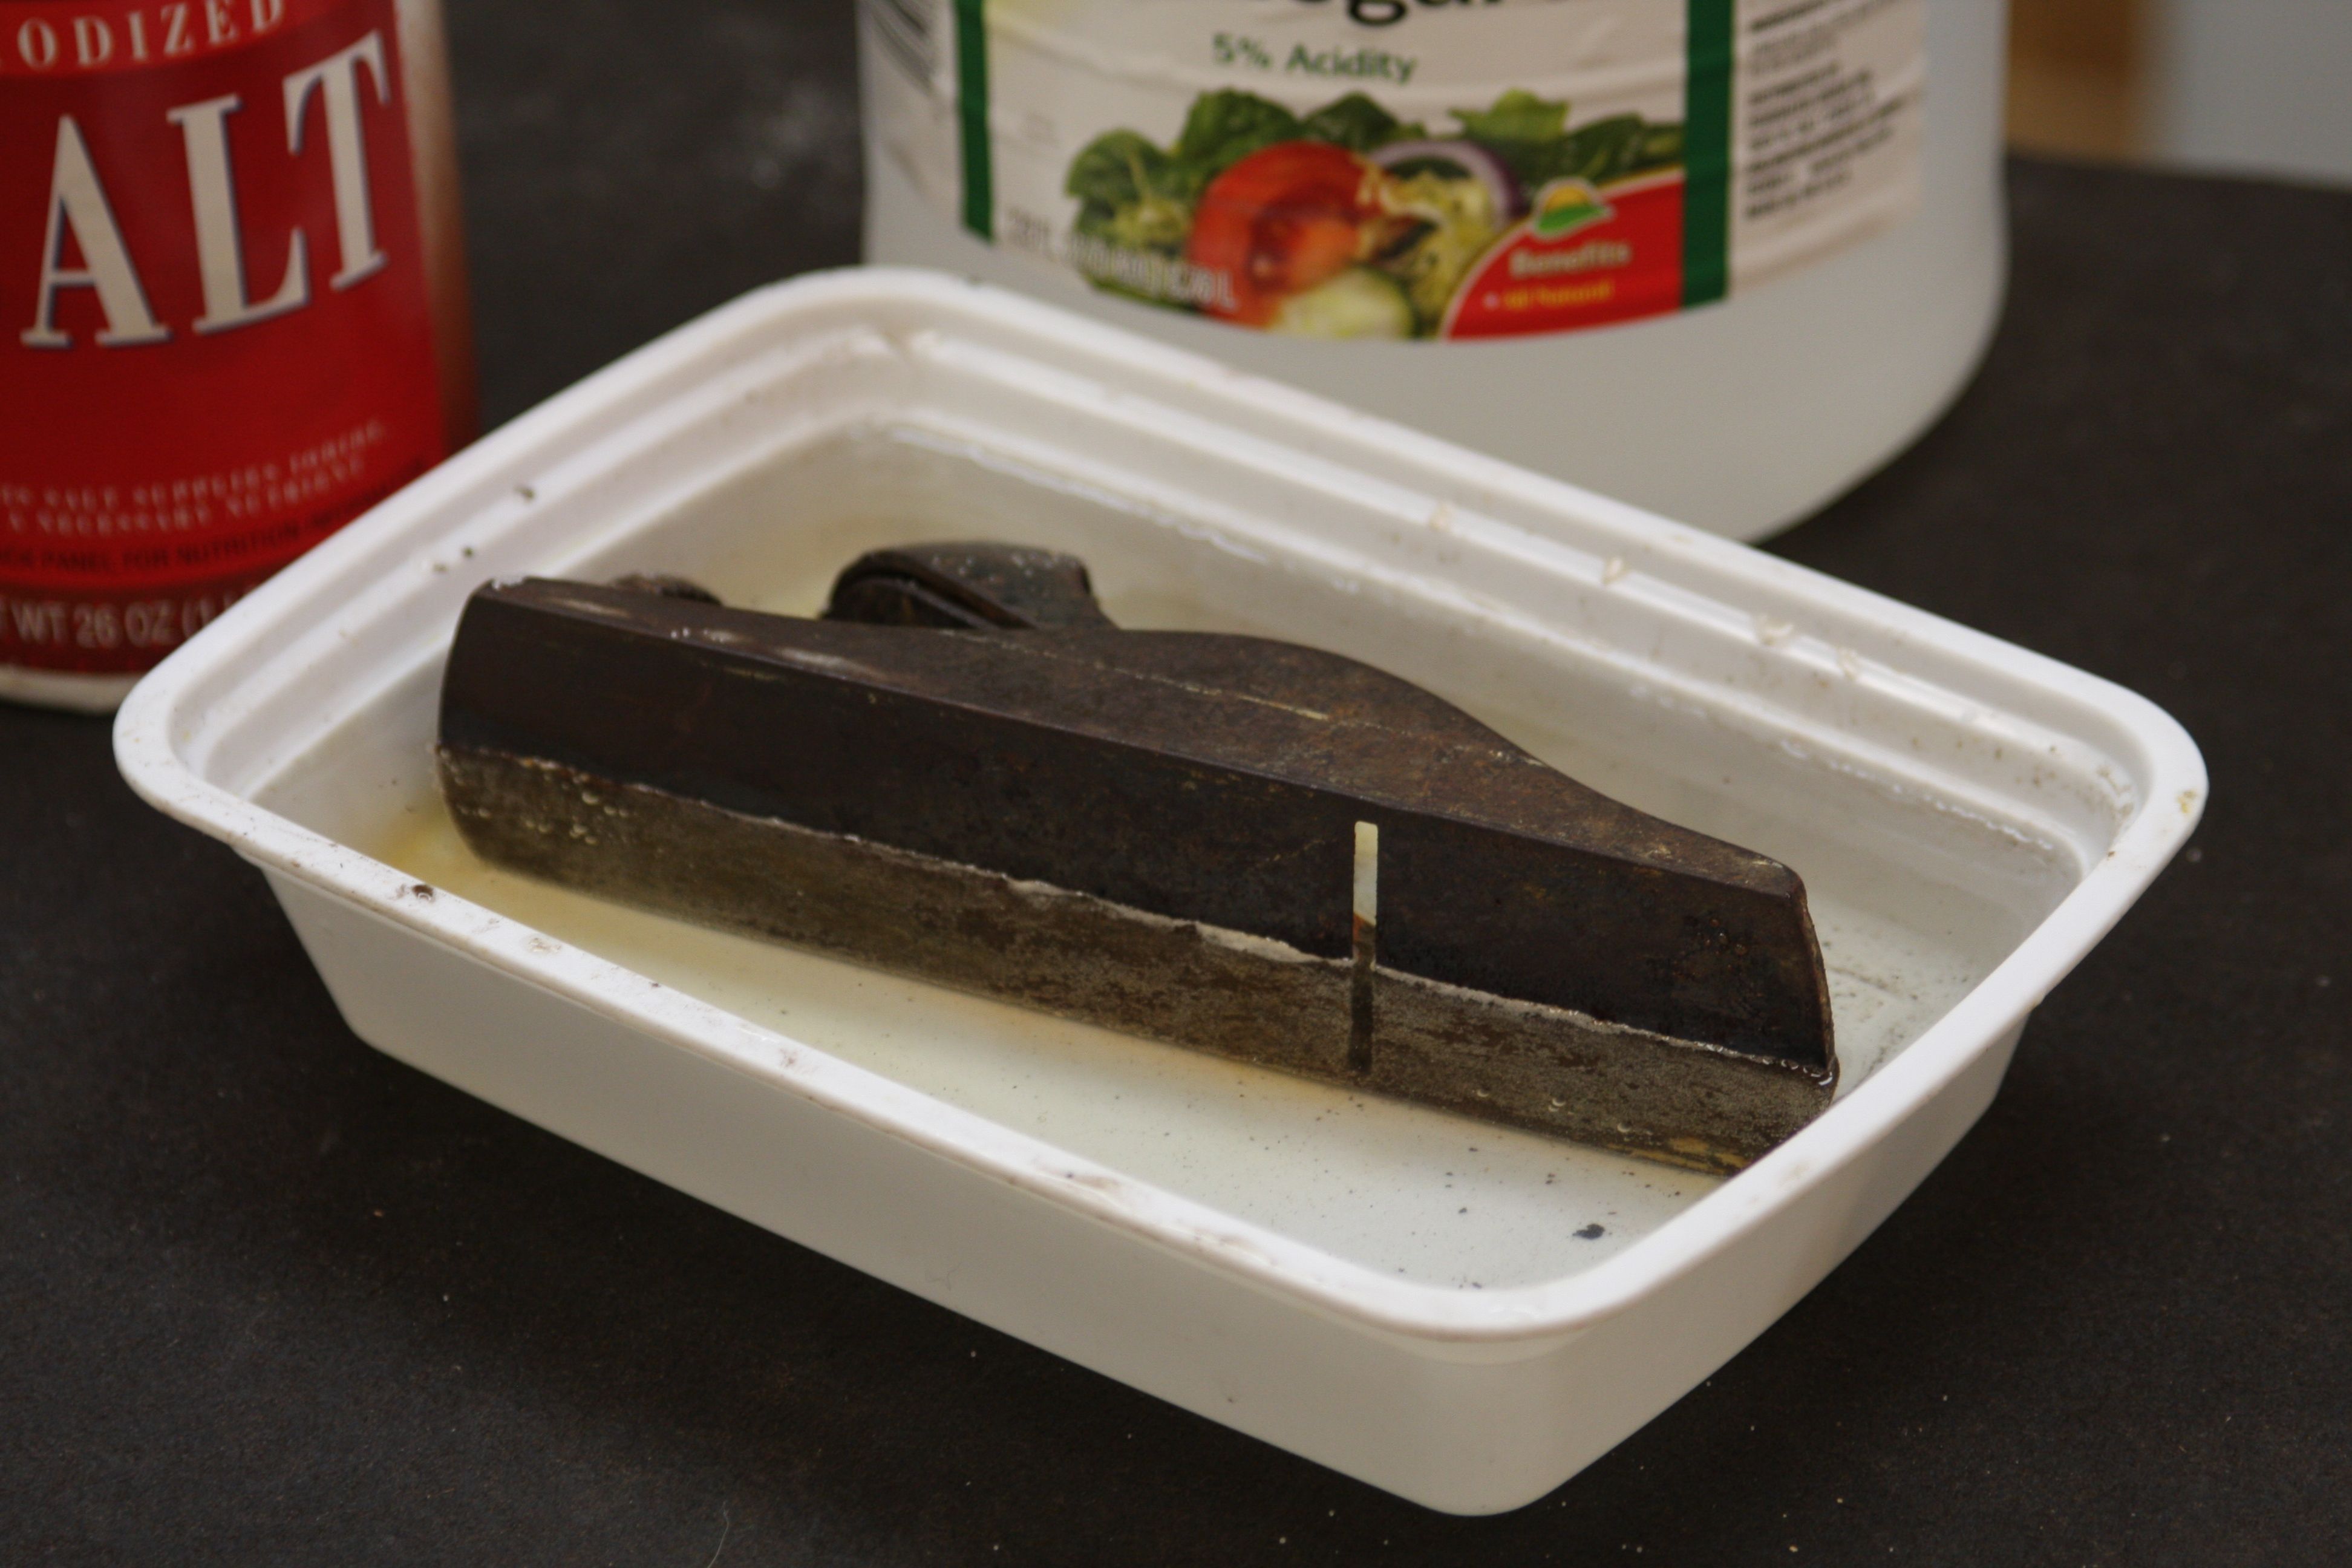
The first step is to completely disassemble the plane and hose it down to get rid of the deposited dust, dirt, and loose scale on the plane. Now grab a plastic container deep enough to fully submerge the tool or pieces. In the case of the old Stanley 220 block plane above, a take-out container worked perfectly. After everything is in the container, fill it up with some white vinegar from the supermarket or your cabinet until it is fully submerged.
Once everything is sitting in its vinegar bath, it’s time to add the salt. While vinegar by itself is a mild acid, the salt increases the acidity in the solution and let it chew rust even faster. When using a full gallon of vinegar, add a full cup of salt per gallon of vinegar. For this block plane, two hefty tablespoons, distributed evenly, was the perfect amount.
This is when you get to walk back into the house for dinner or a nap, and forget about that rusty plane for a while. Let it sit for at least 12 hours, but the longer you leave it in there, the more effect it will have. Usually one to three days will have the rust falling off.
Step 2: Start scrubbing
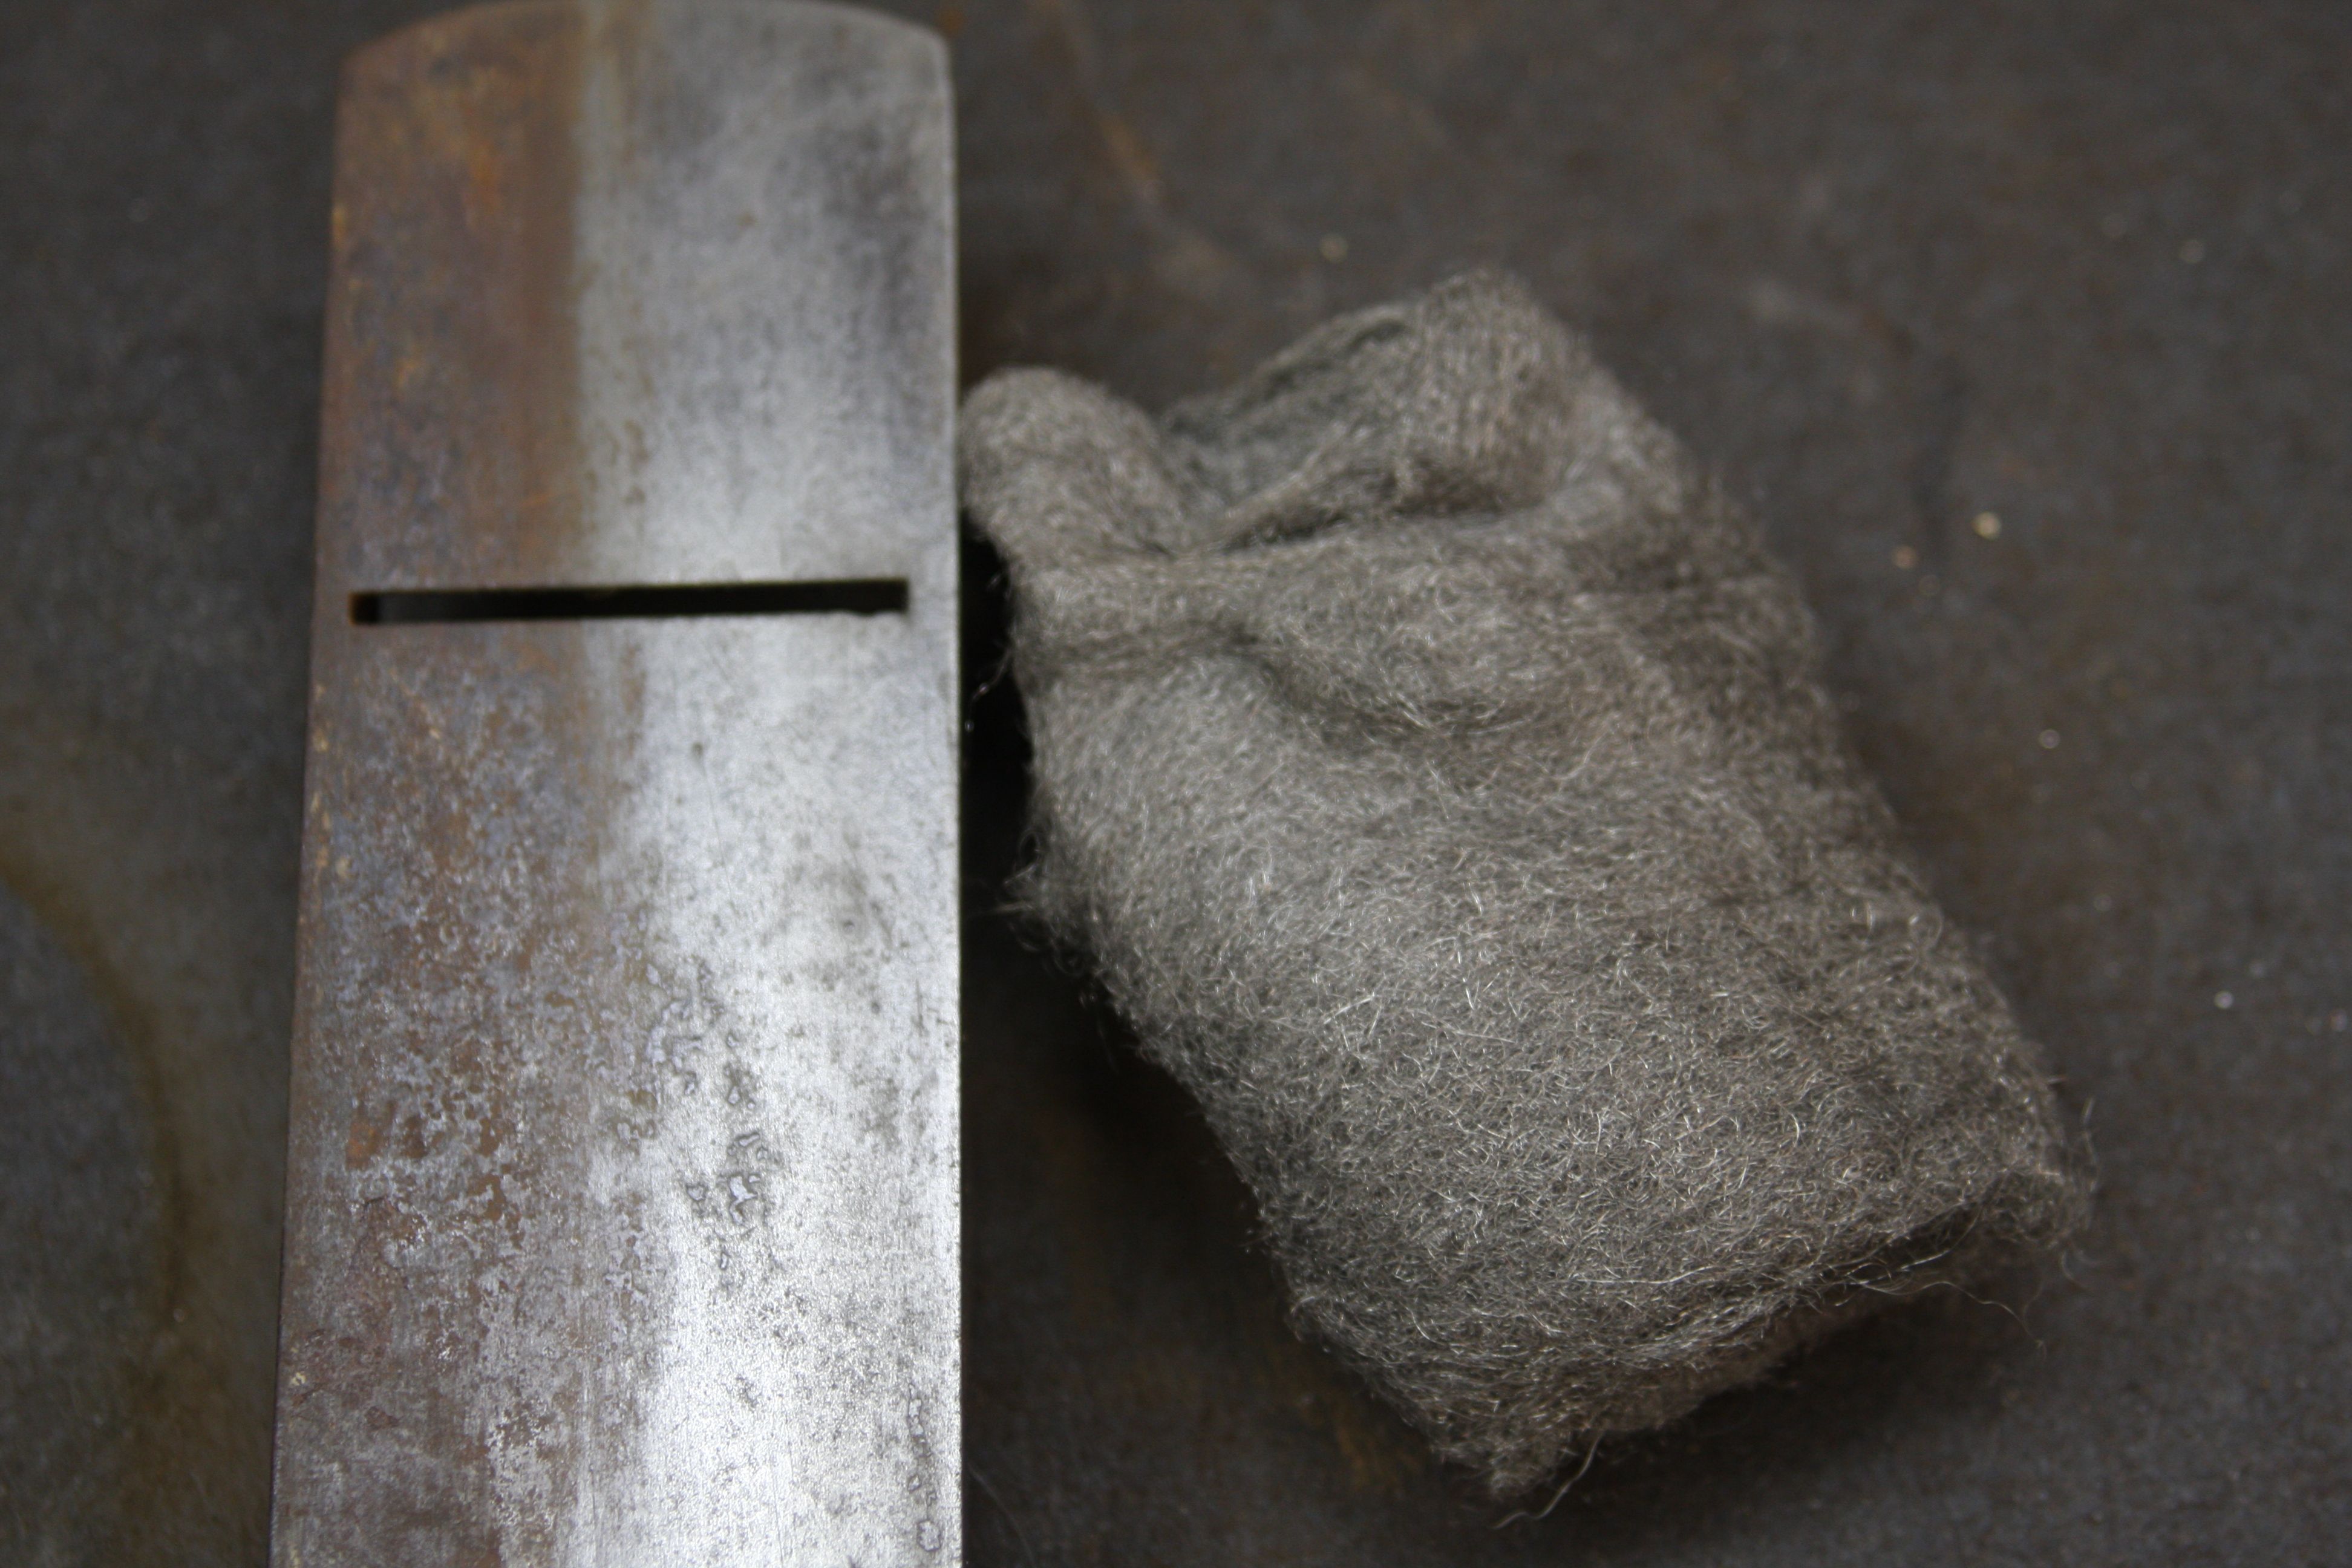
With the tool having sat in the solution, it’s time to get that rust off. Remove the tool from the container and scrub it down with a 3M-style pad. I prefer the pad at this stage because its woven strands won’t clog with the heavy sediment that will be coming off the plane. Any super tough rust can be hit with a brass-bristled brush.
Step 3: Neutralize the acid with baking soda
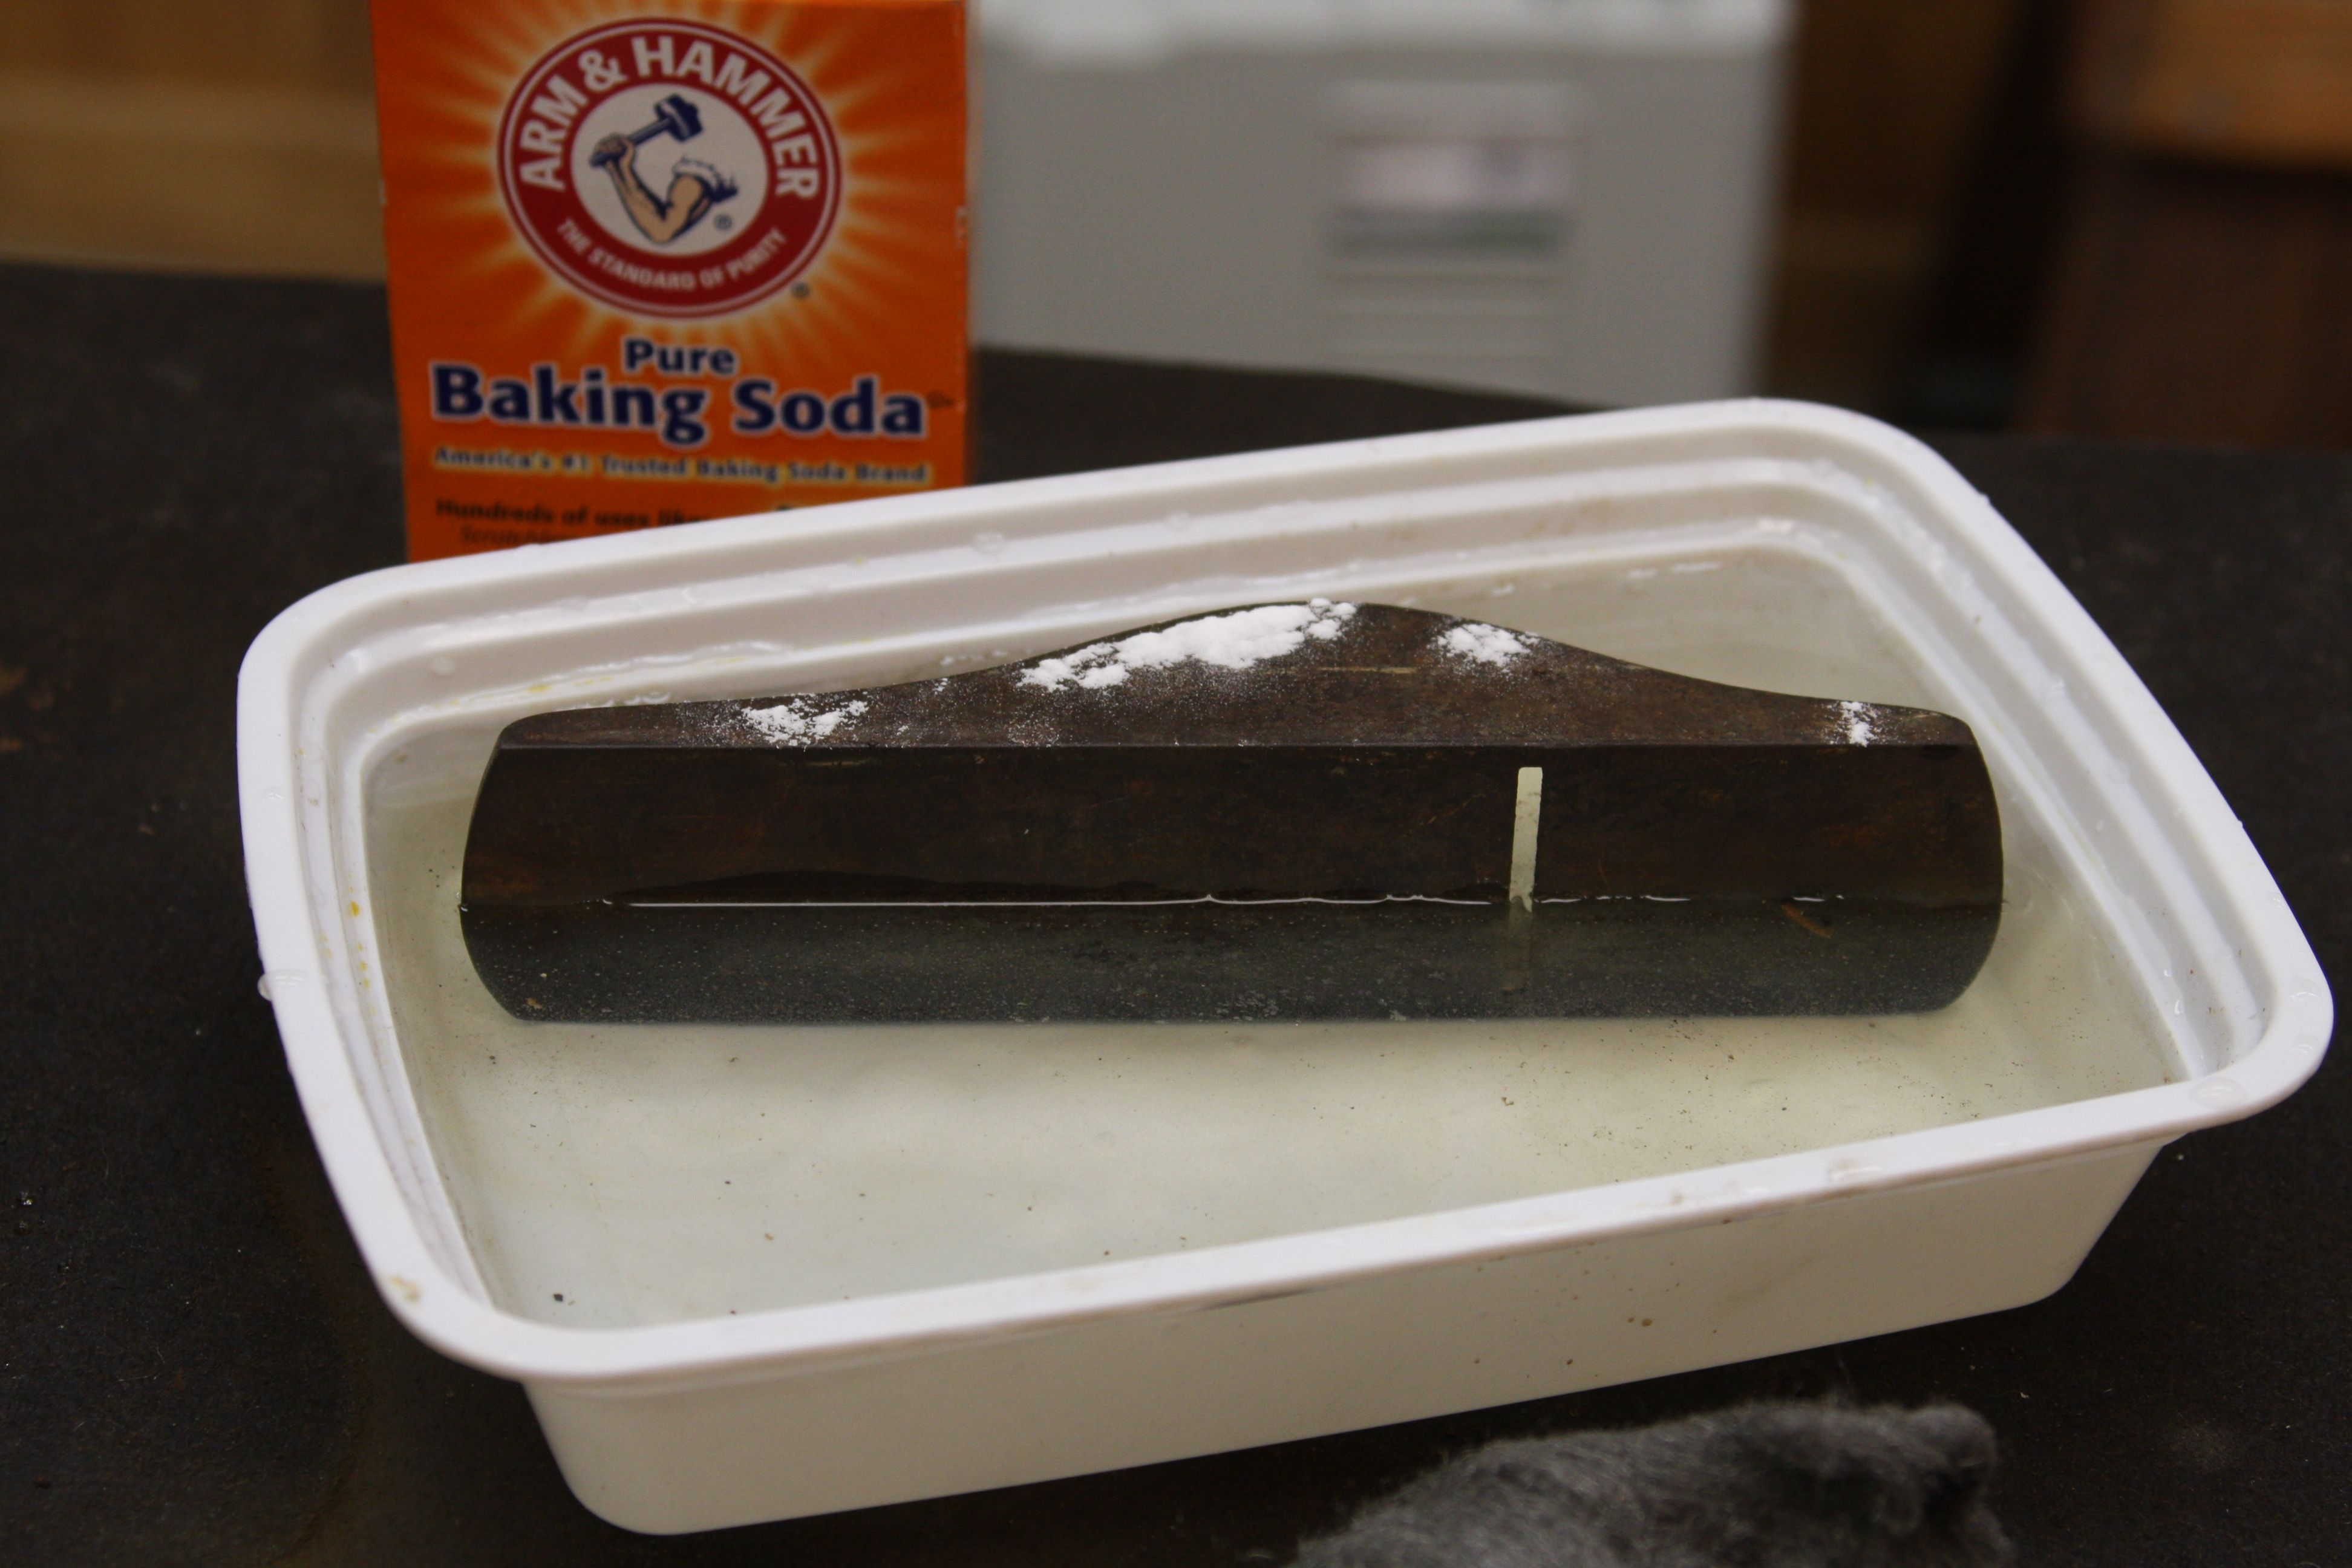
Now the acid solution covering the tool must be neutralized. Put everything back into the container and fill it with water. Wait, WATER?! Don’t worry, it won’t be in there long. Once things are submerged, add two tablespoons of baking soda (or about one cup per gallon, again) to the water and give it a mix. The baking soda will neutralize the acidity and also cause any vinegar trapped under or behind rust to foam and loosen even more.
Step 4: A final polish, then it’s time for a tune up
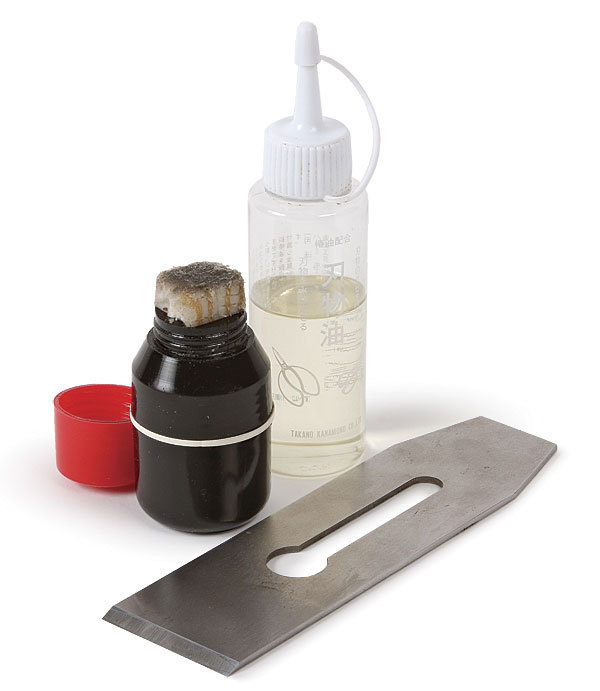
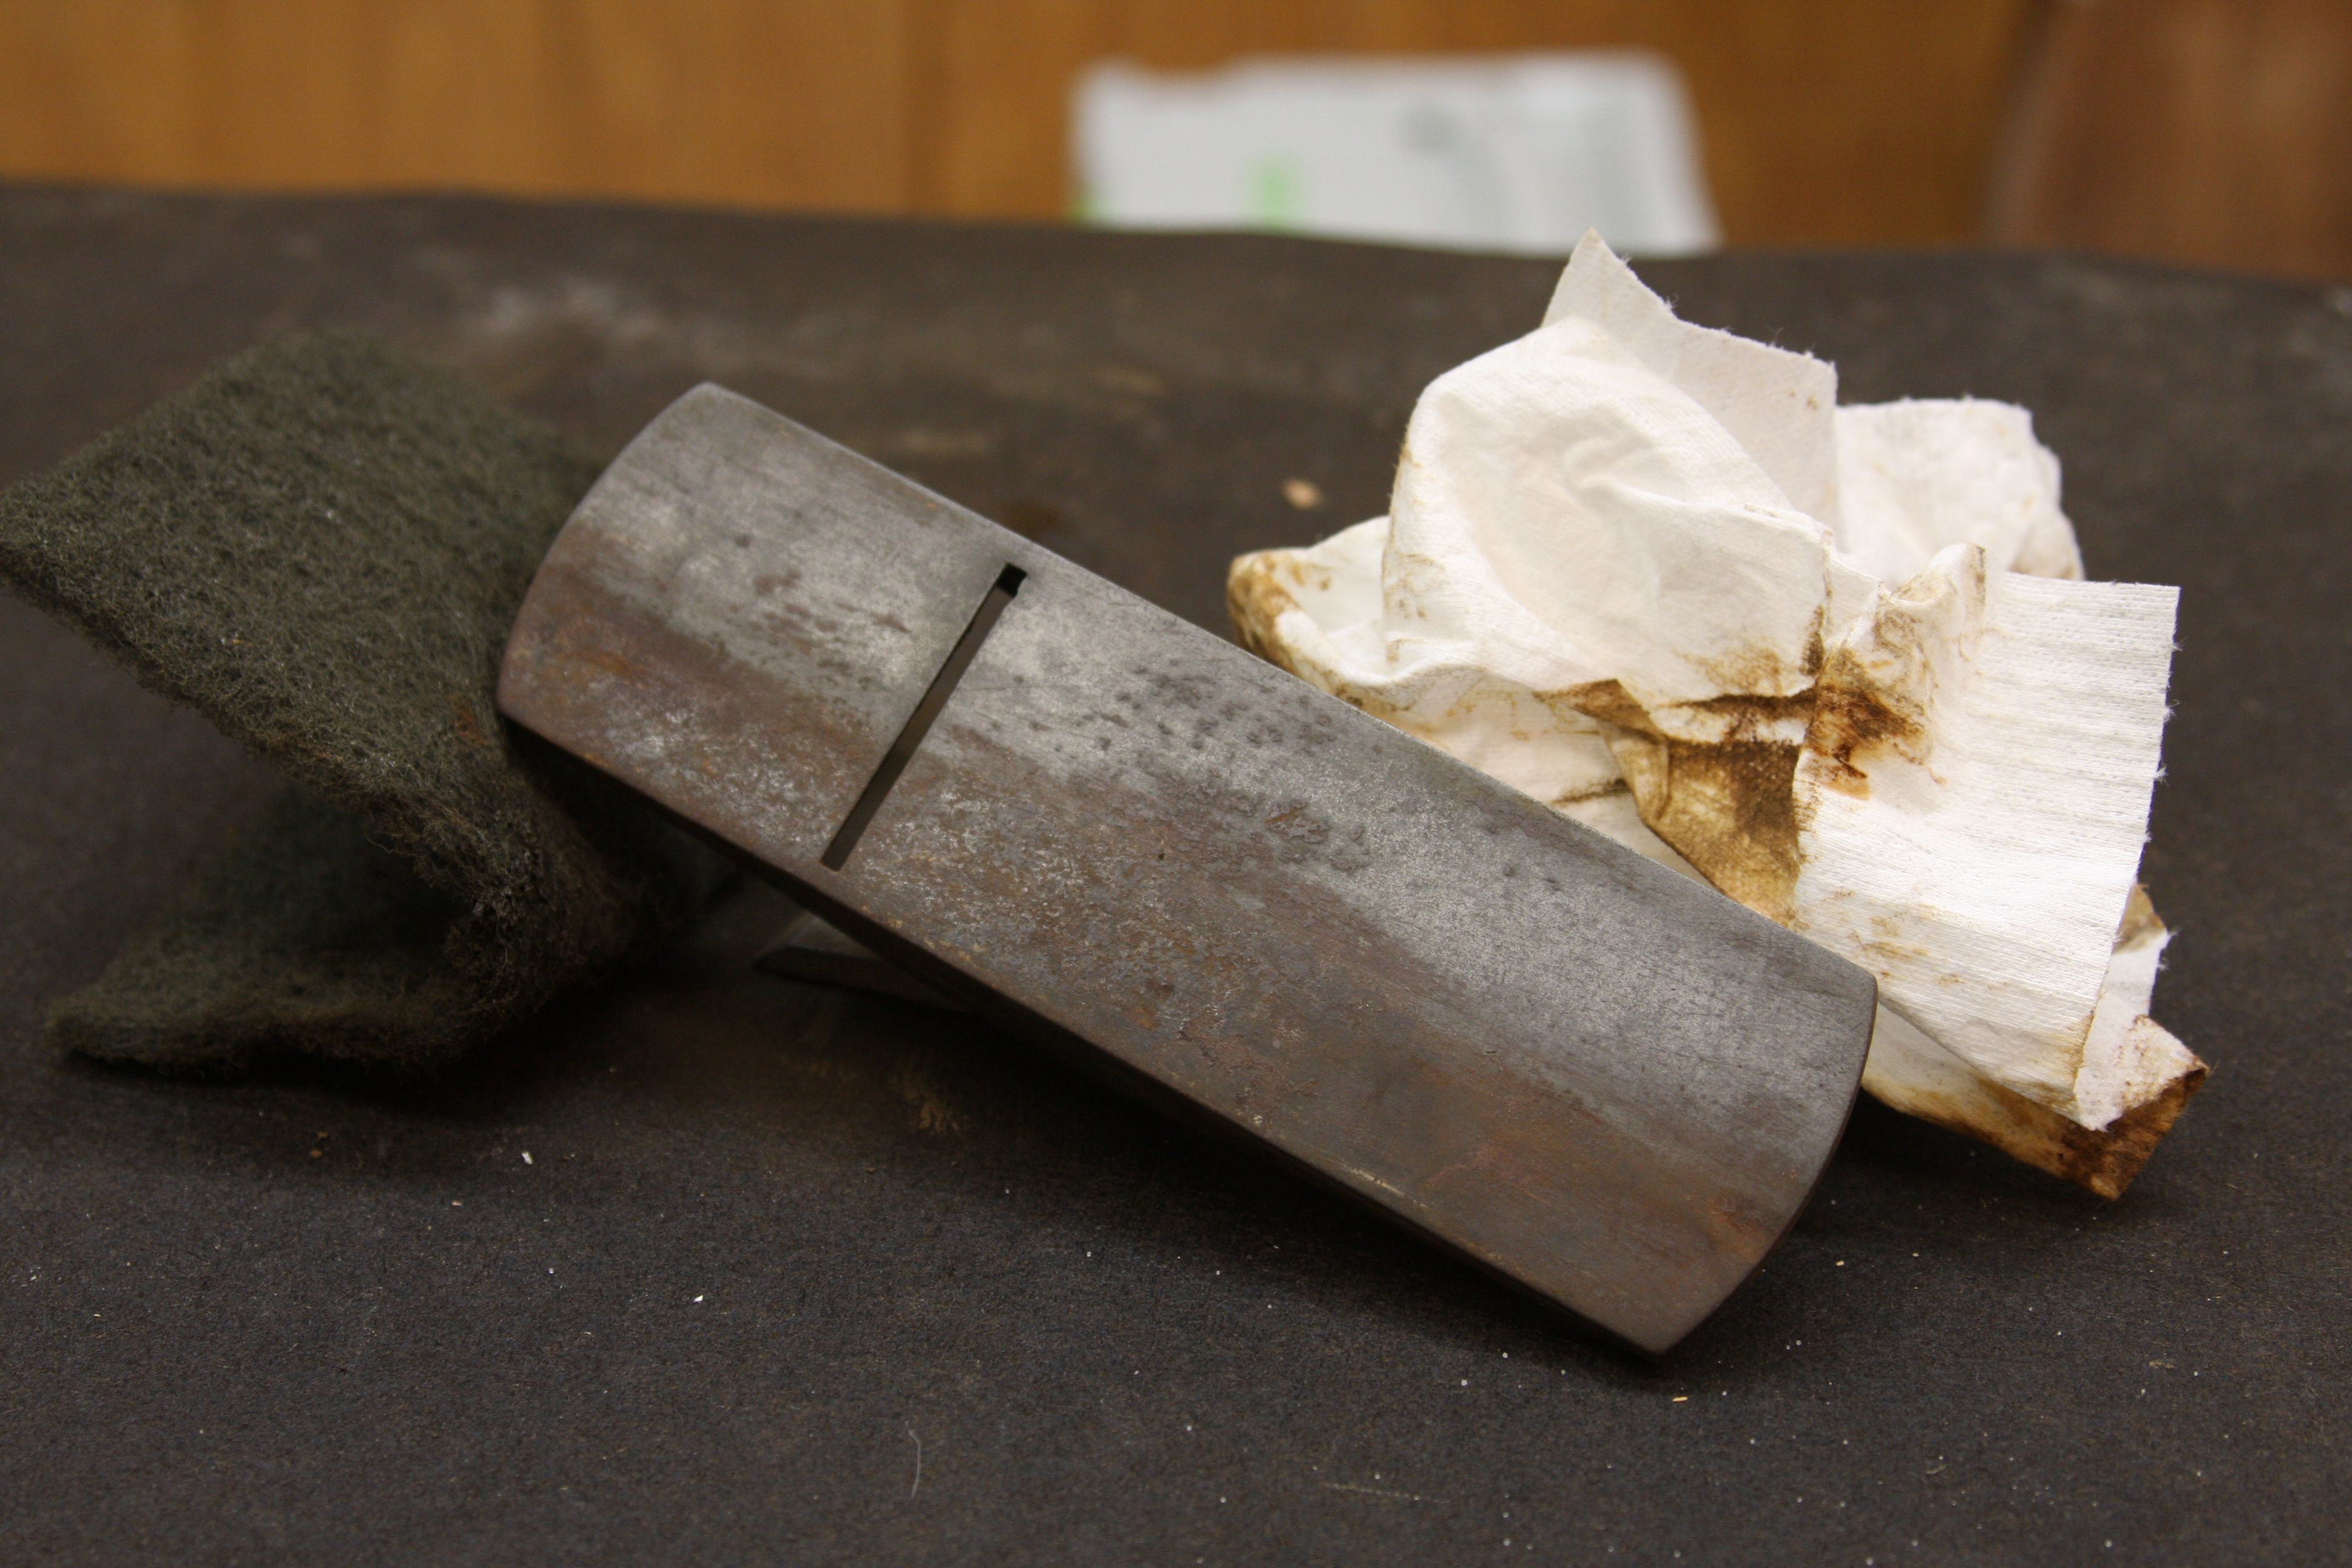
Pull the pieces out of the neutralizer after about 10 minutes and scrub everything with some 0000 steel wool. At this point, the steel wool should start bringing a nice cast sheen to your tool without removing the patina. After this final scrub, wipe it down with a rag soaked in denatured alcohol. The alcohol will wick away any moisture left on the metal so rust doesn’t come back to haunt you. Finish the cleaning with a light coat of camellia oil to make sure no new rust sets in.
Now that the plane is clean, it’s time to set it up and get to making some shavings. For more information on getting the plane flat and ready to use, see Roland Johnson’s article on tuning up a bench plane in Fine Woodworking #216.
There are a couple of extra tips about this process. While the vinegar and salt mixture will not harm steel, it can eat aluminum fairly quickly. If your plane has aluminum parts, be sure to only leave them is the solution for a few hours. This is critical when dealing with any threaded aluminum parts.
Also, another common issue with older planes is that the japanning (the black enamel coating) can sometimes be ruined or partially taken off. Some people don’t mind leaving it half-on, but if there are extensive sections missing sometimes it is easier to start fresh by removing all the japanning. I’ve found toluene will remove stubborn enamel and allow a uniform cast look, and it can be applied with steel wool to etch off the coating.
 |
Fighting Rust |
More on FineWoodworking.com
- Rollie Johnson – A Rust-free Winterized Woodshop
- Lonnie Bird – Wax Keeps Rust Off Hand Tools
- Matthew Teague – Buying Old Tools
- Amy Costello – Rust Removal with Lemon Juice and Salt


Comments
Greetings,
There is a better and easier way to remove rust from and an old tool than soaking it in acid. Remember, the vinegar will eat into the steel as easily as it eats the rust. Naval Jelly is just as bad (or worse) using phosphoric acid rather than acetic acid.
A much better approach is to use a chelating process and convert the rust to a material that will not cling to the steel while leaving the iron alone (because of the much stronger bond of the iron in the steel than of the iron in the rust).
Get thee to a local store (like Harbor Freight or Auto Zone or others) and purchase a quart or (better yet) a gallon of Evapo-Rust. By soaking the plane or any other rusted part in Evapo-Rust, you can convert the rust to a black powder which you can dust off with a stiff brush. I use a toothbrush but a brass brush will leave a more shiny surface. At room temperature, most rust is gone over night. Heavy rust may take longer, especially the hard black rust that forms over a long time. And the warmer, the better. If I'm in a hurry, I heat the mixture and it works a lot faster - it's rather slow in my cool basement in the winter. BTW - you can leave the part in Evapo-Rust for a week if you forget since it won't harm the base metal, just the rust. It won't harm paint any more than plain water and it's non-toxic - so you can safely flush it down the drain. But you can also use it over and over until the active chemicals are depleted. With moderate use, I can use a gallon for a year or more. It's made by Harris Corp and I do NOT own any stock - unfortunately.
Regards
Craig
The method sounds like fun, but I agree completely with Craig - EvapoRust is magic stuff!
Got to agree about the Evapo-Rust. I restore old planes and buy the Evapo-Rust in five gallon quantities, although I started out using it in much smaller containers. After using it I strain it into a new container and keep doing that until it's useful life is over. Then I start over with some new stuff.
I've used it on every conceivable type of tool and metal object and it has worked like a charm. Depending on how I want the surface to look (patina or not) will dictate the product I use to do the final surface cleaning/polishing.
I did enjoy the article, though, because I'm sort of a mad scientist at heart and will probably try that process just for the heck of it, just as I have with citric acid for rust removal.
I used the vinegar method on several old Starret spring dividers that I had bought on eBay, and though they all cleaned up nicely every one of the springs broke in half during re-assembly. Better add spring steel to your aluminum caveat!
I've been using white vinegar for rust removal for many years - learned about it from an antiques dealer - but I've never tried using salt with it. To me, using salt to remove rust seems counter intuitive considering what road salt used in winter does to vehicles. I suppose I'll have to give it a try though. Citric acid powder dissolved in water and even concentrated lemon juice will also remove rust in much the same way as vinegar.
Normally I use 5% strength distilled white vinegar (10% when I can find it,) mixed with equal parts or less tap water. The water dilutes and weakens the action a bit, but it makes it possible to submerge larger items without using quite so much vinegar. I've seldom ever had to soak anything longer than a day - usually less. Warming the solution will make it work faster.
I am not fond of wet steel wool, so I use brass or stainless steel pot scrubbing pads from the housewares department for scrubbing parts. Usually I scrub the item occasionally with a small steel or brass bristle brush the size of a toothbrush, while I hold it under hot running tap water. If necessary, it might go back into the solution to soak some more. If it comes clean, I let the hot water warm the metal, and then I immediately towel it dry. The warm metal usually dries before it can rust again. After the part is dry I polish it a bit with fine steel wool or a fine steel or brass bristle brush. Then I either prepare it for re-painting, or I oil it or paste wax it.
The vinegar contains ascetic acid, which is considered a weak acid. It takes a long time before it will eat away any appreciable amount of metal, although it seems to affect cast and malleable iron more so than steel. However, if the metal is very rusty to begin with, it will be found after removal that the rust has actually eaten away some of the metal. In the case of small springs and other thin cross sections this will weaken them. Also, be aware that soaking in vinegar and other acids will often remove various kinds of plating from the iron or steel. Cadmium plating for example comes off quickly and produces a toxic solution. It will also soften and remove paint. In blacksmithing work I often use a vinegar soak to easily remove forge scale before filing or grinding a piece.
@MechanicalMusicMan, @RBK155, and @PCHcruisin: I certainly cannot argue with Evaporust's effectiveness. It is an awesome chemical that I've used numerous times on automotive and small engine components with great success. The salt and vinegar method is presented as an alternative to that for those who won't use the Evaporust very often, those who need more than one gallon (where it becomes pricey), or those don't want to have chemicals to dispose of.
@Aledrinker: Interesting. I will have to add some old springs to my next batch and see how they react.
@old_saw: Awesome information. It sounds like you've perfected your technique. The salt in this case, isn't much to worry about as it will be washed off rather quickly, versus a car which (if you're like me) spends whole New England winters without a wash. It really is just an additive to increase the acidity of the mixture.
Thanks everyone for your comments and for reading.
Hi, I know this is an older article however I have read it and used it. I am hoping to exchange an email with the writer. I used this method and it worked so well I think I we t overboard and am in need of guidance on rust removal without damaging all kinds of finish. Its a tricky situation!
If the man who wrote this or anyone with rust removal experience could email me...-Tim at thjhiggins1@gmail.com
Again if the author or someone who has had success with rust removal can email me, I am in need of guidance. Thanks all.....
-Tim H. Thjhiggins1@gmail.com
one caveat that should be noted: do not use a disposable aluminum baking dish (or togo container etc). the solution will eat away a pinhole or two, and leak its contents onto your countertop and floor. while this now seems like basic common sense, i didn't think of it at the time... i returned the next morning to find a rusty acidic mess.
I'm not laughing at you, because I could easily see myself doing that!
I tried this today following these directions to a T only with smaller quantities. I had two rusty chains from plant hangers. They were both fairly fine and double linked. I knew it was going to be a horrible chore to try and scrub them with steel wool, so I looked online for a DIY rust remover and stumbled upon this post. I do not have anything negative to report. This worked like an absolute charm. After I removed and rinsed the chain I put it in freshwater as directed and then added the baking soda. I let that sit for about 20 minutes and then rinsed everything, patted the chain dry and now it is drying in the air in order to be painted tomorrow. Thanks for this inexpensive and very useful tip. Thanks also to all the other comments about metals to avoid with this solution. Great that we can learn from others' mistakes. ;-)
Log in or create an account to post a comment.
Sign up Log in