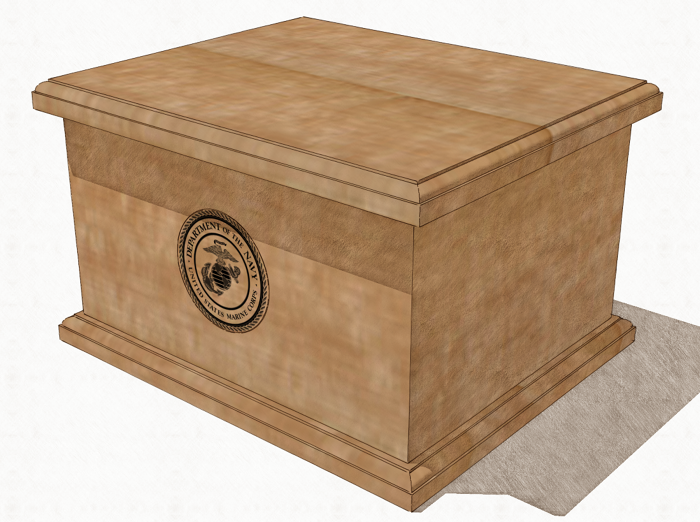
Recently I did a volunteer SketchUp job for a group of woodworkers in North Carolina. They are building simple burial urns for veterans using their donated time and materials. These urns are getting distributed to the state’s veterans cemeteries and their first run of 50 was claimed almost immediately. They have requests for quite a few more. They asked if I would make a plan file they could share and once I had the dimensions, it was pretty quick work in SketchUp and LayOut. My understanding is that they hope to use the plan to encourage others to donate materials because they have requests for a many more urns than they have materials for.
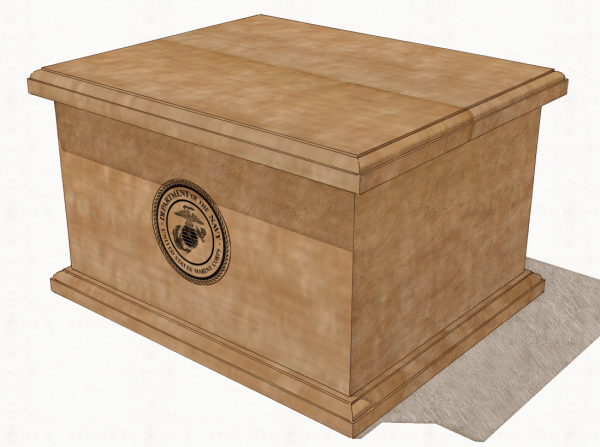
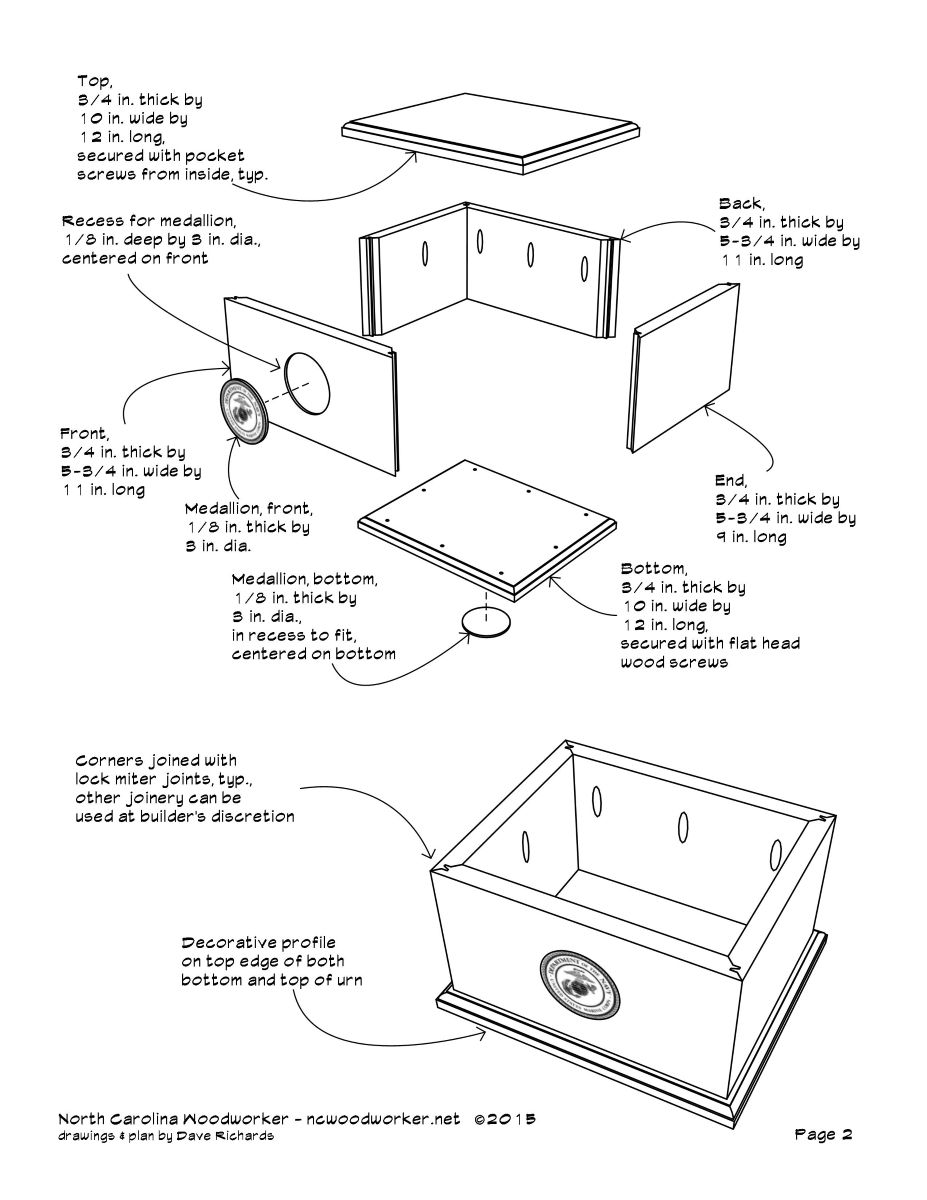
The box is a simple affair and not what most would call fine woodworking but it. The corners are mitered. Most of the group are doing lock miters because they are easy to assemble once the joints are properly cut. The top of the box is attached from the inside with pocket screws, while the bottom of the box is added last and is secured with flat head screws. One of the members of the group is making wooden medallions for these boxes and printing them with his laser. The medallion on the front is the seal for the vet’s branch of the armed services and the one on the bottom shows that the urn was donated by the group. Since these urns are being buried, they are generally being made out of softwoods and softer hardwoods such as yellow poplar.
The SketchUp model was a simple enough thing to draw. I downloaded a pocket hole component from the 3D Warehouse to show in the model. The author of the component made it very quick and easy to place which saved some time. The top and bottom started out as instance of the same component. I did make the bottom unique when it came time to draw the recess for the bottom medallion. Yes. It’s there even though it doesn’t show in any of the views presented.
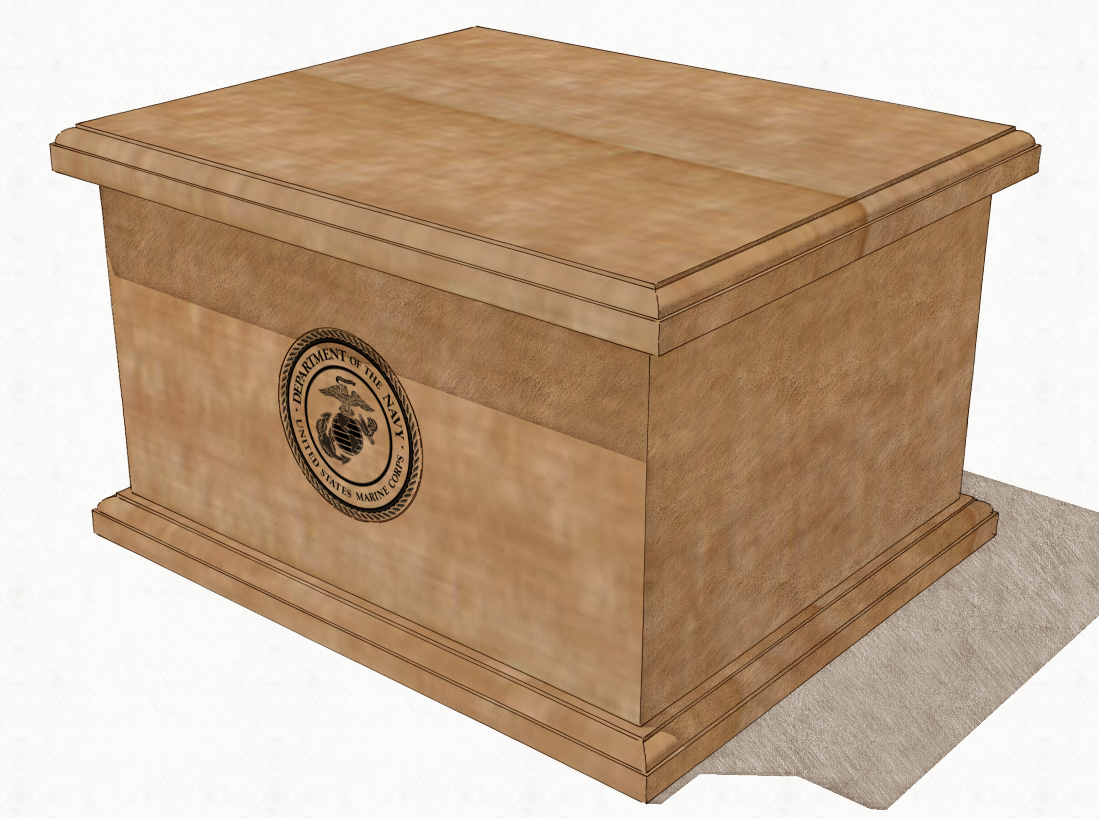
For the seal, I hunted up an image I could use as a material. The USMC seal was the first one to turn up so I used it. I did end up doing a bit of editing on the image including reversing it and making the white areas transparent before saving it as a PNG file and importing it into SketchUp. The version shown here with the wood grain coloring was made by combining the seal image with the image of the woodgrain. By the way, the woodgrain material image is intentionally low resolution so it is more a representation of the wood.

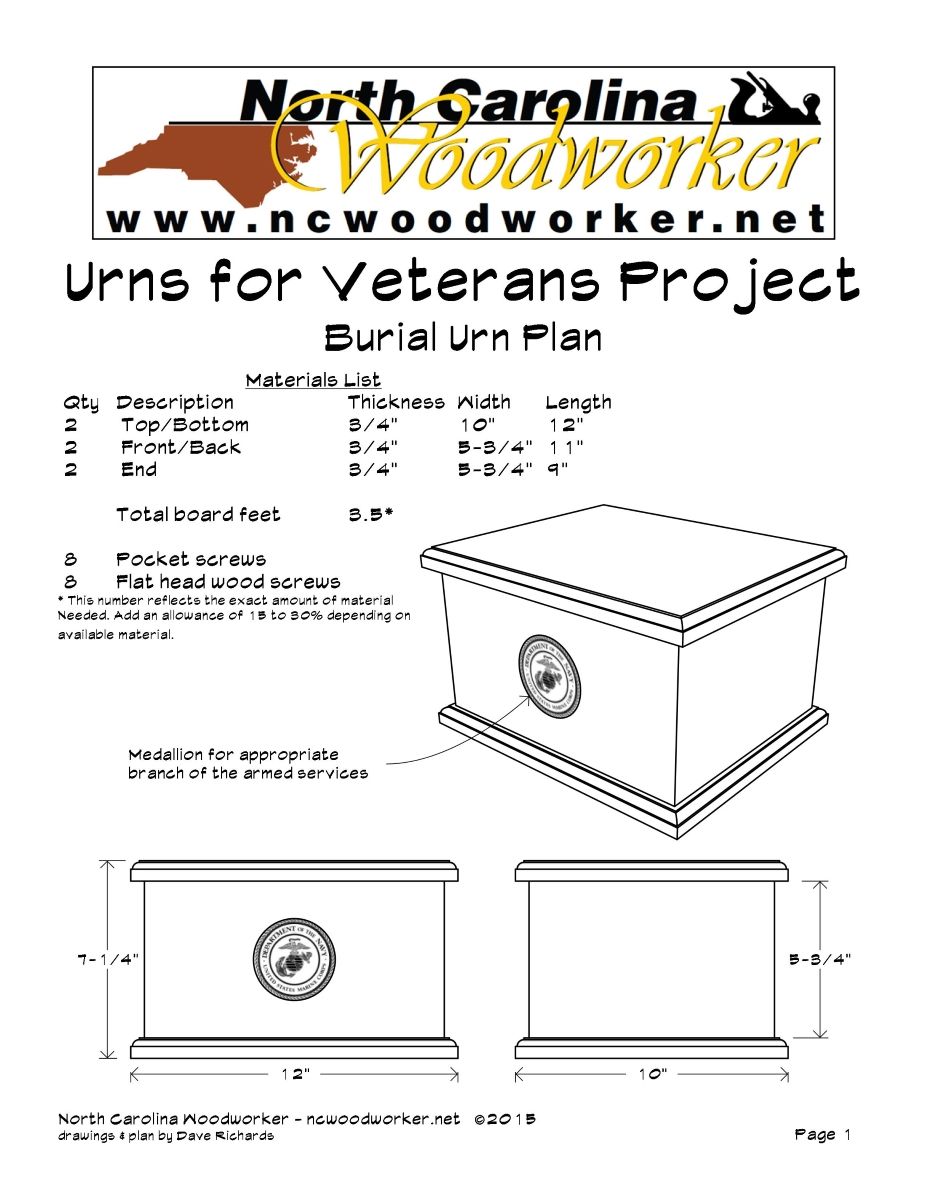
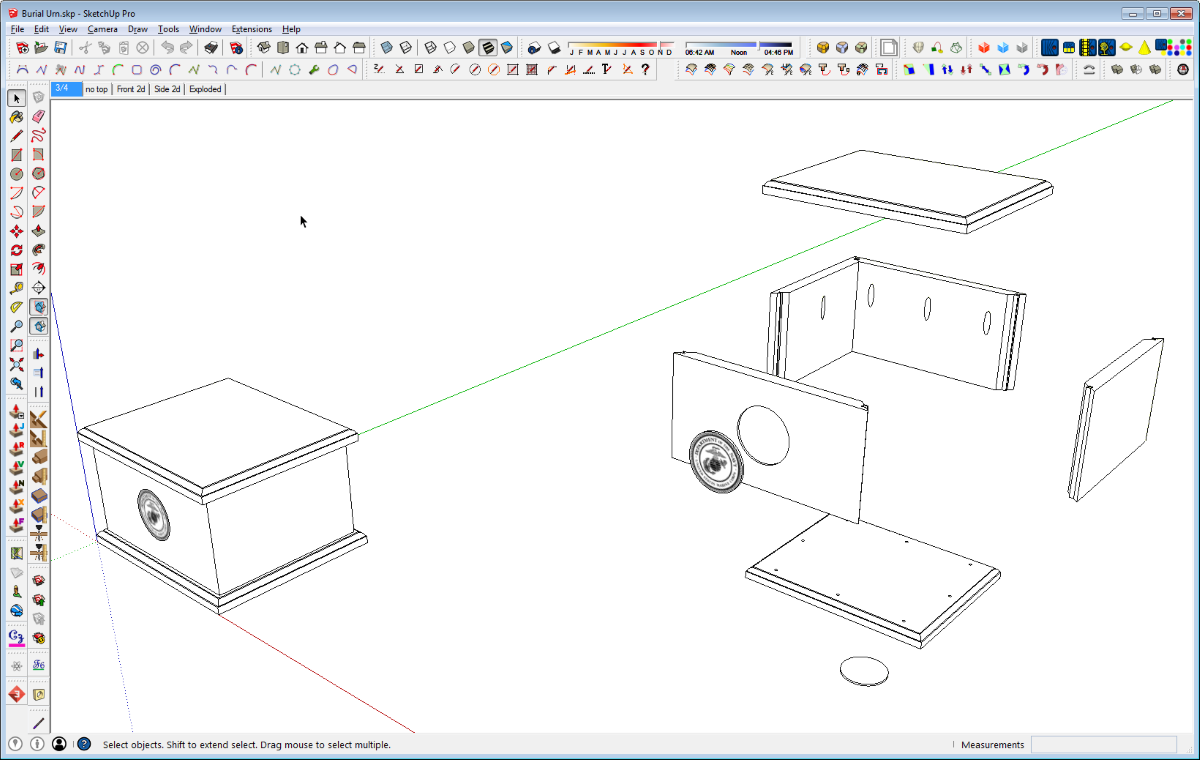
After drawing the model in sketchUp, I create a few scenes for the different views. This is my standard work flow when creating plans. I started with the 3/4 view of the assembled box followed by front and side views with the camera set to Parallel Projection. In SketchUp each of those views is a separate scene. You could copy the box and roate it 90° to get both a front and side view in the same scene but I prefer to make those views separately.
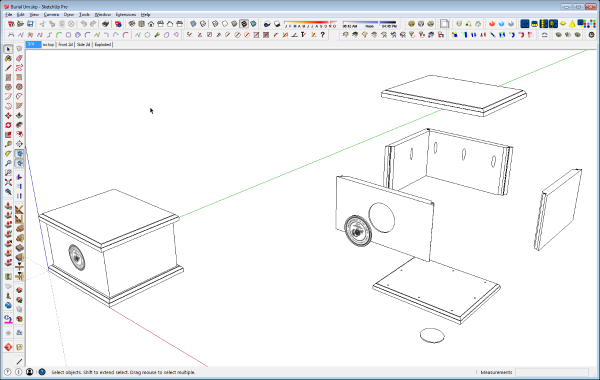
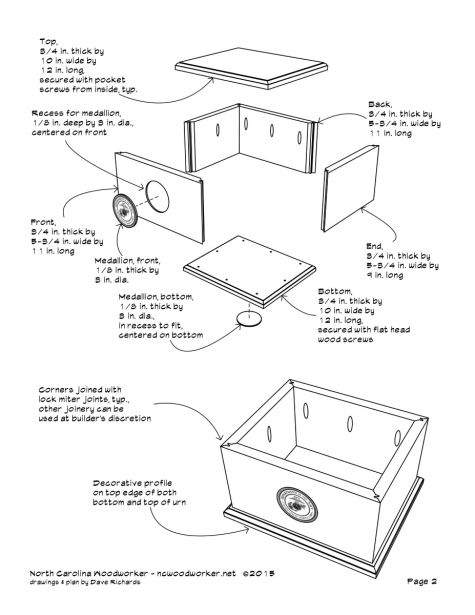
The exploded view is made from a copy of the assembled model which is placed over to the right and behind the original. Then it is a simple matter of using the Move tool to move the parts away from each other. Sometimes it takes a little tweaking to get things where you want them.
Before making the copy for the exploded view, I assigned the components to layers so I could individually control visibility. To make the view of the box without its top, I simply unticked the visibility box for the “Top” layer.
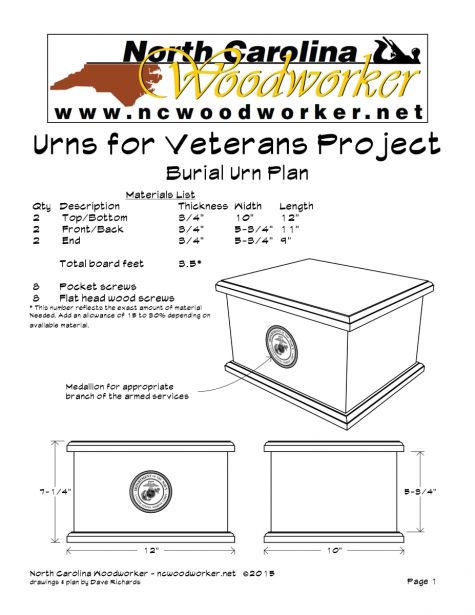
After the scenes were created and the file saved, I used the Cutlist extension to make a material list. I saved a CSV file of the cutlist and then massaged it in MSExcel. The plugin generates more information than I normally want to show in a materials list and it usually doesn’t put the parts in the order I want them so a few moments in a spreadsheet program like MSExcel gives me the opportunity to make the desired changes. then I copy the table to a word processor like MSWord and do a bit of formatting before saving it as RTF.
In LayOut, it’s a simple matter of inserting the model and setting viewports for the various scenes. The materials list also gets inserted into the LayOut file as did the banner for North Carolina Woodworker. The rest of the text including dimensions as well as leader arrows and the dashed lines are all done in LayOut directly.
With the direct connection between the SketchUp model and LayOut, any changes that might need to be made to the model are transmitted automatically to the views in the plan making the whole process of edits painless.
The final step is to export the PDF file and Bob’s yer uncle.
–Dave




Comments
My wife just finished a Quilt of Valor.
I am extremely proud of her work for this project, and was glad to help her by printing the label.
This would be nice for me to make for someone who gave their all for us.
Who should I contact for placement of the urn?
Chip Armstrong
popslakeshop@gmail.com
A couple years ago I made an urn for my dad when he passed away. He had been in the Marine Corps so his urn now rests in Jefferson Barracks National Cemetery. The one that I made was almost identical to this one except that I used a box joint for the corners and I didn't have a seal. I personally made mine out of cherry because it was still going to be on display during the wake and the funeral. And unfortunately the only pictures that I know of have been lost and now it is buried forever. My dad had turned me on to woodworking so it was my last way of showing him my love at the end of his life. Great job on this!
Log in or create an account to post a comment.
Sign up Log in