A box for every occasion
Adding a book-matched veneered top makes this simple box shine.
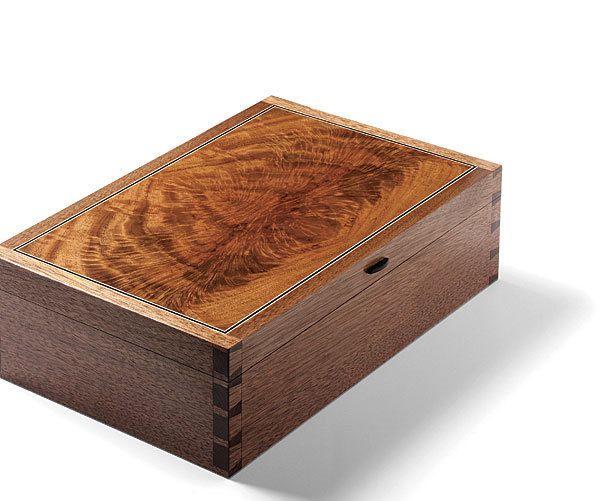
Synopsis: This box project is a great way to learn and perfect new woodworking skills. As you work through the project you’ll cut dovetails at the tablesaw, rout tongue-and-groove joints on the router table, create a book-matched veneer panel, and add banding. The small scale of this project won’t cost you much in the way of materials and you’ll end up with a beautiful keepsake.
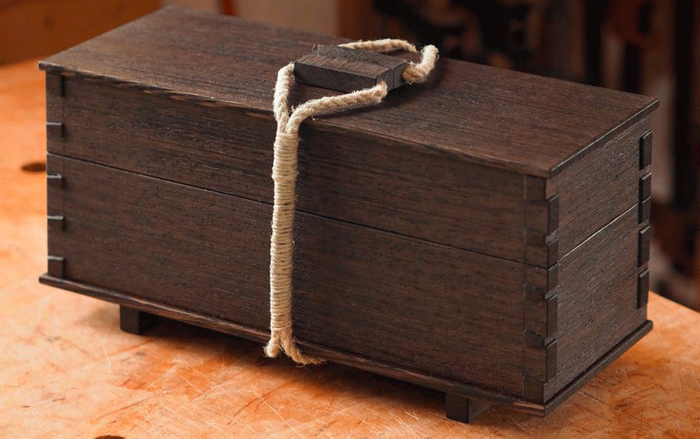
Boxes are a great place to practice and hone new skills. The materials won’t break the bank and you can spend as much or as little time on them as you want. This box project is a great example. With it, you can hone your dovetail skills and learn to cut tongue-and-grooves at the router table. It will also introduce you to working with veneers and bandings, two details that really bring the piece to life.
I chose walnut for the case to complement some spectacular walnut crotch veneer I had. Using that veneer for a simple book-match gave me a dramatic-looking panel for the top. Banding frames the veneer beautifully and a pine liner adds a bright, contrasting interior. I’ll guide you through putting the box together and show you some tips for getting the most out of this small project.
Lay out dovetails around the grooves
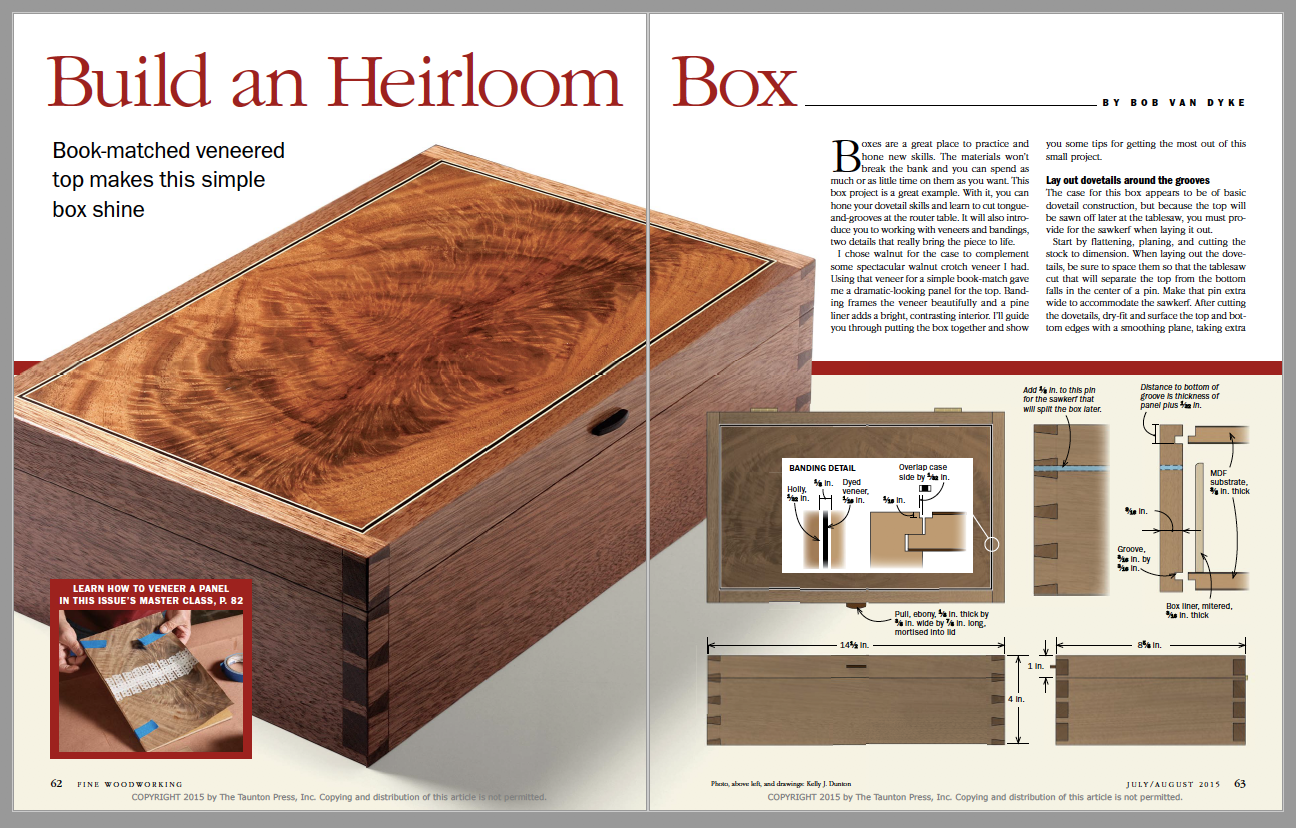
The case for this box appears to be of basic dovetail construction, but because the top will be sawn off later at the tablesaw, you must provide for the sawkerf when laying it out.
Start by flattening, planing, and cutting the stock to dimension. When laying out the dovetails, be sure to space them so that the tablesaw cut that will separate the top from the bottom falls in the center of a pin. Make that pin extra wide to accommodate the sawkerf. After cutting the dovetails, dry-fit and surface the top and bottom edges with a smoothing plane, taking extra care to keep them parallel. This is key, to ensure the grooves that come later are not misaligned.

Rout the rabbets and grooves
The veneered top and bottom panels are rabbeted to fit grooves cut into the inside face of each side. Because the distance from the groove to the top edge depends on the thickness of the panel, the panel has to be made first.
To locate the groove, measure the thickness of the panel and add 1⁄32 in. That extra 1⁄32 in. will leave the solid-wood sides proud of the top, which makes it easier to level the two surfaces later. If the panel were flush with or proud of the edges, trying to level the two could destroy the thin veneer. The grooves must be stopped or they will show. To make these plunging stopped cuts safely, I use the router table with a fence and stop blocks. Square up the ends with a chisel.
With the grooves cut, dry-fit the case again and measure the inside dimensions to get the length and width of the two panels. Add 3⁄16 in. to each dimension to allow for the tongue that will fit in the groove.
 From Fine Woodworking #248
For the full article, download the PDF below:
Fine Woodworking Recommended Products
Bahco 6-Inch Card Scraper
Whiteside 9500 Solid Brass Router Inlay Router Bit Set

Suizan Japanese Pull Saw


Log in or create an account to post a comment.
Sign up Log in