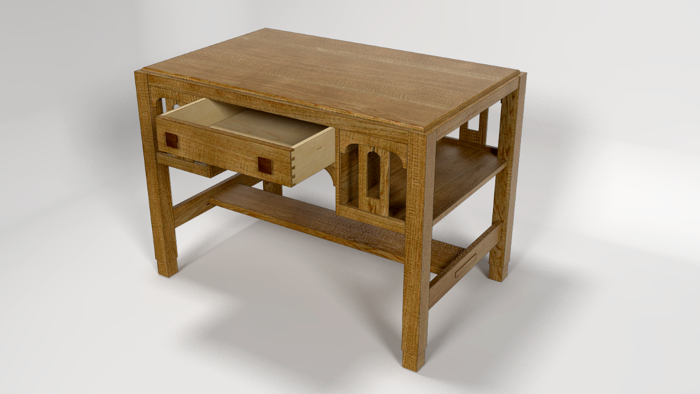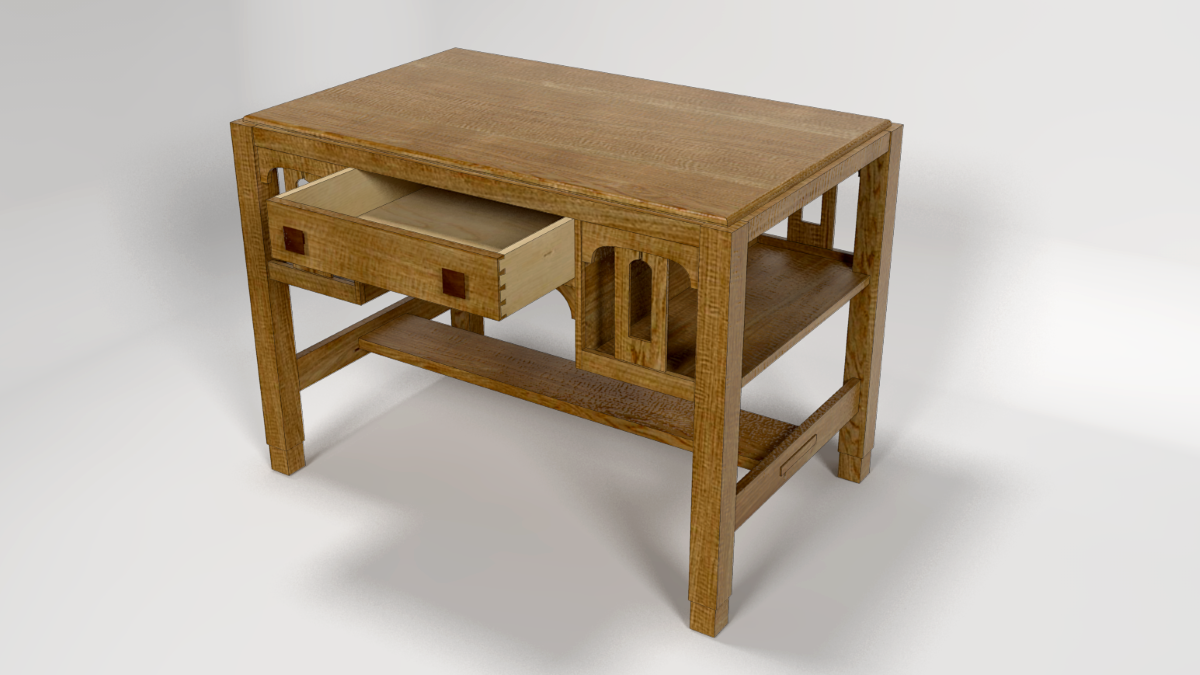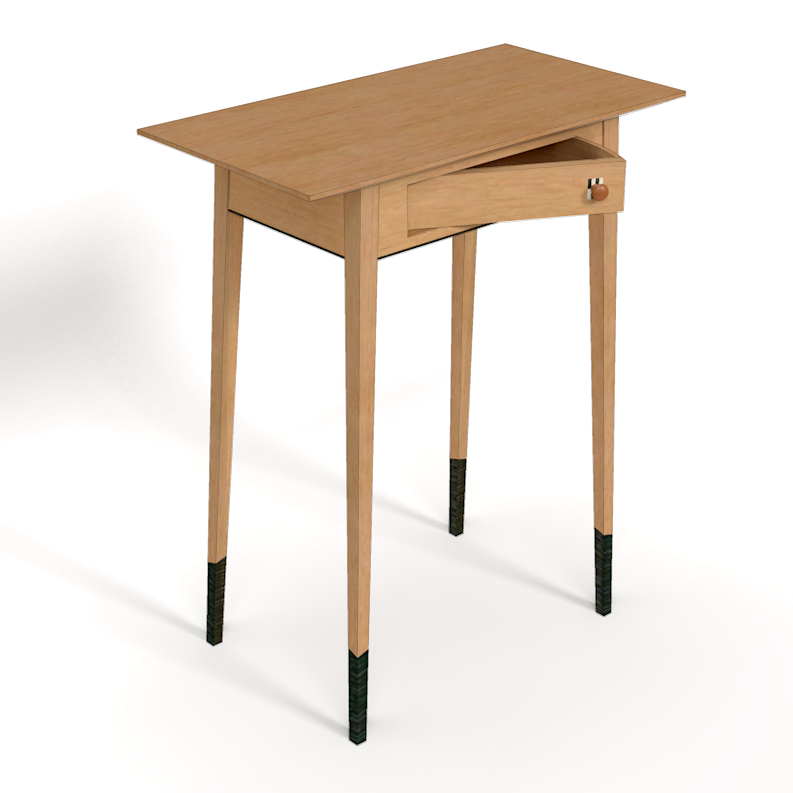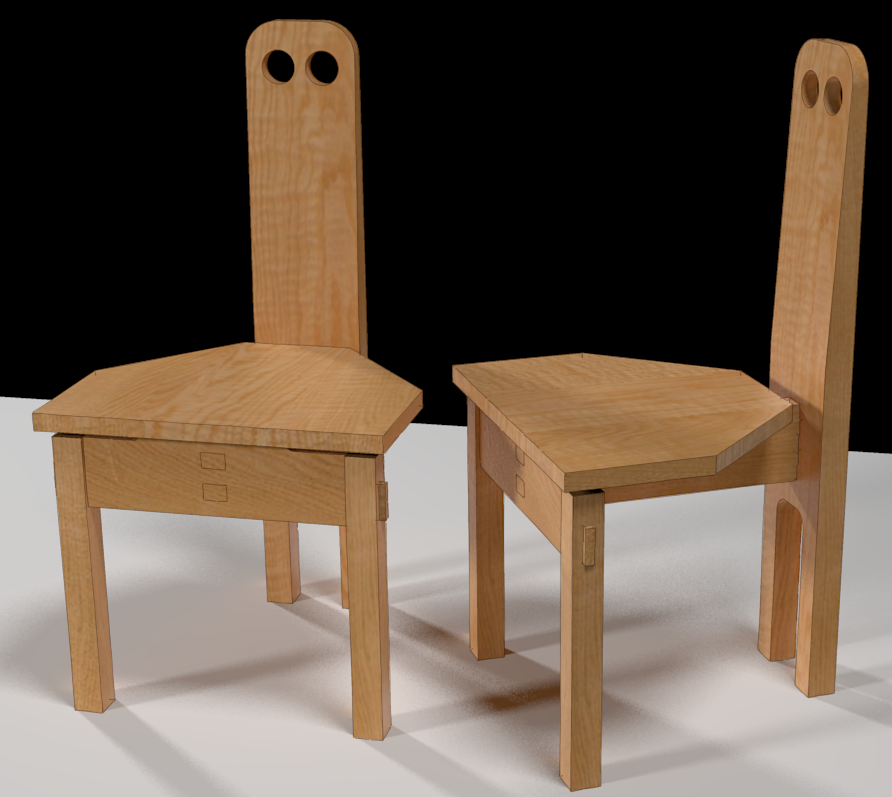
I’m frequently asked how I get the wood grain materials I use in my SketchUp models. I describe the process I use here in Design. Click. Build. some years back and it’s probably time to do it again. Here’s a video showing how I create the textures and then how I use them.
SketchUp comes with a few wood grain materials right out of the box and you can download others from the 3D Warehouse as well as from a few other sources. Typically these materials represent a small square of wood, perhaps 6 or 12 inches on a side. The material image is of finite size so if it is applied to a larger surface, it must be repeated. In the case of materials for tiles, fabrics, carpet and so on, this repetition is typical in the real materials so it works fine. Wood, on the other, doesn’t normally show the same grain details down the entire length of the board. If the wood grain irs very straight and plain, repeating the pattern isn’t really noticeable. But if there’s any character in the grain, the repetition will stick out quite plainly.
Instead of using the small square swatches of wood grain, I prefer to use images of whole boards. These boards are generally longer than the pieces in the model so I don’t wind up with repetition along the length of the piece.
There will be repetition across the width if the piece is wider than the texture image as in the top on thi desk. I get around that be dividing the face with lines representing the seams between boards that would be edge glued. Then I adjust the material to use different sections for each board. This is much the same process you would use if you were gluing up real boards.
In the video I show opening the textures in an image editor. In order for this to work, you need to set the editor as the default external editor in SketchUp. Go to Preferences>Applications and choose the exe file for the editor. On the Mac you would choose the application the same way.
–Dave


Comments
Thanks, Dave. Great advice, I have always wanted to have more materials available than the ones that come by default. One question: How do you achieve that photo look of the table in this post? Do you save it as an image? A rendering? Thanks!
@Manuelchaos, I run the model through a rendering application to create the slightly photo-realistic look. I use a freeware application called Kerkythea but there are many to choose from.
-Dave
Thanks, Dave for the video. A couple of followup questions. Where do you go to get the pictures of the wood you use in your drawings. Do you take these pictures yourself or download them from the web. Second question regards the program you use to modify the color or the board. You used paint.net but that's available only for Windows. Do you have a recommendation for Max OS?
Jim,
Sometimes I find textures but usually I make the photos myself. The trick is to set up the camera square to the board and make sure it is evenly lit.
Even if you can't photograph whole boards, shoot as large an area as you can.
As for image editors for Mac, you could use GIMP. A quick Google search will turn up other options as well. I haven't used those other options so can't comment on them.
-Dave
Log in or create an account to post a comment.
Sign up Log in