A Kit of Parts?
In the last few weeks I’ve had emails from three or four new users asking essentially the same question: “What is the easiest way to create the parts for a project and then assemble them to look like the finished piece?”
I receive quite a few emails every week from SketchUp users looking for some assistance. In the last few weeks I’ve had emails from three or four new users asking essentially the same question: “What is the easiest way to create the parts for a project and then assemble them to look like the finished piece?” One fellow said he had been following a tutorial in which the author made a separate SketchUp file for each part and then imported all those files into a new SketchUp file where he moved the pieces together to build the project.
Although it can be done that way, I think it creates a lot of work and potential for error. Besides, you need to know dimensions up front that you could have the program tell you.

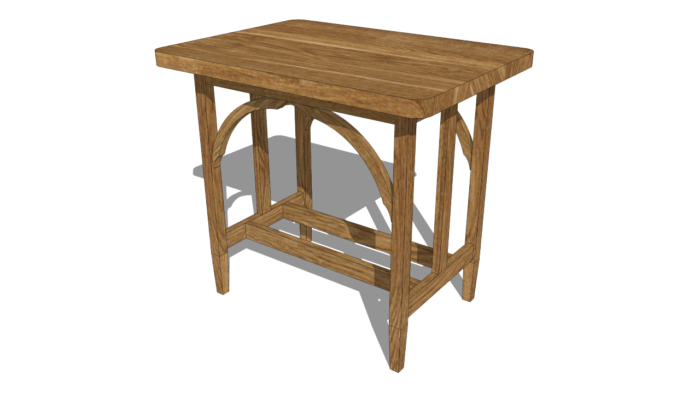
In this video I’ll demonstrate my basic work flow using a small table. Once I’ve set out some parts, in this case the legs, the intervening parts are drawn to fit. If the legs are correctly placed then the parts in between only need to be drawn to fit. When you’re drawing, you don’t need to know how long those aprons, rails, and stretchers are.
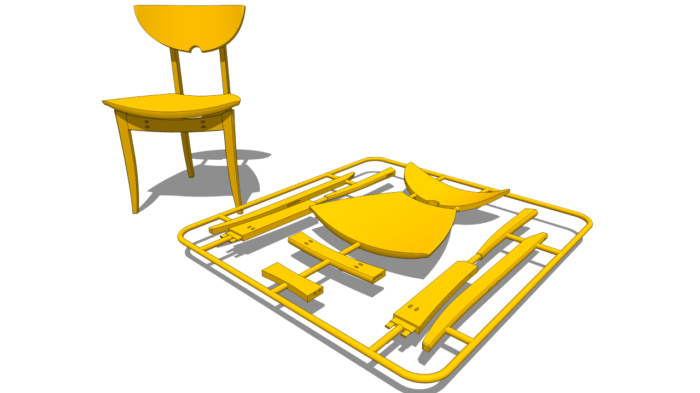
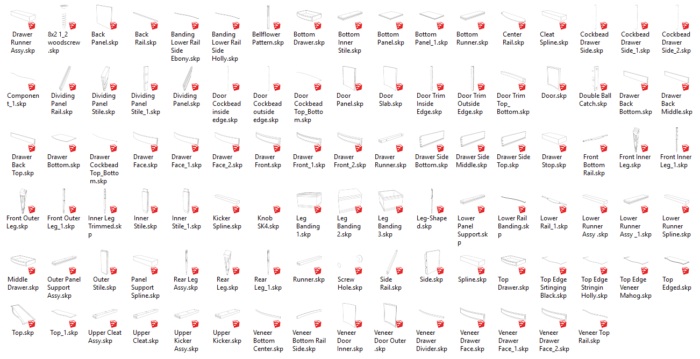
If you still want a “kit” of parts, you can make it in seconds from the model of the whole thing if you are using components throughout. I generally don’t find that useful for my only modeling but it can be done. If it’s a complex model you can end up with a large number of SketchUp files to deal with. Here’s the kit for Steve Latta’s Serpentine Sideboard from a few years ago.

By the way, I used the Trim and Keep plugin to cut the mortises in this project. It relies on the Solid Tools from SketchUp Pro but you can easily cut the mortises using Intersect Faces if the parts are already in place. If you were to draw each part in a separate file, you’d need to do all the layout to cut the mortises. It would be almost like laying them out and cutting them in the shop.


Comments
Another great tutorial Dave. Really drives home how important it is to draw the model insitu. The Leg dimensions and their location off the tape drove almost everything else. Your use of mirrored copies of components, using flip around, also sped the process.
Great idea for a new way to flat pack furniture with parts held together like the old plastic toys in Cracker Jack boxes. Hilarious.
I just performed drawing the entire model of the the table in the video. A great exercise for working with SketchUp.
Some notes:
1) When the stretchers are used to cut the mortises into the Apron component at time 13:44, it also cuts mortises into the two upper instances of the Apron component. Those mortises should not appear in the upper Aprons since they have no stretchers. Best to create separate Upper Apron and Lower Apron components so only the Lower Aprons get mortises for the two stretchers.
2) The tenon length of 3/4" on the Front Apron component will cause interference with the tenon of the upper Apron component. To remove the interference, decrease the tenon length of the upper Aprons to 3/8".
3) The "Trim and Keep" plugin has a side effect that causes extra components to appear in the components window for each of the "keeper" selections. At time 14:15 look for these extra instances: leg#1, leg#2, Apron#1, Apron#2, Apron#3. Fortunately, these do not appear in the model or outliner and can be removed from the component window by selecting purge unused.
Thank you, Mortimer Tenon.
In response to your comments:
1. Before cutting the mortises with the long stretchers at 13:44, make the lower rails unique to break their relationship with the aprons. Leave them related as long as possible, though.
2. Although I didn't show it in the video, the tenons were mitered. This is a common way to get the longest tenons possible.
3. Yes, Trim and Keep does leave the unmodified component definitions in the In Model collection. I find that useful for example when I want to show an un-mortised version of the rail in the plan document. Purge Unused gets rid of them quickly enough, though. I have a keyboard shortcut for that.
Log in or create an account to post a comment.
Sign up Log in