How to Make Custom Moldings
With just a few planes, you can create beautiful profiles not found in the router-bit rack.

Synopsis: Beautiful moldings add a lot to a piece of furniture, and you don’t have to be limited by the profiles of your router bits to make them. Garrett Hack advises that you try making them with hand tools, and gives step-by-step instructions on how to make a classic ellipse, a cove and bead molding, and an ogee and a half-round.
Applied moldings have a long history in furniture making, and for good reason. A molding can be the aesthetic crown that tops a piece of furniture. Moldings create a play between light and shadow, adding visual interest. They also can serve as a visual grounding, or provide a sense of termination.
Head over to your local home center and you’ll find a big selection of moldings, but those are all sized for architectural work. To get moldings proportioned for furniture, you need to make them. Perhaps the most common approach is to rout them, but then you’re stuck using the profiles and proportions of the bits.
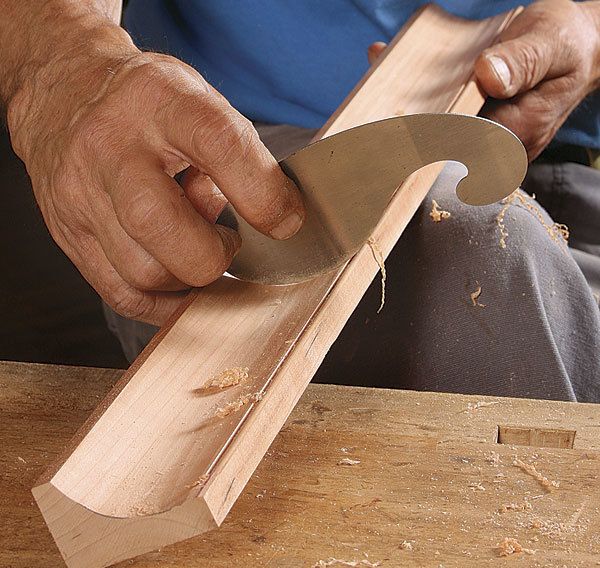
A better solution is to forgo the router altogether and create moldings with hand tools. It’s not as hard as you might think. With a few planes, you can easily create graceful and beautiful custom profiles for your furniture that would be difficult or impossible with router bits. And there is no size limit, which allows you to dial in the proportions to complement the piece of furniture perfectly. For a piece of furniture, you probably won’t need more than several feet of molding. I’ve been making moldings this way for most of my career. Here, I’ll show you how I do it.
The majority (if not all) of the moldings you’ll make will require you to remove a fair amount of waste material before you get to the task of shaping the profile. You could do that by hand, with a shoulder or rabbet plane, but I don’t recommend it. Instead, use your tablesaw. This will let you get to the important job—creating the graceful lines of the molding—much faster.
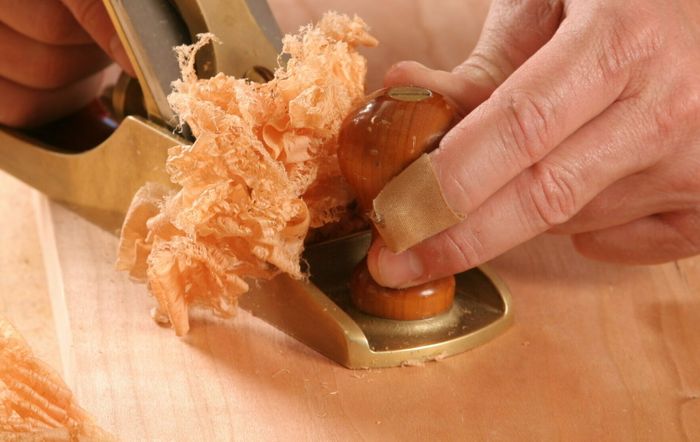
Begin with a blank wider than the molding (you’ll cut the molding free after it’s made). After the tablesaw has eaten the waste, it’s time for the handplanes to turn the roughed-out shape into a beautiful molding. The easiest profiles to handle are fillets and convex curves. Fillets are really just rabbets, and you can clean them up with a rabbet or shoulder plane. The right tool for convex curves is a block plane. (I rarely use hollow planes. They’re troublesome to sharpen and set up.) Use a coarse setting to quickly remove material and get close to the final profile, and then switch to a fine cut, which leaves a smaller facet, making it easier to get a smooth curve from a tool that cuts flat surfaces.
For the full article, download the PDF below.
Fine Woodworking Recommended Products

Stanley Powerlock 16-ft. tape measure

Ridgid EB4424 Oscillating Spindle/Belt Sander

Dubuque Clamp Works Bar Clamps - 4 pack


Log in or create an account to post a comment.
Sign up Log in