Spalt Your Own Lumber
Learn how wood and fungi interact to create your own beautiful boards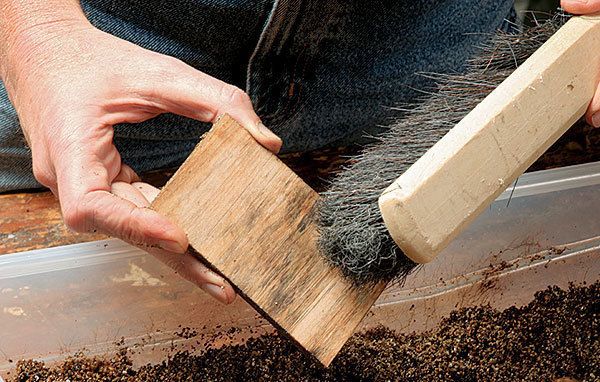
Any product associated with rot and decay is likely to have an image problem. Spalted wood is no exception: You’re more likely to find it in your firewood pile than in your local lumberyard.
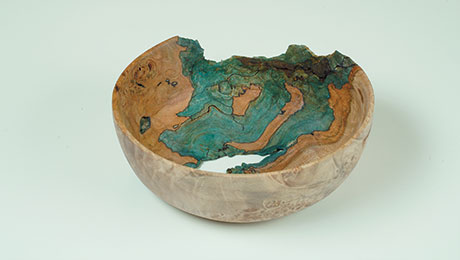
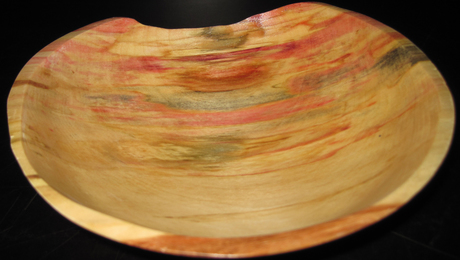
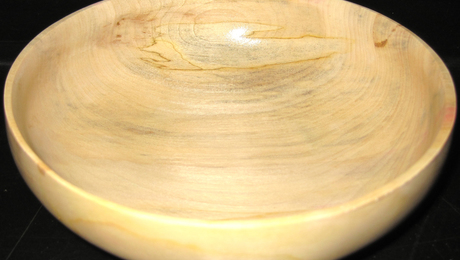
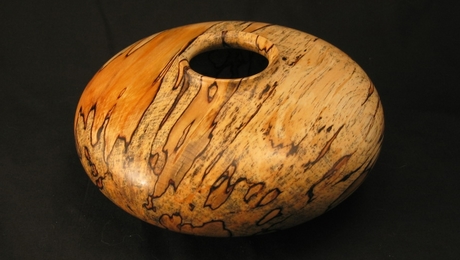
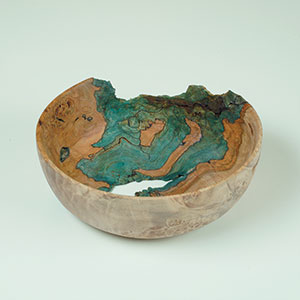
However, a growing number of woodworkers are looking past the decay and discovering the beauties of spalted wood (see health note below). These include colors not normally found in wood, contrasting light and dark colors adjacent to each other, and most notably, brown and black lines running through the wood. Unique to spalted wood, these lines can range from one or two running down a board to something resembling contour lines drawn by a drunken mapmaker.
Best of all, like fingerprints, each board of spalted wood is unique. It is this diversity that has drawn me to study spalting academically and to use it as a wood turner. I’ll talk about how you can try to re-create this process under controlled conditions at home.
DIY spalting
Spalting wood is a lot like growing plants. With the right amounts of food, water, and heat, you should end up with good results, but success is by no means guaranteed. Rather like home cooking, every result is likely to be slightly different.
First, pick your wood. Maple, birch, and beech are ideal, as their pale colors act as a blank canvas. Due to its hardness, maple is especially good because areas that receive too much spalting won’t turn as soft as, say, a piece of aspen.
|
|
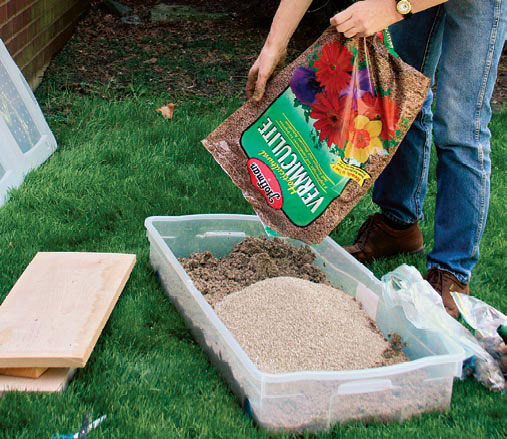
| Spalt wood in a bag or plastic bin. To help maintain an even dampness around the boards, pour in and then wet some vermiculite. |
Air-dried wood comes already laden with dormant spores of different fungi, so there is no need to introduce more spores. Kiln-dried wood is more hit-and-miss because steam sterilizing will kill all the spores, but regular kiln-drying may kill only some of them. In either case, to be on the safe side, you’ll need to obtain fungal spores, either by collecting them out in the woods or checking your firewood pile for spalted wood. If the piece is too small to make anything out of, you can cut the wood and use the sawdust or shavings for your spalting experiments.
Bag it or bin it The ideal conditions for spalting are darkness with around 80% humidity and 80ºF temperature. To achieve these conditions, you can place the wood in either a plastic bag (but don’t seal it, because the fungi require oxygen) or a plastic storage bin. These bins are not airtight and they come in a variety of sizes.
If you use a plastic container, it’s advisable to pack some sort of filler around the wood to help prevent moisture loss. Vermiculite, a dry, flaky soil additive available at garden-supply centers, is a relatively clean material.
|
|
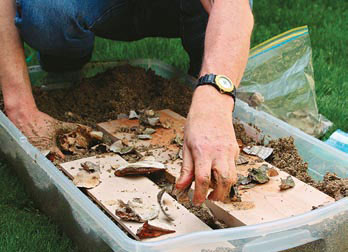
| Lay dampened boards in the container and place pieces of fungi in contact with them. Then cover the boards with more damp vermiculite and put a loose lid on the container. |
Finally, break the fungi into small pieces and place them on the wood. The board does not need to be covered completely; however, the more places you stick some spores, especially on the end grain, the quicker the piece will spalt. Place the bin somewhere warm and dark, and wait.
The amount of time it takes for a piece of wood to start spalting will vary by species, fungi, temperature, and the size of the piece. Because moving the wood slows the spalting, it is best to place a few small sample pieces of wood in the container at the start of the experiment.
|
|
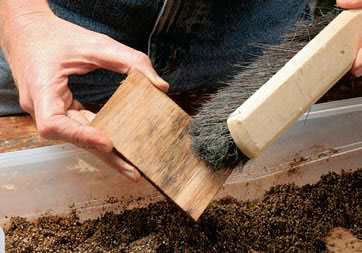
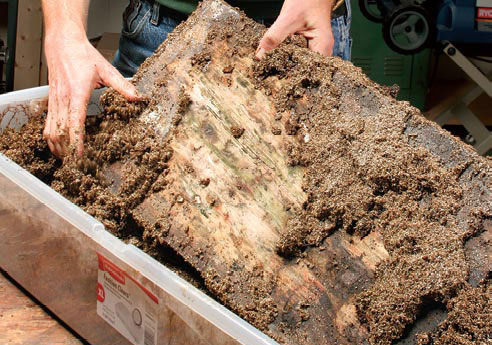
| After six weeks, remove a sample block, clean off the vermiculite, and inspect the amount of spalting . Check every two weeks until there is enough. |
Starting at six weeks, remove a block every two weeks to check it for softness and color. If you like what you have, remove the board from the bin or bag. If not, wait another two weeks and check again.
|
|
| After removing the spalted board from the vermiculite, allow it to air-dry. When ready to work, lightly plane or sand the surface and apply a clear finish to display the spalting. |
Once you remove the spalted wood from its container, make sure to air-dry it before use (unless you will be turning it that day). The fungi will continue to colonize the wood until the moisture content drops below 20%.
A note on spalted wood and your health: There is a misconception among many woodworkers that working with spalted wood is particularly dangerous. Most fungal spores are about as harmful to a healthy adult as wood dust, so if you sand spalted wood, wear a mask. However, people with immune system disorders should not work with spalted wood (or wood dust in general).
Photos: Mark Schofield
For more on working with wood with striking figure, see
- Figure in Wood
- The Right Way to Use Contrast
- Turning Rotted Wood
- Working Highly Figured Wood
- Prepare Spalted Wood for Furniture Use
Fine Woodworking Recommended Products
Ridgid R4331 Planer

DeWalt 735X Planer

AnchorSeal Log and Lumber End-Grain Sealer








Comments
I tried Sara’s method with both kiln dried boards and green bowl blanks and it works great. Beautiful spalting. I learned the hard way the first time I tried to make sure the green blanks dry slowly when the come out of the spalt box. The moisture content is still high from the process, but it dries really fast when it comes out. Got major cracks with the drastic change in conditions. Second time around I put the spalted green blanks in a bag of shavings as I would any other green blank in my shop. Dried quickly and was much more stable.
Sara’s website has a ton of info on spalting and fungus and is worth a read.
Where is the pdf link for this article??????
Log in or create an account to post a comment.
Sign up Log in