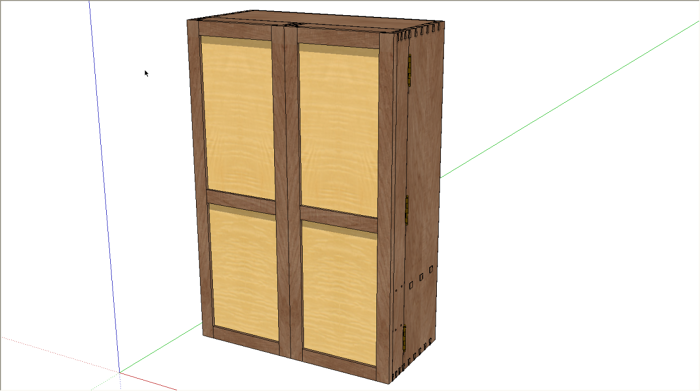
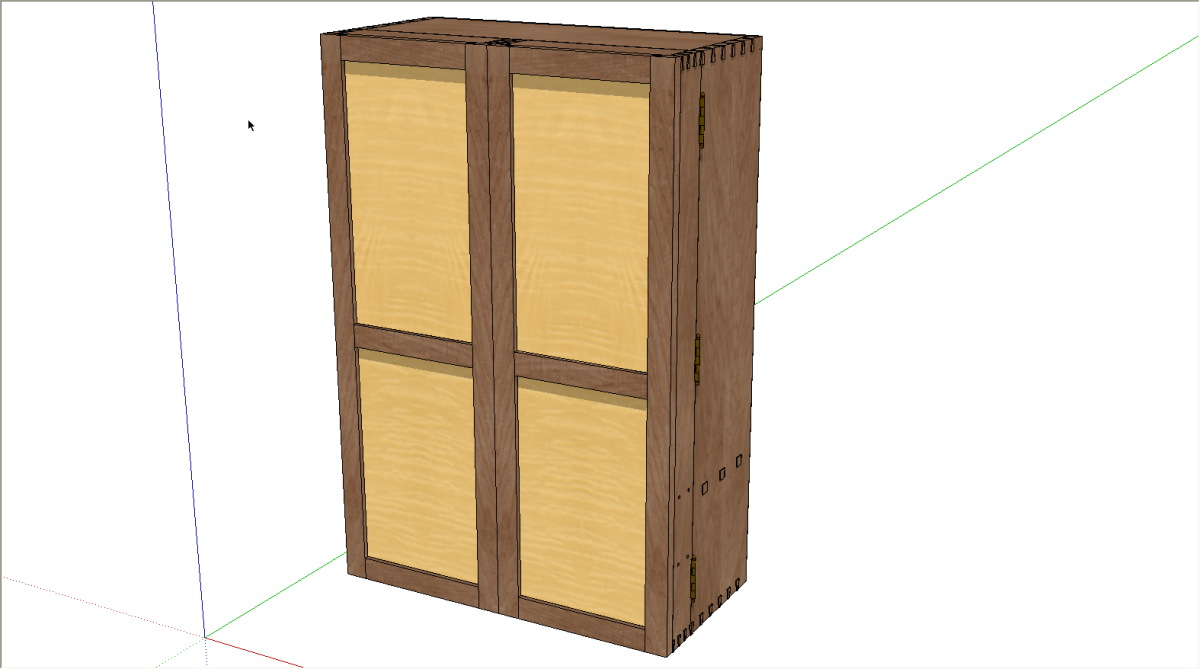
A couple of days ago I got an e-mail from a fellow who had drawn a SketchUp model for a project. He wanted to show his client some different wood options and asked how to do that. Here’s a way to do it. For this example I’m using the Hanging Tool Cabinet by Michael Pekovich. This SketchUp model along with the plans are available from the Taunton Store.
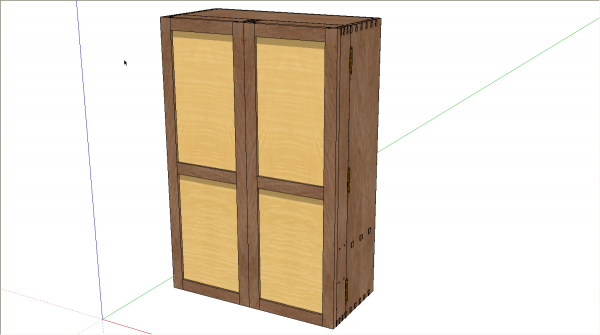
To start with I’ve painted the the model with curly maple and stained ash materials I have made. It is important to open the components for editing before you apply the materials. This gives you the control you need to be able to orient the grain direction correctly and to position the materials on the faces. This also means you paint all instances of the component at the same time. If you don’t open the components for editing before applying the materials, you have no control over their orientation or position.
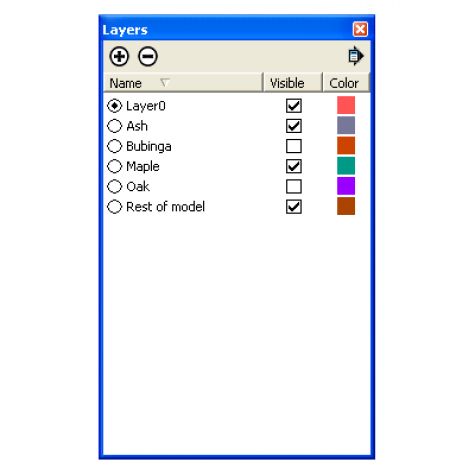
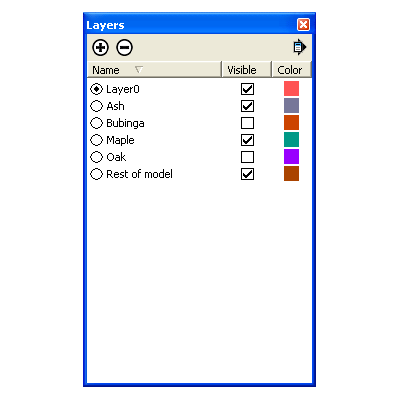
I created some layers for the model. In this case the layers are simply based on the materials. I put the parts of the model that don’t show and which I didn’t bother to paint on a layer of their own. You could do the same or if you choose to paint everything, you won’t need that layer. Remember with layers it is only the components which get layer associations. All of the geometry will remain on Layer 0 and Layer 0 remains the active layer at all time.
At this point the panels are on a layer called ‘Maple’ and the case parts are on a layer called ‘Ash.” Next comes the slightly tricky part. You’ll need to keep all your ducks in a row but it isn’t really all that hard.
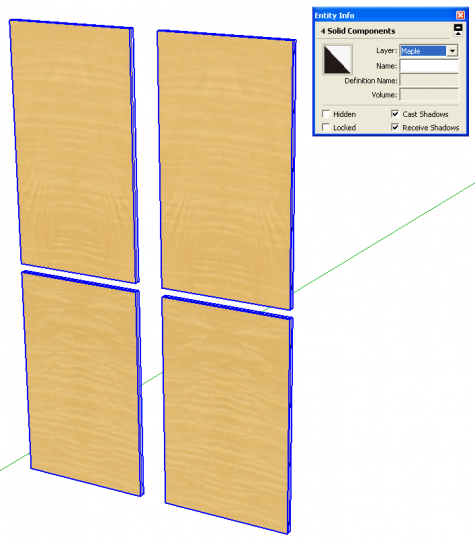
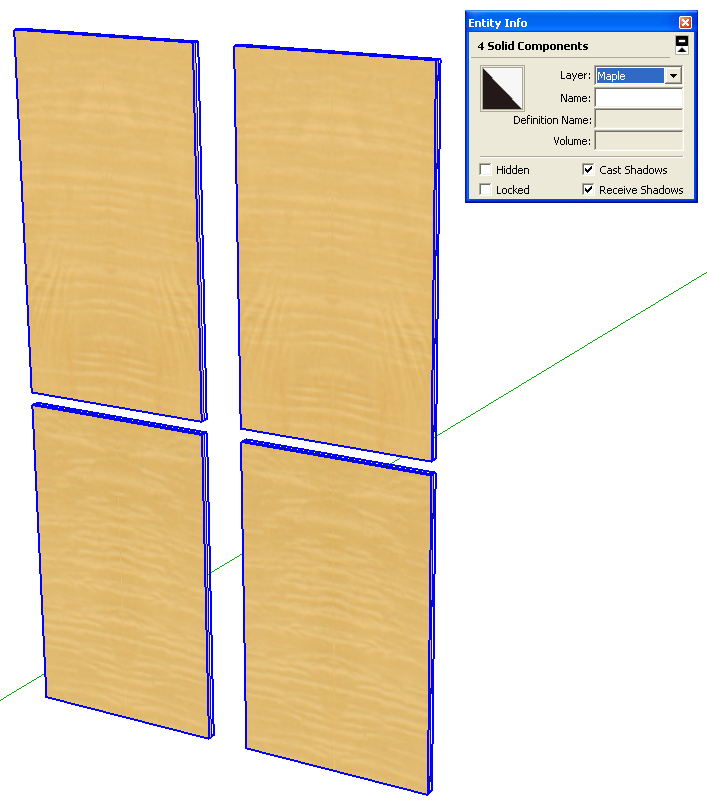
I turned off all layers but the Maple layer. Then I selected the panels.
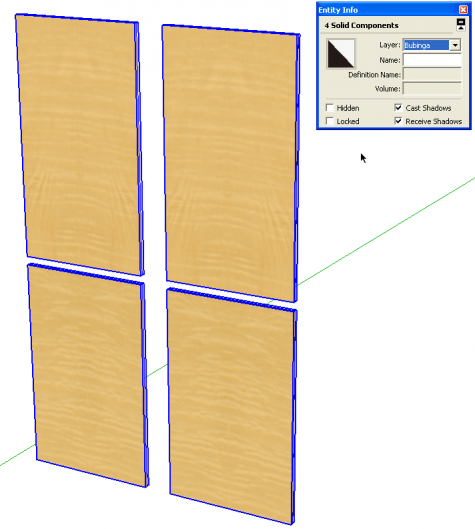
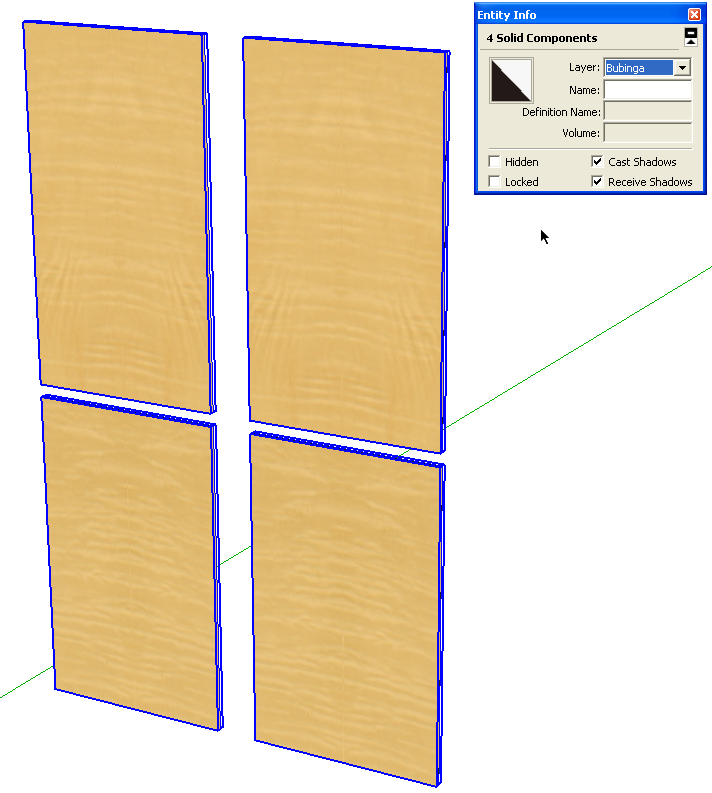
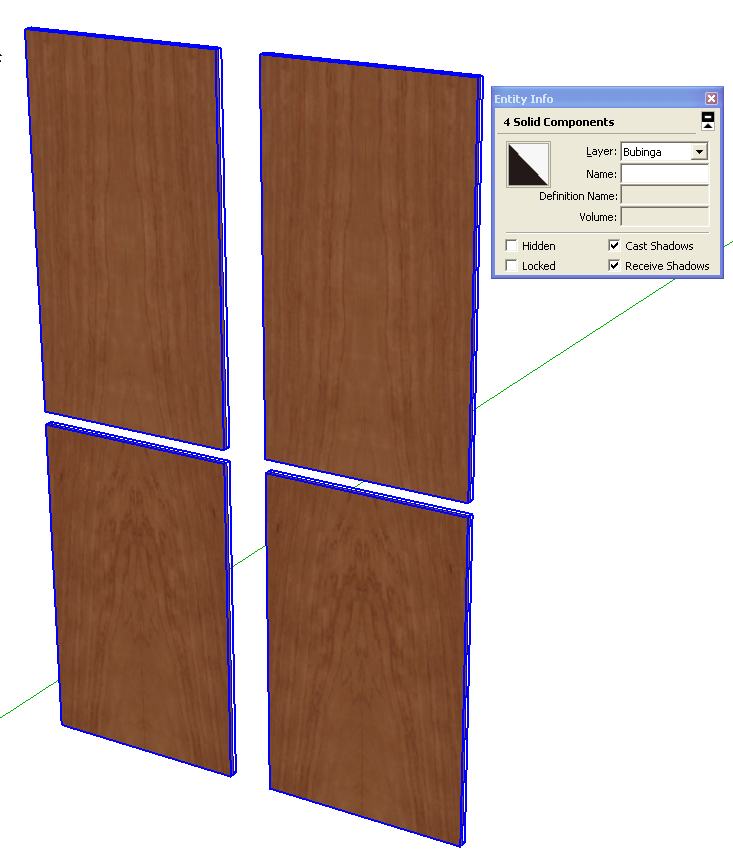
In the Entitiy Info box I temporarily changed the layer association to Bubinga. Then I hit Ctrl+C (Cmd-C on Mac) or Edit>Copy or th Copy toolbar button. This put a copy of the panels with the Bubinga layer association on the clipboard.
Then I changed the layer association back to ‘Maple.’ I turned that layer off and turn on the Bubinga layer.
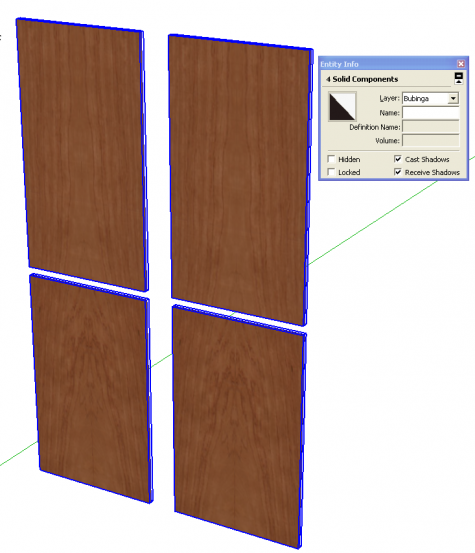
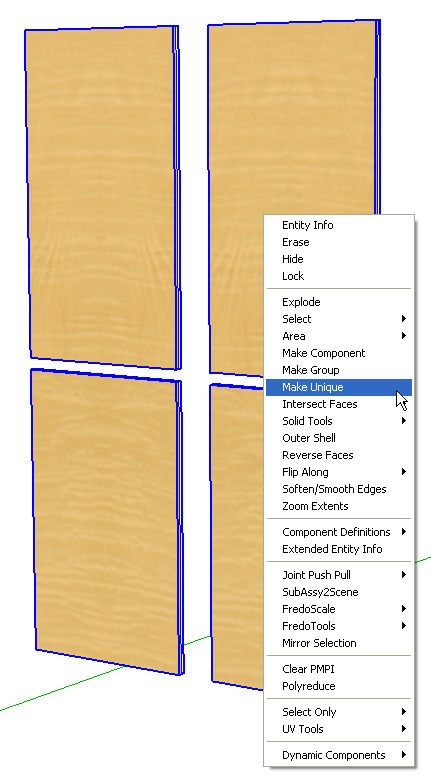
Then I used Edit>Paste in Place to paste a copy of the panels in the exact location of the originals. They will still have the maple material applied. While they are selected, I right clicked on one of them and chose Make Unique to break their relationship with the first set. Different layer associations have nothing to do with preventing changes to a component from translating throughout the rest of the instances. The only way to prevent changes from being made is to use Make Unique.
So after the Make Unique step, I repainted the panels with my Bubinga material. I think I need to find a different stain for that wood.
At this stage I now have the case in ash and two different versions of the panels. By choosing which layers are visible we can easily switch between the two panel options.
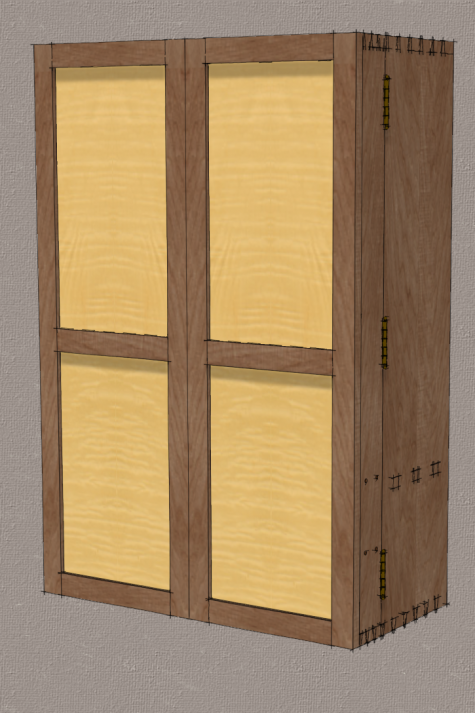
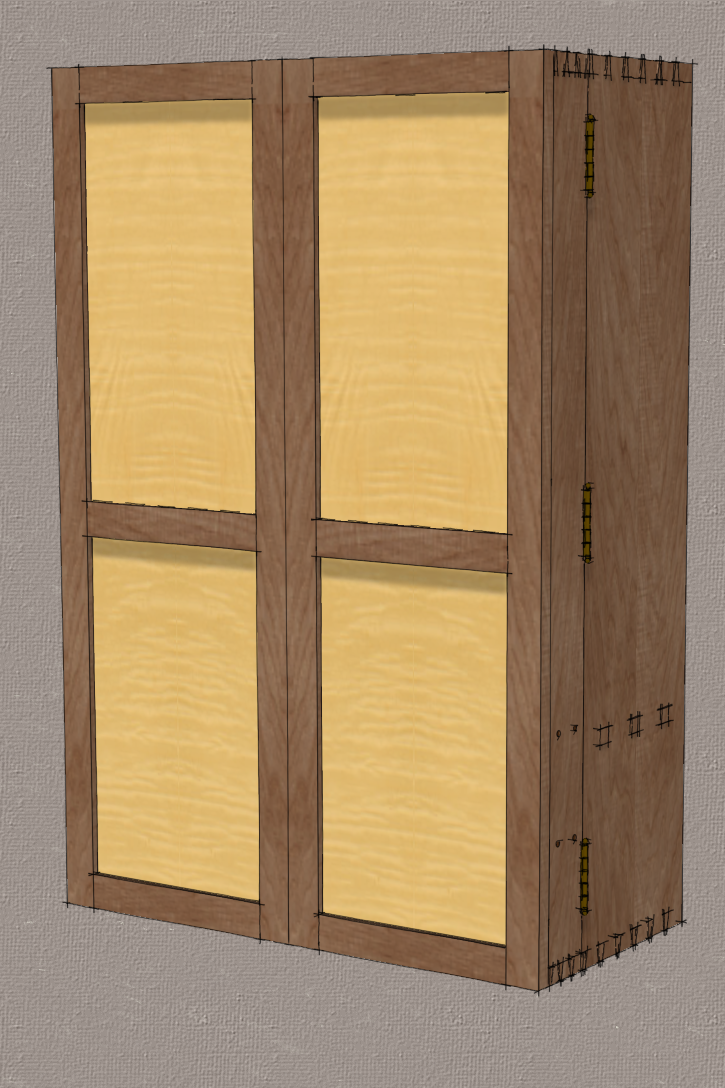
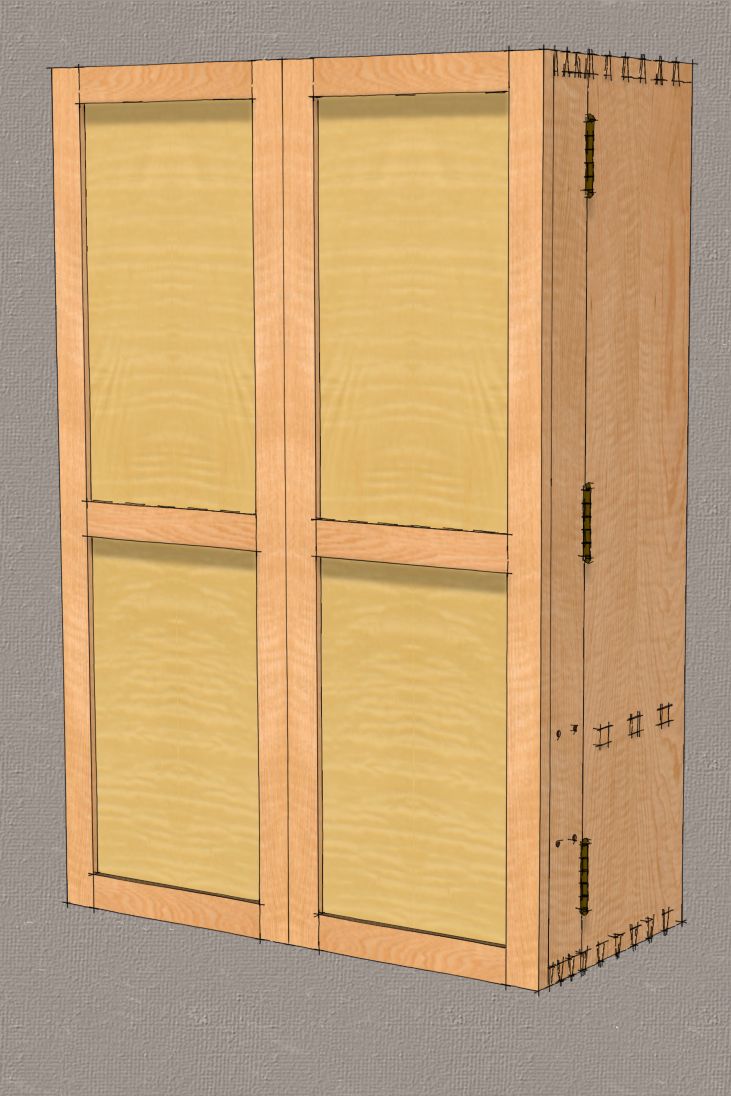
Here’s the ash case with maple panels.
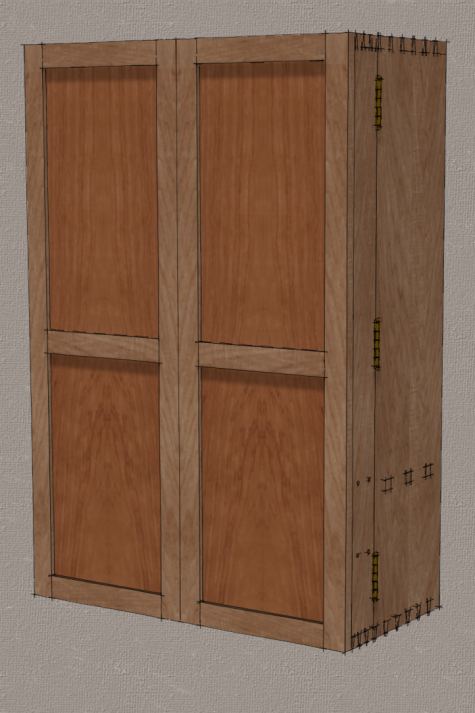
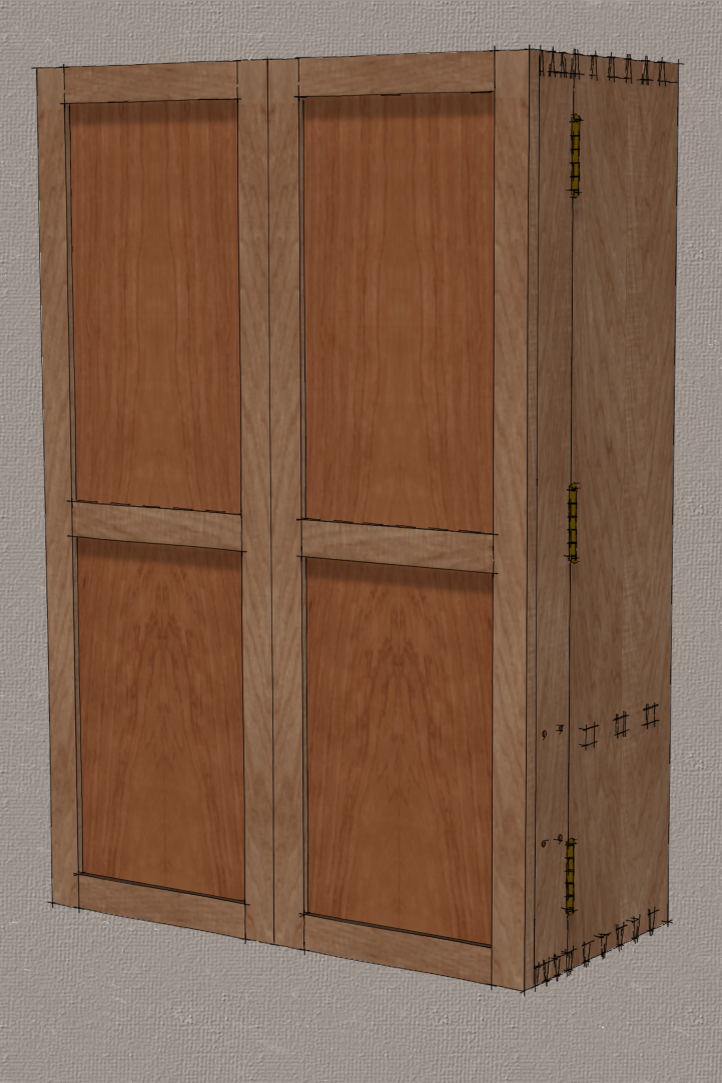
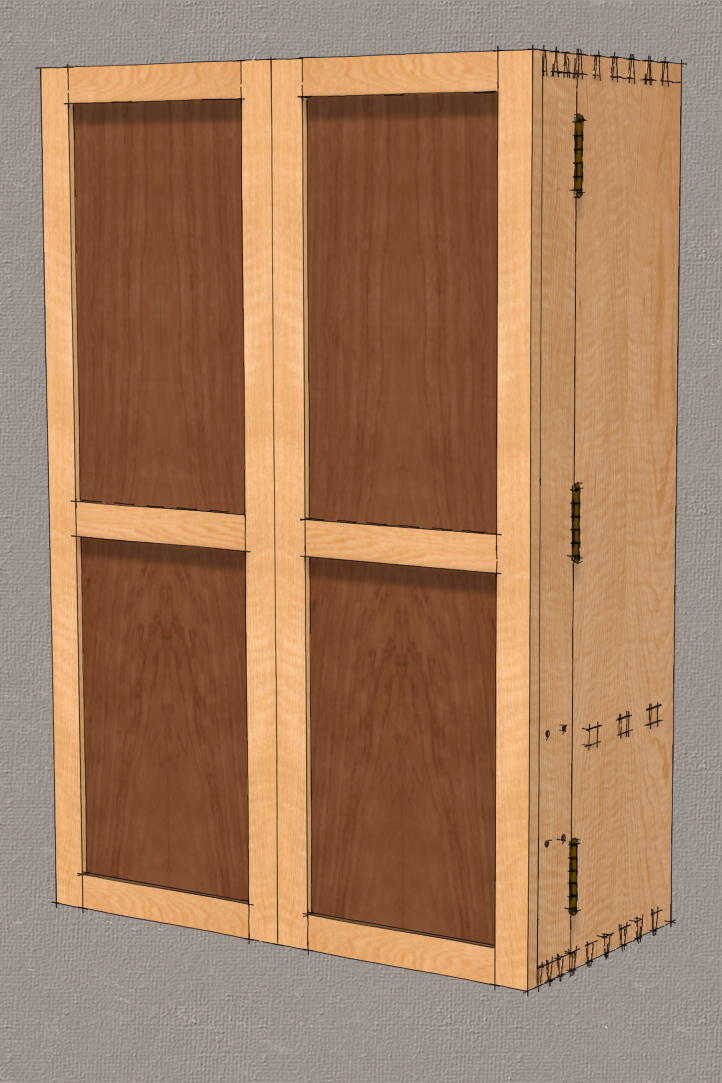
And here’s the ash case with bubinga panels.
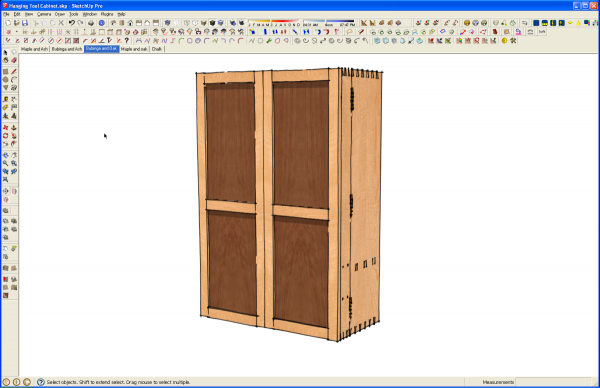
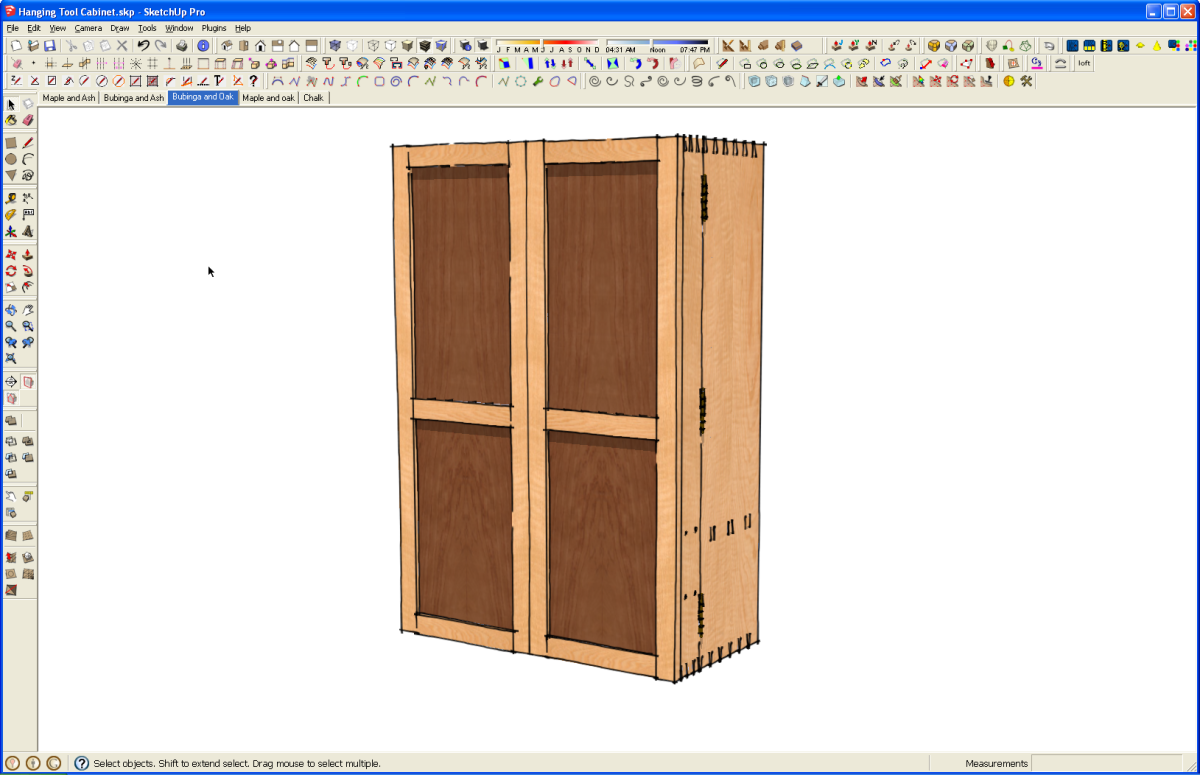
We can make it easy to switch between options by adjusting which layers are visible and creating scenes. Then we can just switch from scene tab to scene tab to see the options.
To give a few more options we can do the same thing to the case parts.
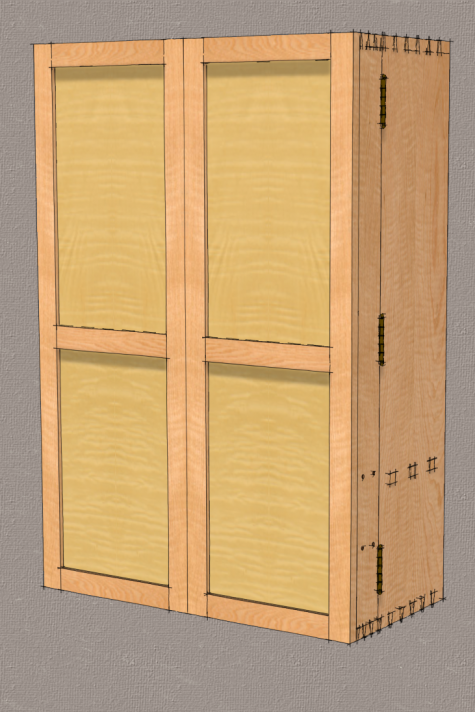
And get a red oak case with maple panels…
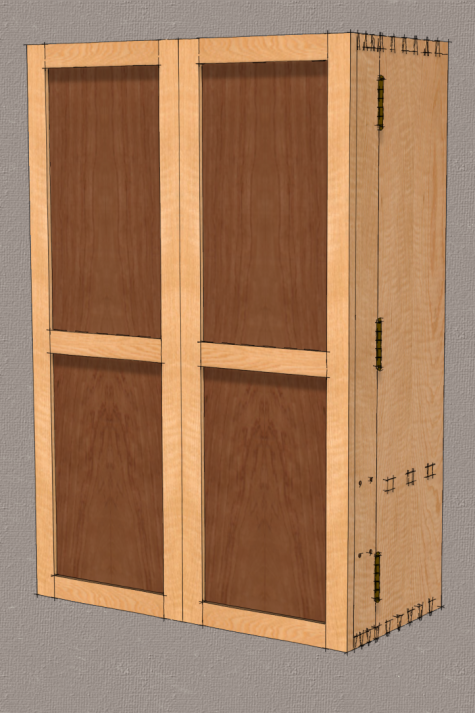
…or red oak and bubinga…
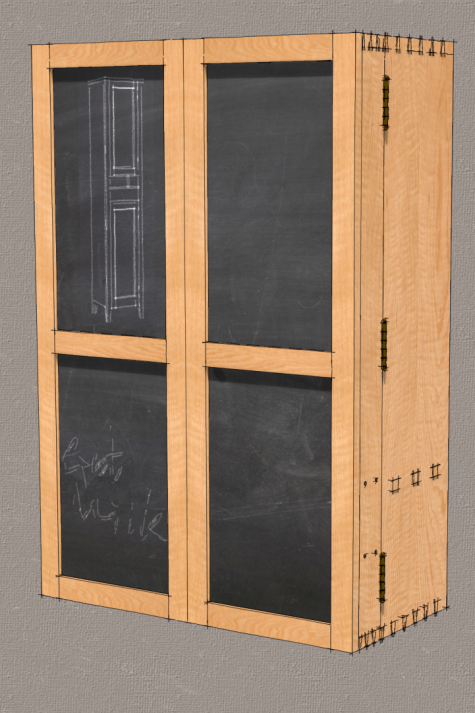
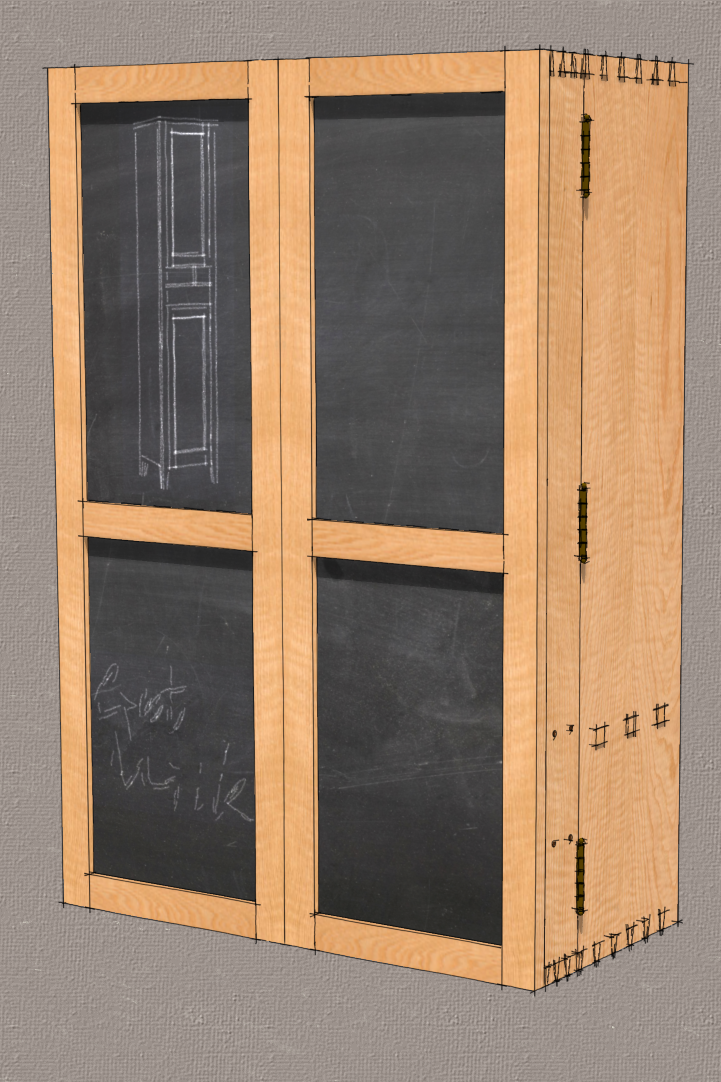
Or maybe the panels are a good place for a chalkboard. In my shop this wouldn’t be a good place for the grocery list but who knows.
Once you get the organization of the layers down in your head, you’ll find this goes quite rapidly and easily. You might be inclined to try a large number of variations but be careful. If you’ve ever given a client a lot of choices, you know what kind of trouble that can bring.



Comments
I like to give binary choices, like your optometrist does. It seems to narrow down the choices pretty quickly. "Which one looks better, A or B?" Then, depending on the answer to that first question, I give a second set of choices, and so on.
-Steve
That's a good idea.
Excellent ideas, there, Dave. Thanks. ;-)
Exactly Steve. True dat. Here are two, or most three varieties.
Hi Dave,
I design many of my projects in Sketchup but have not found how to access the different wood types to apply to either components or the layers they are associated with. I use the free version.
Would love to know how to do this.
Best regards
AussieRoy
Hi Roy,
There are only a few "wood" materials included with SketchUp and they don't look much like wood in my estimation. So I make my own materials. I wrote about this some time back in the blog post here: https://www.finewoodworking.com/item/37289/creating-new-materials
When you apply the materials to your model, apply them to faces and not components. If you apply them to the components you won't be able to correct the orientation. You will likely end up with cross grain where you don't want it. And you can't apply materials to layers. Layers are only a control of visibility for components/groups.
If you need more clarification on creating the materials to use in your models feel free to drop me an e-mail by clicking on my name at the end of the blog post.
-D
Log in or create an account to post a comment.
Sign up Log in