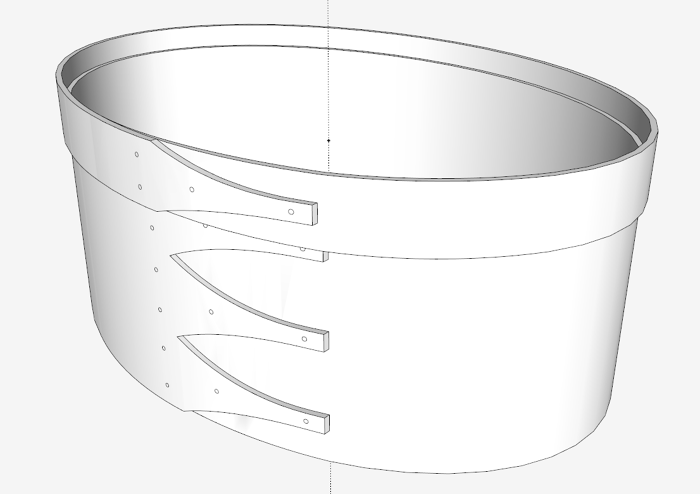
This is Stage 2 of a series on the Shaker Oval Box Size No. 5. My last post showed the development of the finger shapes, the two bands, the elliptical shape, and the lower box model. In the following video I show a similar development for the cover of the box.
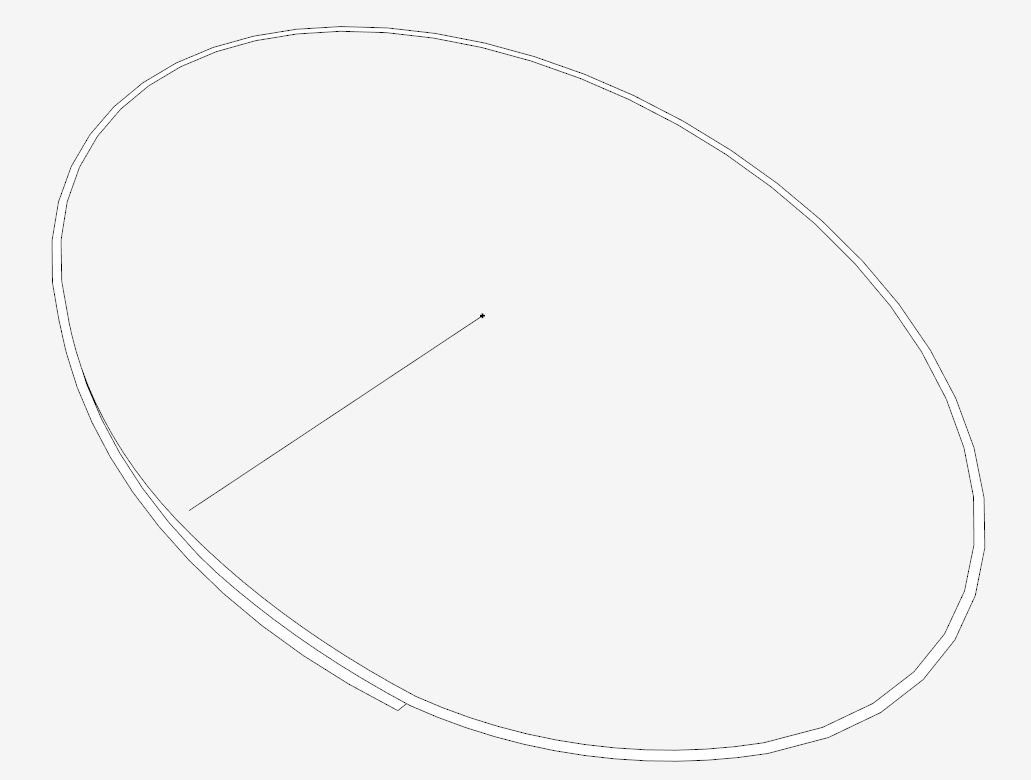
I start with the overall perimeter of the box shape over which the cover fits. With the Offset and Arc Tools, the shape of the Cover is developed as shown below. The cover shape is somewhat lopsided so that it fits comfortably over the bulging area created by the overlapping fingers of the lower box.

When bending the cover band around the outside edge of the box band, the banding will form a gradual curve around the bulging area of the box fingers. Therefore there will be a short gap between the cover and the box at this location. Otherwise the cover will fit snuggly around the rest of the box.
The above shape is ready for the push pull up to a height of 15/16-in. Then I can select all and do a smoothing to remove the extra lines.
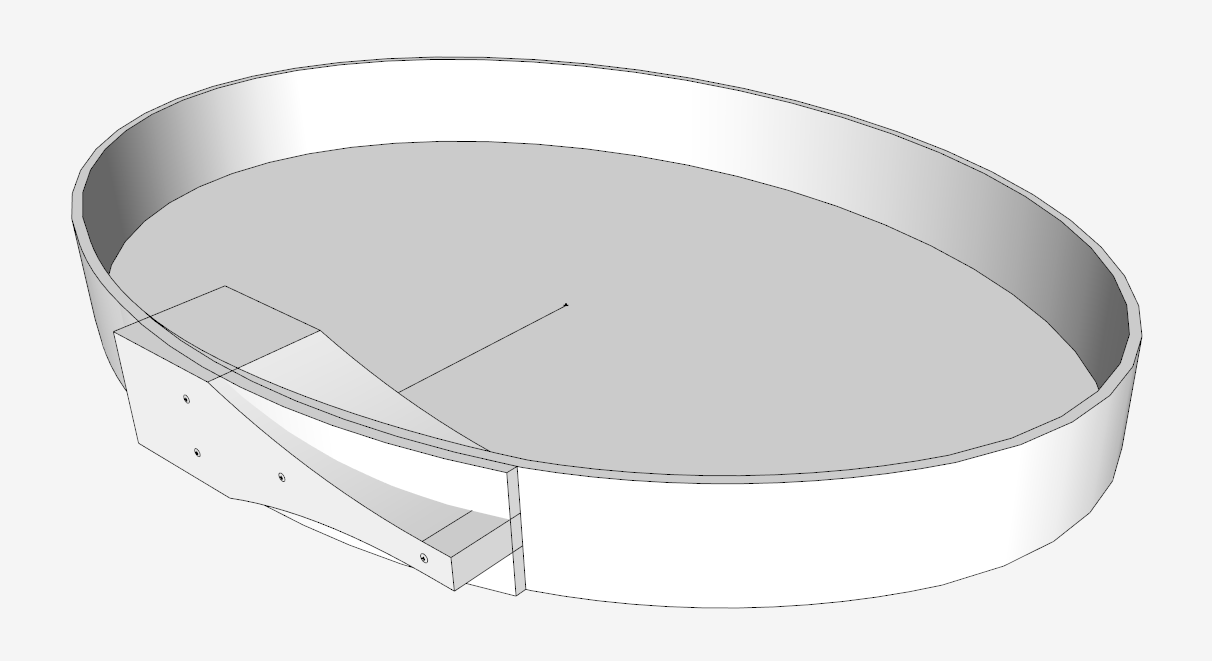
The next step is to set up for the Intersection. As shown here, the finger shape is positioned in the overlap area, and with the Push/Pull Tool extended through the banding.

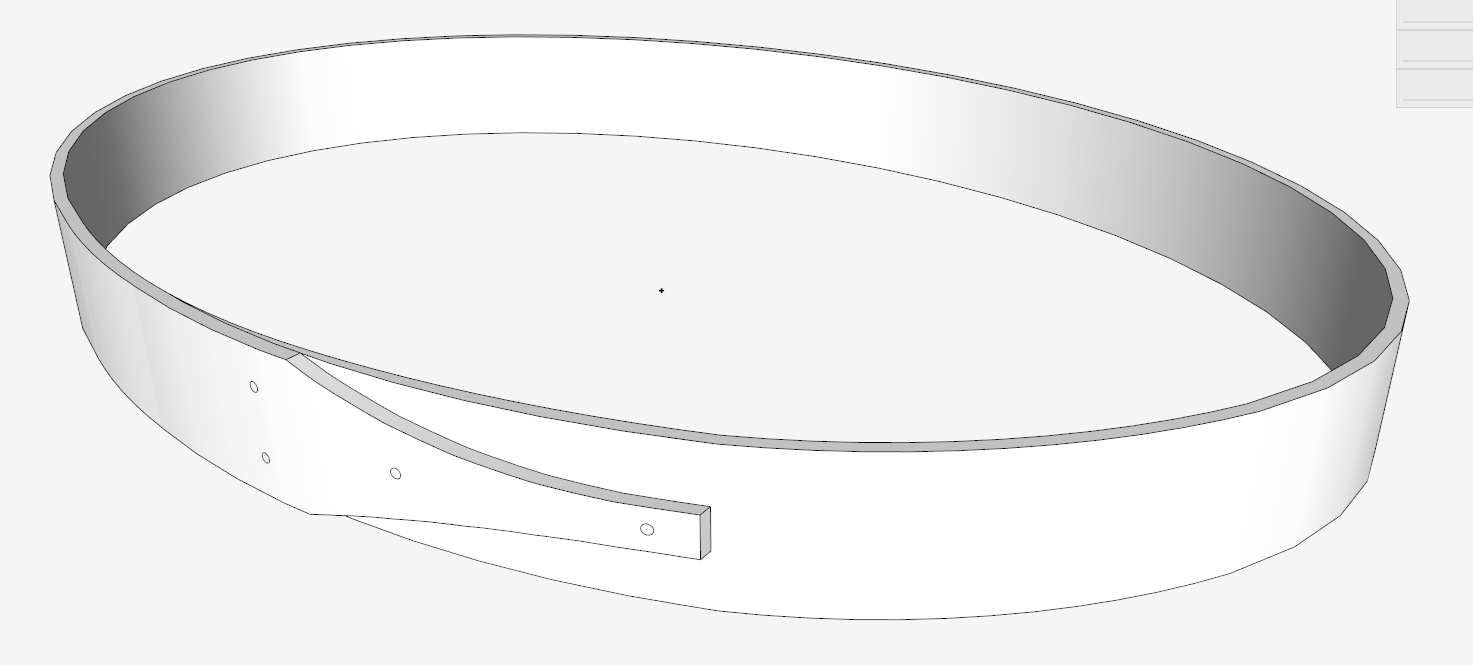
After scaling up and executing the Intersection and then doing the cleanup, here is the result.

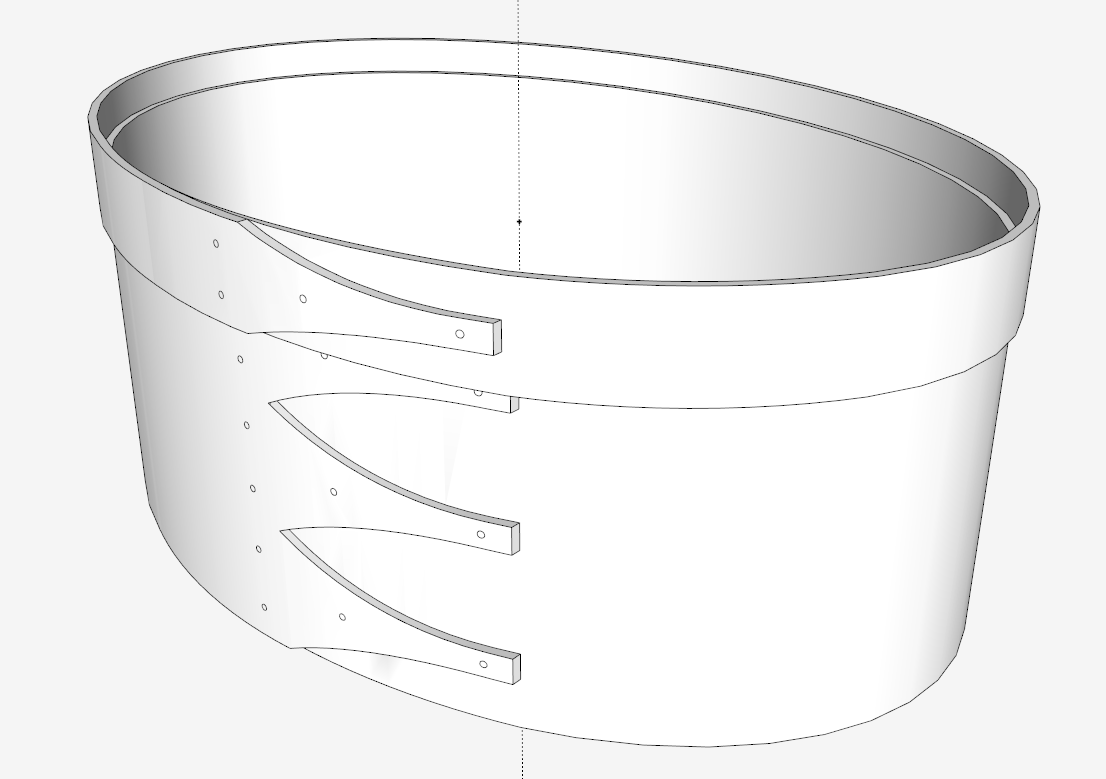
Now to check the fit – by moving the cover over the lower box made in Phase 1.

In the next blog entry, I’ll complete the box with a base and cover plate with pegged connections. I also need to make the form around which the box banding is bent.
Tim
http://killenwood.com


Log in or create an account to post a comment.
Sign up Log in