Table saw sled
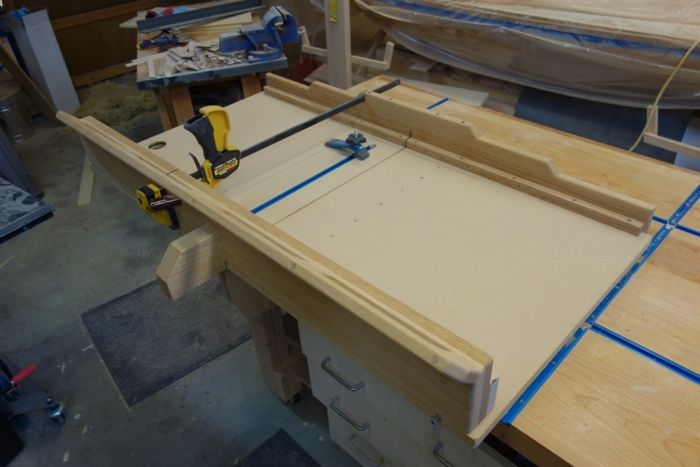
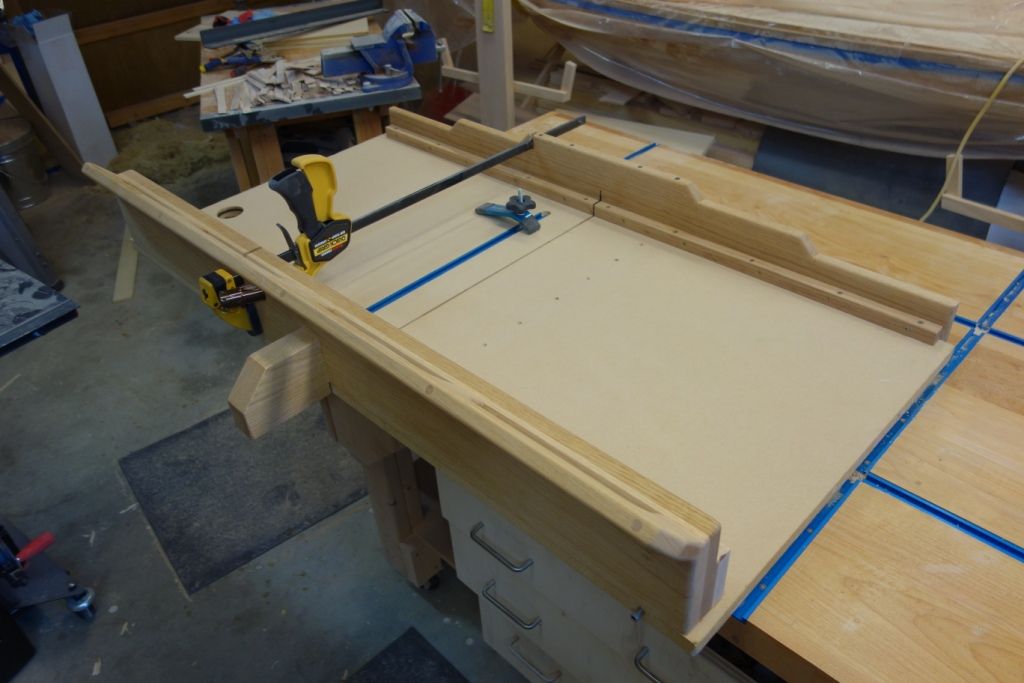
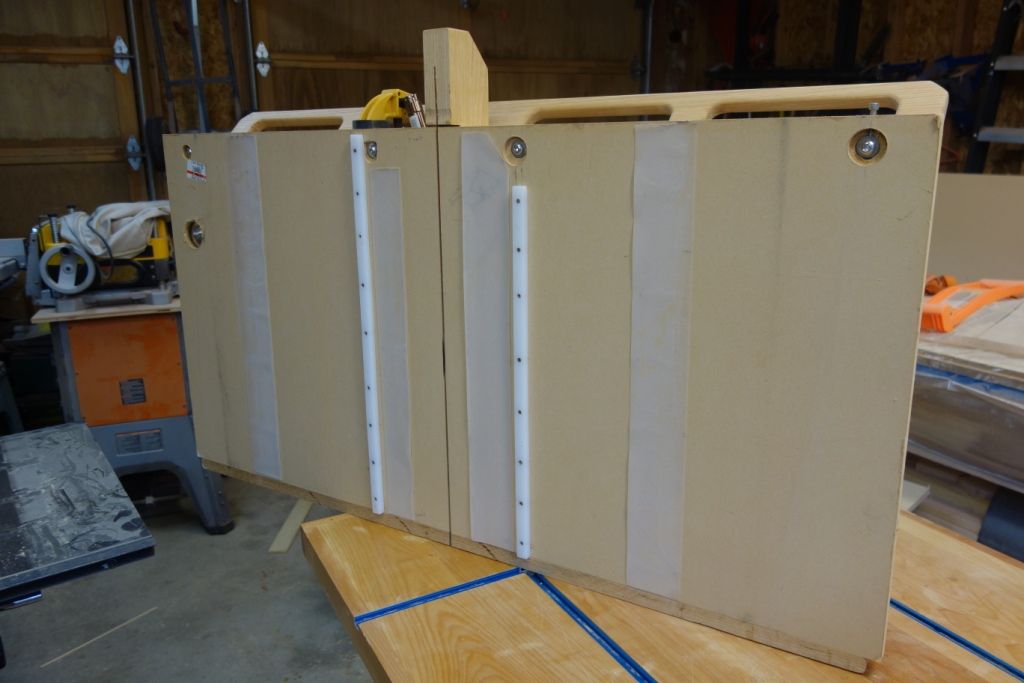
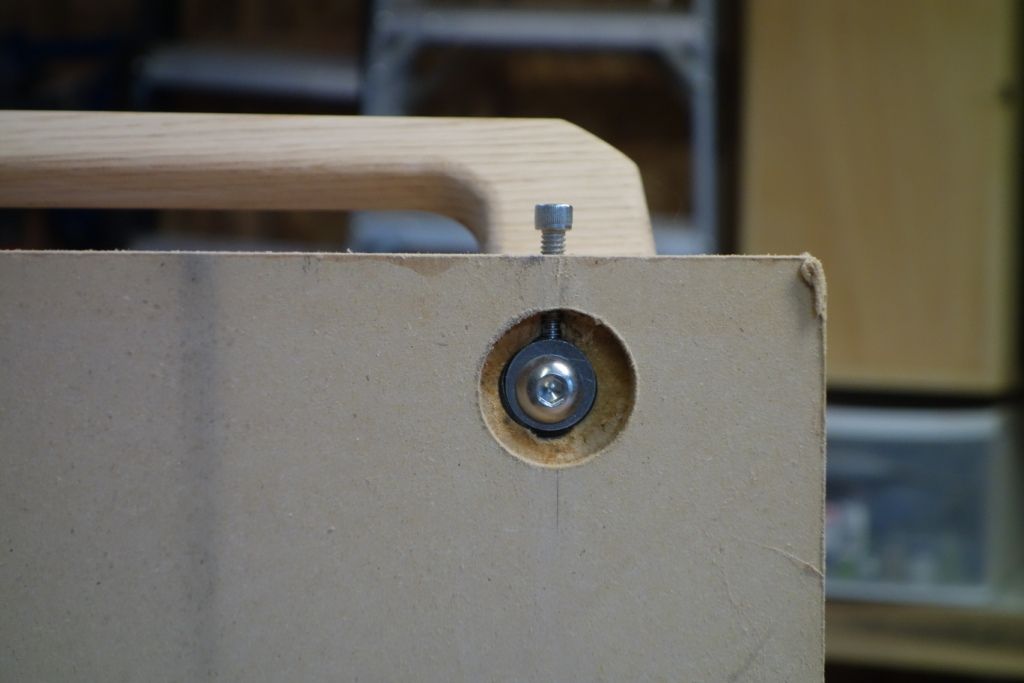
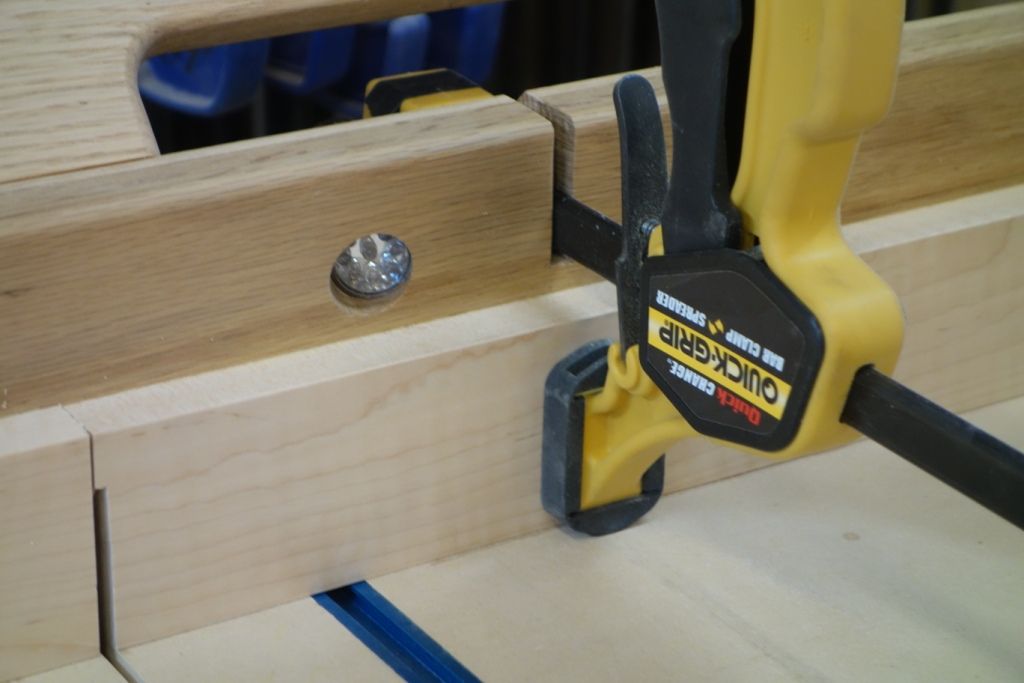
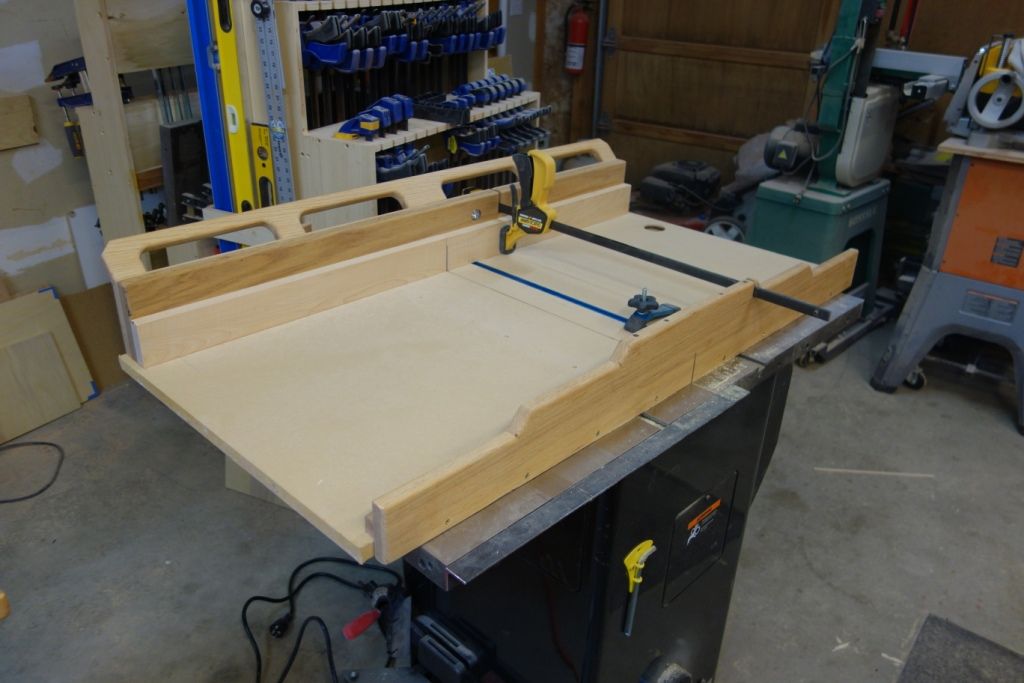
I designed my sled so I can replace the MDL sled table once too much of it has been sacrificed to cutting and dadoing. In my next table I may design and build a replaceable cut path insert much like a tablesaw uses. I may also make my next table a little wider for larger stock. Here are notes for the pictures: Pic 1: Details about the stock securing fixtures. I added a quik clamp to snug stock against the fence, but the quik clamp can easily be removed when I do not need it. It is best to use a “spreading style” quik clamp so you can take the head off and remove it from the sled. I found this was easiest. The T-slot (blue track) has been the best and most useful fixture. I do regret however not adding another to the right side of the blade. Note the detail of the blade pocket guard. I witnessed a horrific accident because the user had a sled with no blade guard on the exit path of the blade. He moved the sled over the blade until all 3 1/2″ of blade was sticking up near his right hand! (Which until the last moment he pushed the sled EXACTLY where the blade would exit! (He got away with only losing part of his thumb.) This is another reason I have a long “handle” that is the width of the sled, this way both hands have a safe place to be. Pic 2 & 3: What you see here in pic 3 is the micro adjust screw. This screw presses against the far right lock down bolt. In pic 2 you can see all four fence lock down bolts. With the exception of the far left bolt, which acts as a pivot, all the bolts have a slotted path so they can travel a bit for angle adjustment. I do all this so the entire sled face can be fine tuned to achieve a perfect 90 degrees in relation to the blade path. The fence has only about 1 degree swing, but I felt this was all that was needed. I used brass nut inserts for every bolt. You can see that I used UHMW stock for the miter slot rails. Please note that you must drill and counter sink for the screws in the UHMW, and do not drive the screws from the sled top into the UHMW. I did this and found that when screws are driven into the UHMW that this plastic “swells” and made the rails jam in the saw table slots. No matter how I tried I could trim or adjust the rails very well after that. So I sent the screws through the UHMW and drove them into the MDL sled. This worked fine. I also found UHMW adhesive “tape” that I installed as a slip surface to reduce drag. The MDL does not come in contact with the iron saw table. Both Rockler and Woodcraft have the UHMW material. Pic 4I thought I was being clever when I fitted a LED light into a pocket to give me light on the blade and cut path. Dopey me, it does not help when setting up a cut as the blade first contacts the wood on the FAR side of the light source! If I were to do this again, I would put the light on the back fence of the sled and direct it to the blade. The push fence. I have two layers of oak glue together like a laminate to control warping. The fence face is 3/4″ hard maple. I secure the fence face with double stick tape so I can easily remove it and re-surface it in my planner after it gets banged up too much. All sleds I have ever seen tend to ignore the back fence as the sled builders regard this feature as there only to hold the sled halves together. I however noticed that it was important to have a stout back fence to help prevent warping and keep the sled square. I have a stepped design to reduce the sled weight.


Comments
Did you make any patterns? If so I would like to have one. [email protected]
Two questions:
What thickness is the MDL?
Is MDL the same thing as MDF.
Actually three:
How much does it weigh?
Download over 16,000 WOODWORKING PLANS at here woodworkingplanspro.weebly.com Woodworking guide offers anyone of any skill level the ability to build amazing projects. The guide is extra helpful because it offers more detailed explanations, videos and blueprints then your typical woodworker magazine .
Hope it will help you next time !
Log in or create an account to post a comment.
Sign up Log in