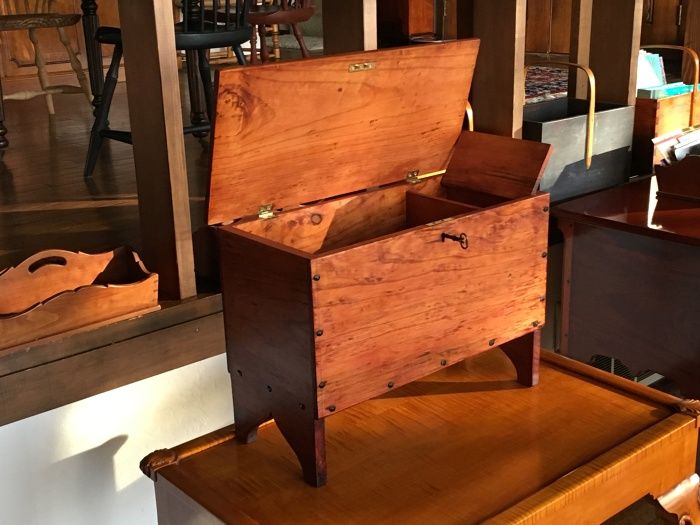
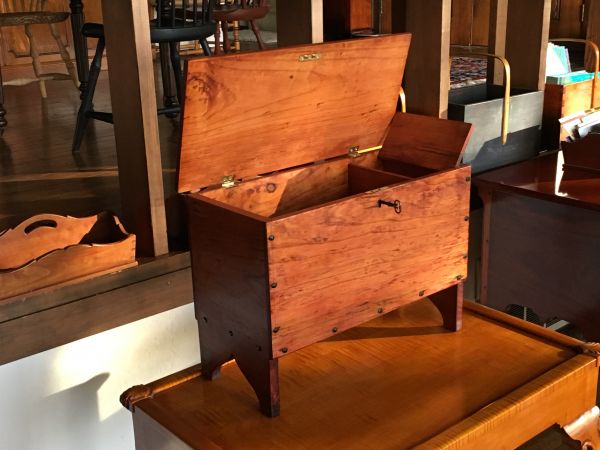
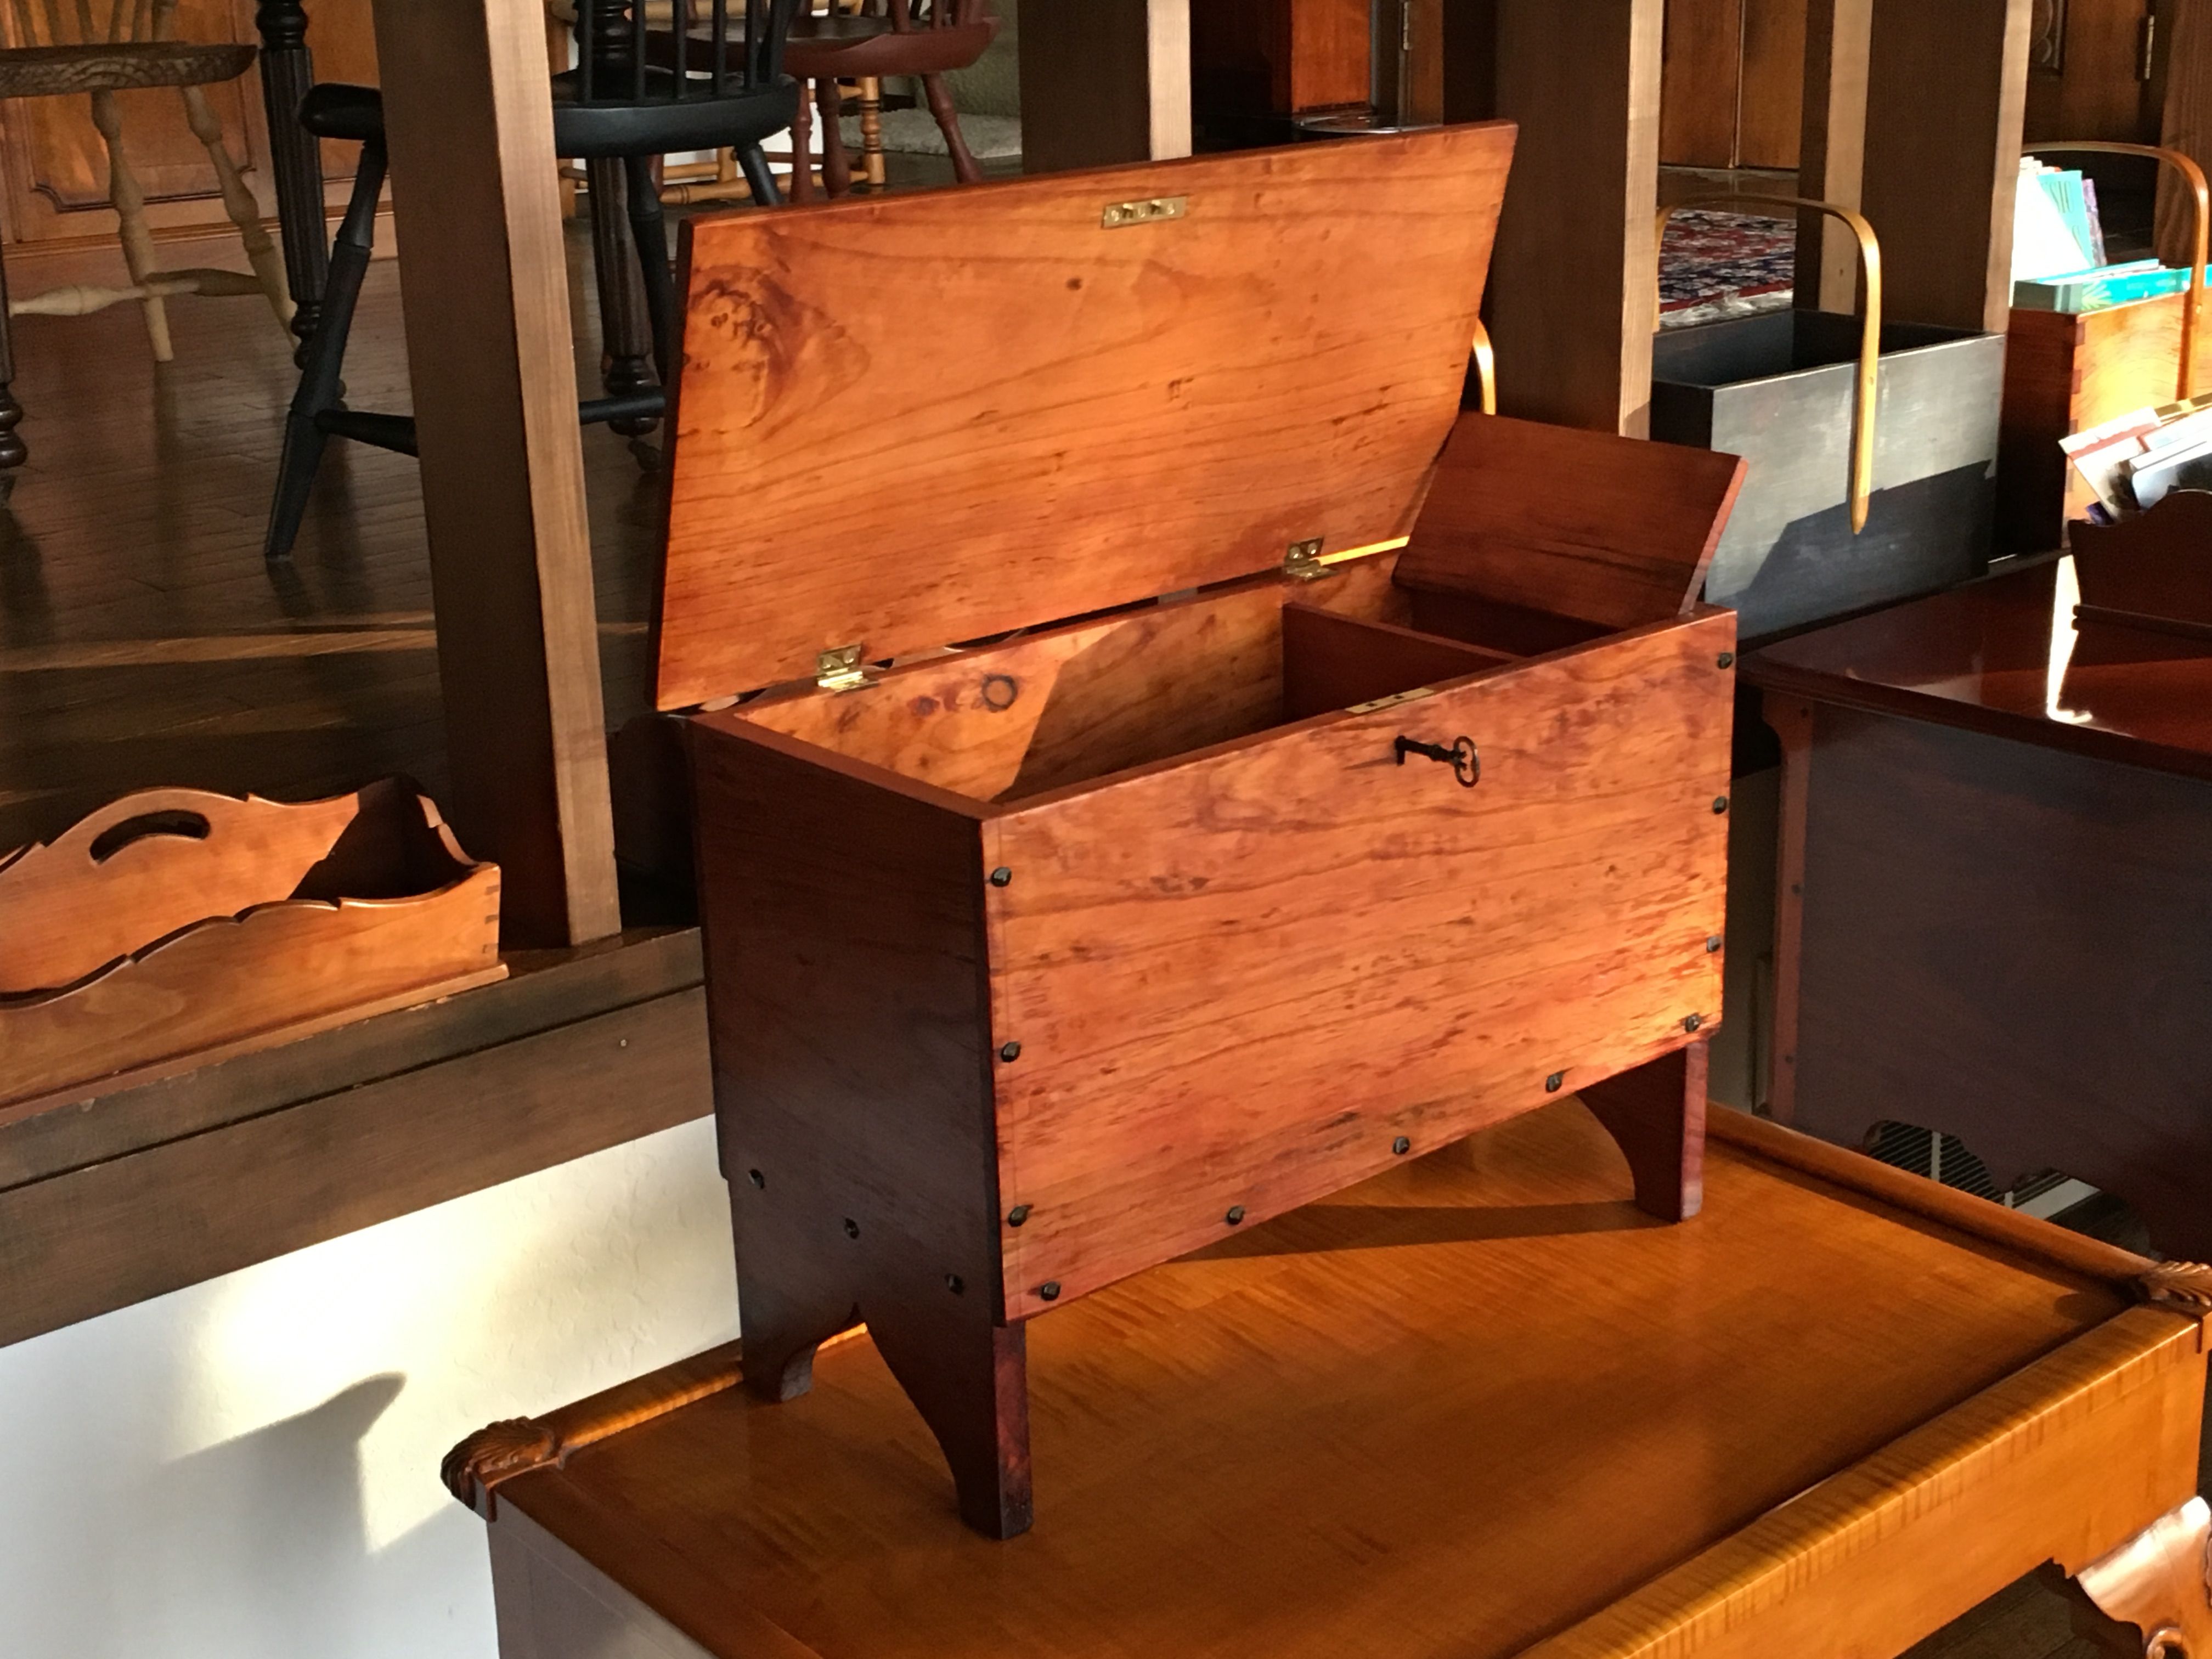
In the next several weeks, in a sequence of Steps, I will show a process in SketchUp for making a Period piece of furniture. I’ve selected a Small Six-Board Chest found in a book by Russel Hawes Kettell titled The Pine Furniture of Early New England. Here is a photo of the finished piece in Monterey Pine. The Chest includes a Till and that lid is also raised.
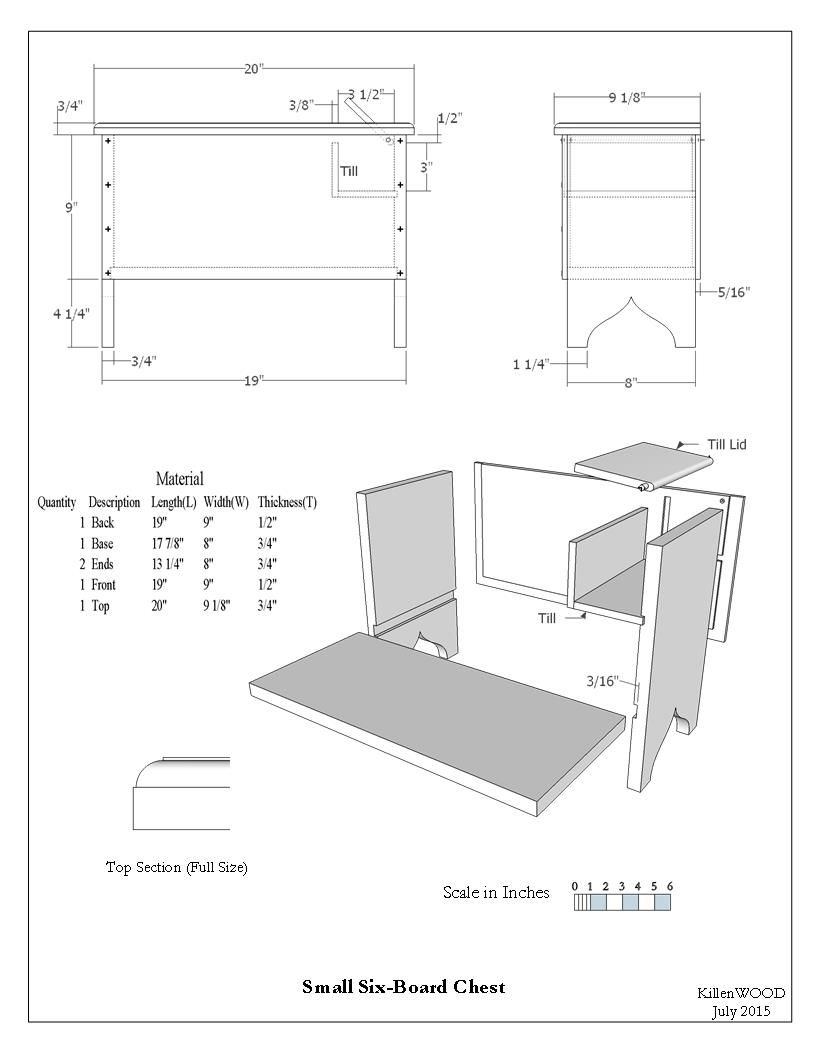
In the above referenced book, the author provides a simple one-page drawing. As an exercise, several weeks ago I used SketchUp to duplicate the original style and content of his drawing. This is shown below. His drawing is remarkably good and could be used for shop construction. However, it omits details that make construction less efficient.
In addition to displaying and describing these steps in the following pages, I will also provide links to video vignettes for all the procedures.
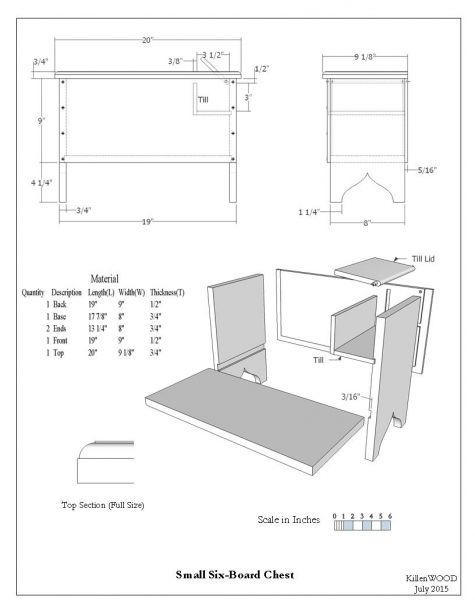
Step 1: In my reproductions of period furniture, the first step is almost certain to be an import of a picture into SketchUp. The picture may be from a smartphone or a scanned photo from a book. In any case, this step is important for capturing shapes and sizes of the furniture components.
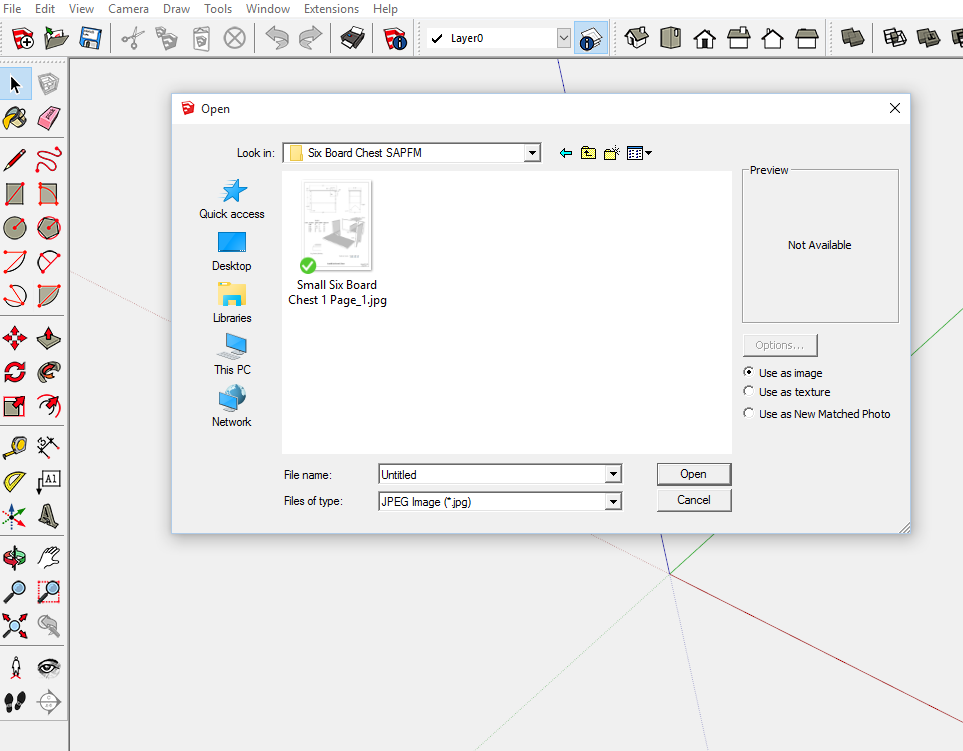
Snap a picture or scan the above drawing. In SketchUp, click on File in the Menu Bar, then choose Import from the pop-up menu. That will open the dialog box shown below (The box looks different on the Mac, but it works the same.) In the top window, tell SketchUp what file and folder holds the photo or scanned image. On the right side of the dialog box are three buttons for import choices. The first option, Use as Image, is the easiest for replicating furniture pieces.
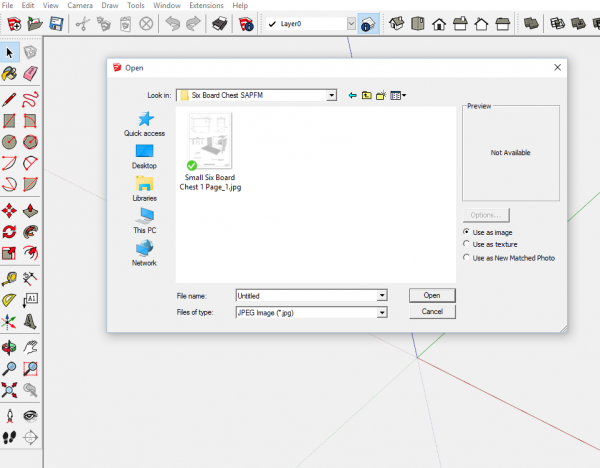
Orient the SketchUp screen for a front view, so the image will be positioned on the blue-red plane. Otherwise, you’ll have to rotate it once its imported.
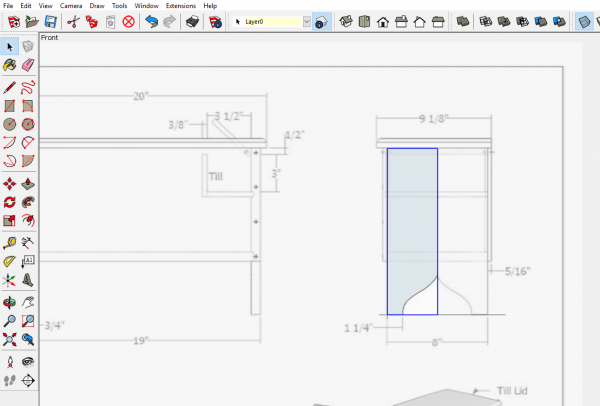
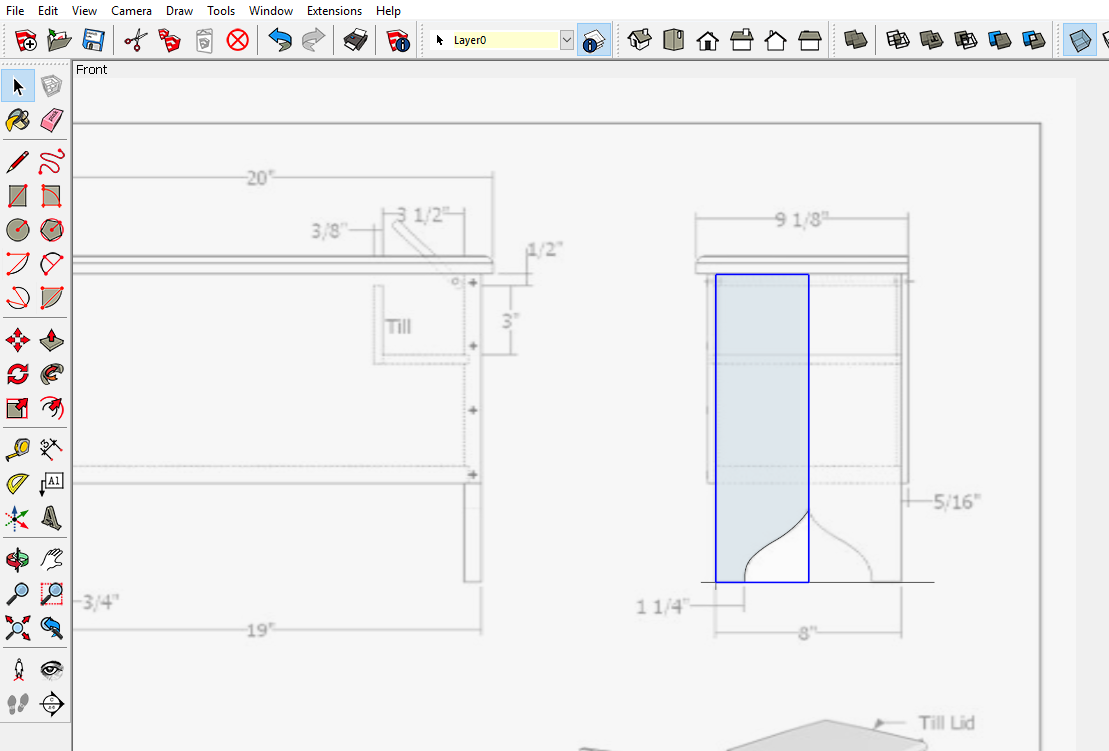
Click on the Open button and the image will appear in SketchUp with one corner attached to the cursor. Click the mouse to anchor the image at the desired location. Drag the mouse upward to enlarge the image. Click the mouse when the image is the size you want. If the image is askew, because it’s hard to place a book or magazine exactly square on the bed of the scanner, you’ll need to straighten it using the Rotate Tool.
Next, scale the image to make it full size. You need to know only one dimension in the image to accomplish the proper scaling. Use the Tape Measure Tool to make the imported image full size. Select the tool and tap the Ctrl key (Option on Macs). Click the mouse at one end of a known dimension, then click on the other end. You will see the measured length in the Measurements Toolbar at the bottom right corner of SketchUp. Type the proper length for that dimension and press Enter. A dialog box will appear asking if you want to re-size the model. Choose Yes. The image will now be full size in SketchUp as shown here.
To see this procedure in action, you can review the video below.
In Step 2 shown in the next blog entry, I will demonstrate how to trace over the shapes in the imported image to begin the process of making the component parts of the Chest.
Tim
@KillenWOOD




Comments
The chest is very cool and key that you've used is really authentic. It looks like it's been inherited as something very special.
Log in or create an account to post a comment.
Sign up Log in