Coaster set
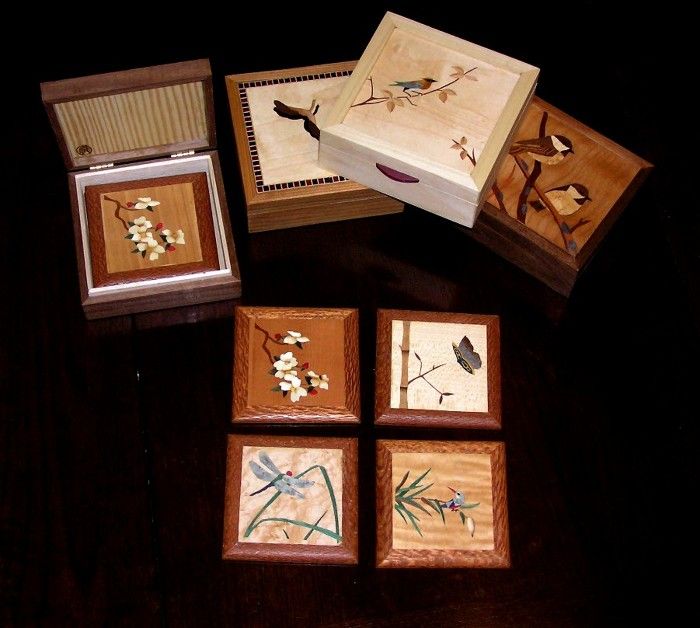
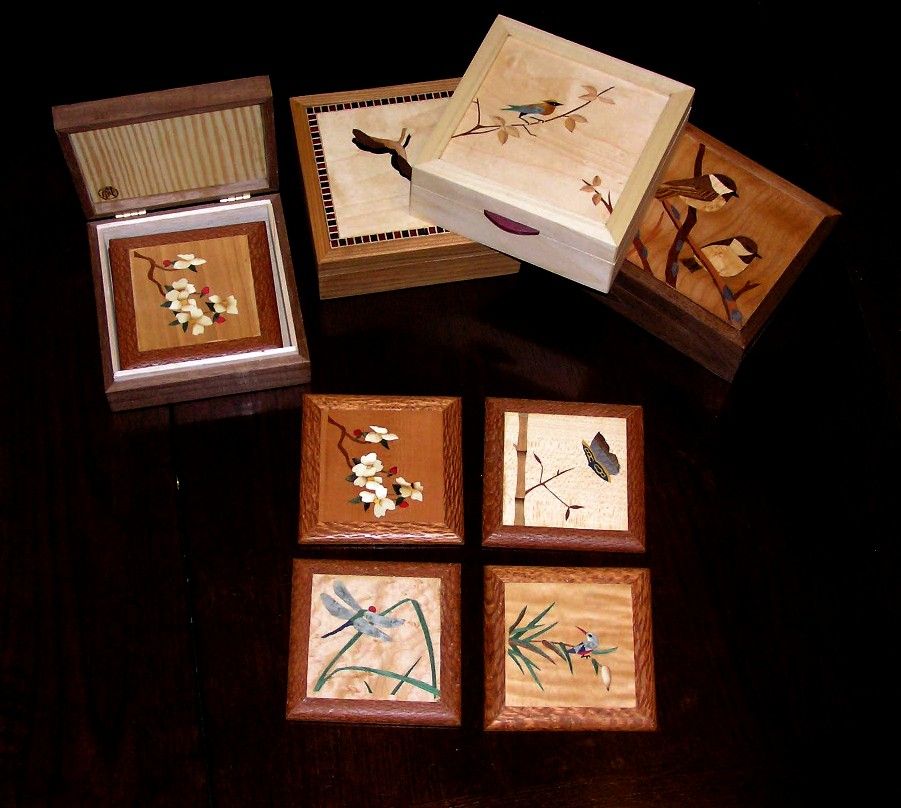
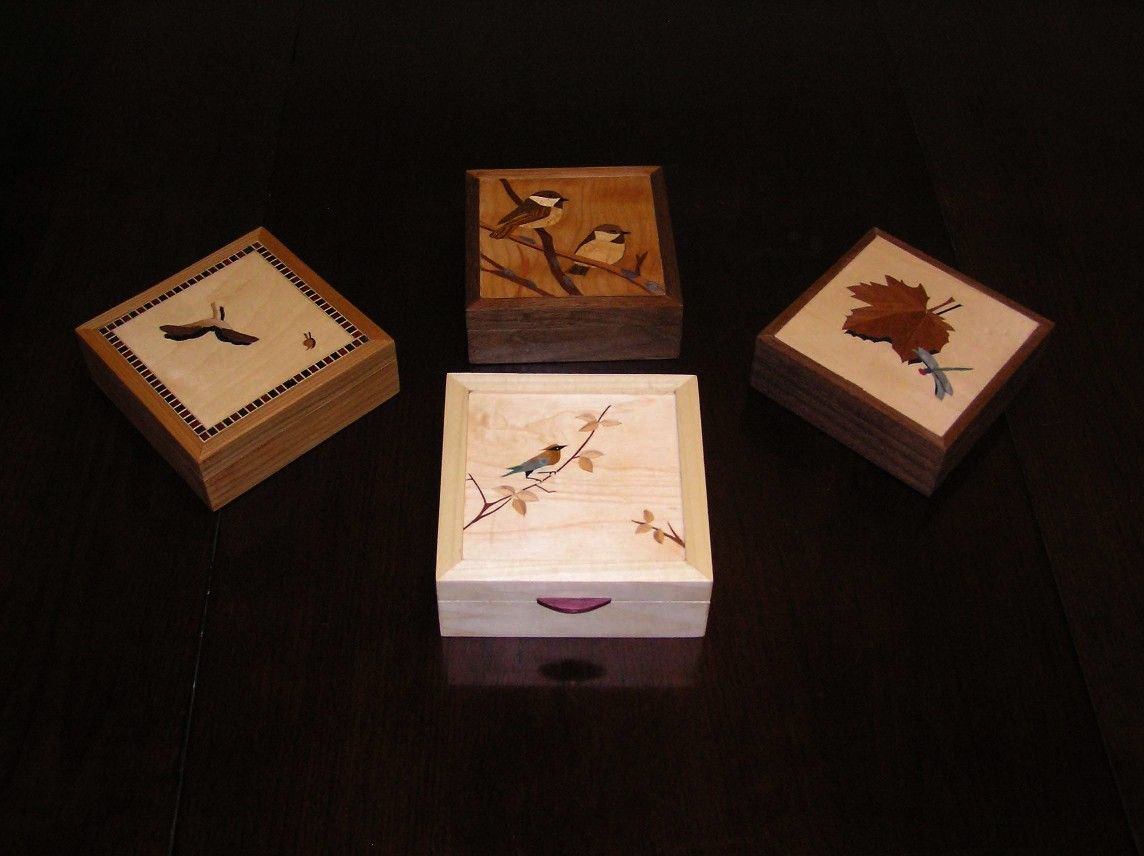
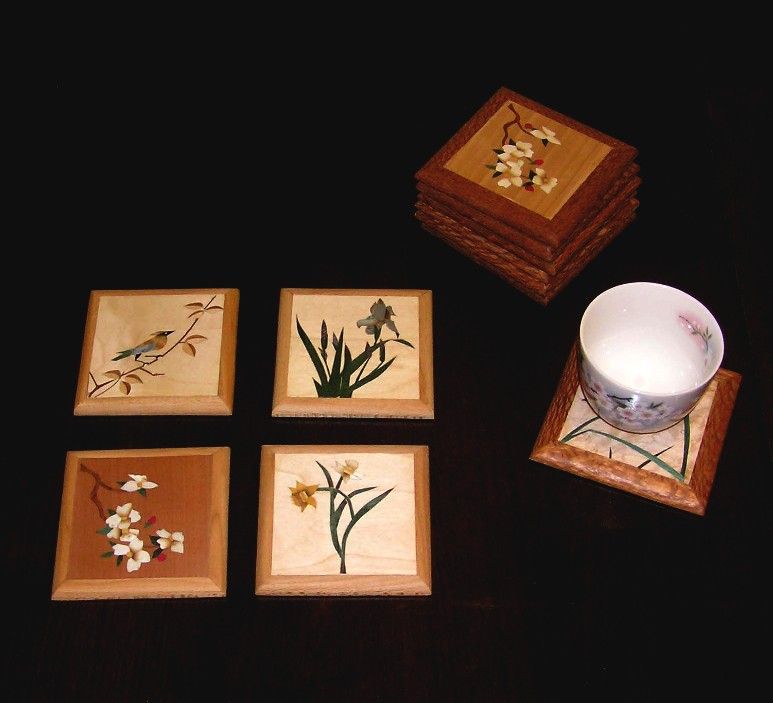
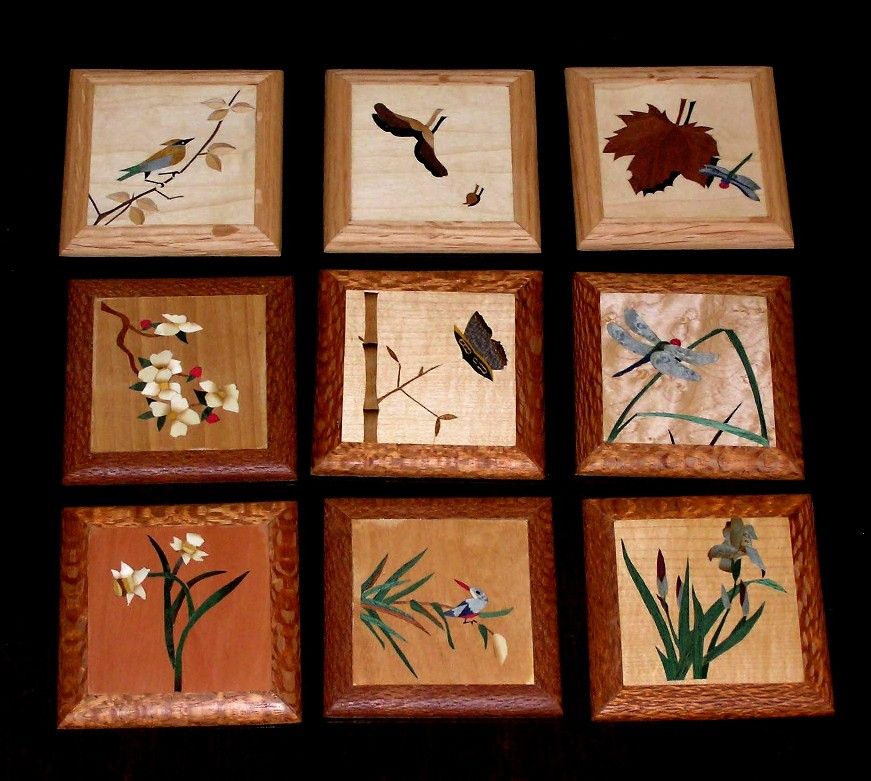
These are coasters and their boxes both decorated with marquetry. The coasters are made from lacewood, sycamore or red oak, at the size of 4″x4″. The bottom of the coasters are covered by felt. The boxes are made from walnut, cherry or poplar. At 5″x5″x2″, each box can hold 2-4 pieces of coasters. I used dyed veneers for the most of the marquetry work. The finish is varnish. I have already developed twelve diffrent designs for the coaster’s marquetry. The box and the coaster together make an elegant Christmas present for my friends.


Comments
What tpe of dye do you use?
Have you ever done an elephant? I'm curious on what type of wood you would use, being they are gray and wrinkly.
Nice work. I especially like the chickadees! Great gift idea. In my family, people would be afraid to use them.
What type of finish do you use?
Bill
Well Done! I've made coasters, however not to this degree. Now, thanks to you I have a new goal.Good Job!
Dave
Well Done! I've made coasters, however not to this degree. Now, thanks to you I have a new goal.Good Job!
Dave
Tim, nicely done. Few people will realize how much time you put into them. I recently posted this elsewhere on the web, just in case your bored this winter give it a try.
Ron
Dying veneer
My thinking process was that RIT dye is used for coloring paper and cloth. Why not wood veneer? Cellulose right!
I picked up the powdered red, green, blue, black and purple at the local food store, very inexpensive. $2.00 a box.
Just a word of caution if you spill any it will come back to haunt you. I used a baking pan about 8x2x2'' deep. I boiled a small amount of water and added the powered dye, I found it easier to handle in a liquid. I didn't measure very precisely as this was just a test. I added that liquid dye solution mixture to the pan that had about an 3/4 inch of hot water in it. I placed dampened strips of maple in the pan before the dye just to keep from splashing. I brought the burner on the stove up to a point of hot but not boiling. This still causes the water to evaporate. I used stainless steel tongs to rotate the pieces from bottom to top of the 4-5 sheet pile. This will keep the color more uniform if thats what you prefer. If the veneers which are now very floppy rest against one another the image of the overlap that was touching each other will show in the wet veneer. I never fixed and dried them I just kept the separate The color regained uniformity after a few more minutes in the bath..
After an hour I removed a small test piece and hit it with cold water to fix the dye and cool the piece. I put it in the microwave for a few seconds to dry it. I then planed the piece to check the depth of penetration into the veneer. Use a dark color (black) to contrast against the lighter wood. several passes with a block plane at different angles indicated total color penetration!
I dyed veneer in the various colors listed above, if you leave the pieces in longer or add more dye to the bath it will darken the sheets. The advantage to dying you own veneer over commercially manufactured veneers is the many shades of a color thats available. After the veneer achieves total color penetration you can remove some or leave some in the bath. You will get evaporation so the water level will drop and the color will darken. Anyplace along the line you can add hot water and more dye if you want additional darker shades. Out of the same bath you have many chances to get what ever shades you want.
The instructions are the same now as when I was a boy helping Nana dye clothes. Fix the color with plenty of cold water. I dry it stacked between 5-6 sheets of news paper, I weigh the pile down and change the paper several times the first day, I change it every day as necessary Until dry. I store it in a lidded plastic box.
The veneer will buckle when it gets immersed. I have never needed to use the flattening process after it was dry. Then again the veneer was well behaved before the bath. I always threw in a few odds and ends of many different veneers, the results are interesting.
I sampled the types of adhesive on the veneers with out any difficulty. Hot hide, cold hide, Elmers white, yellow glues. shellac, poly, varnish, lacquer posed no problems, No I didn't try oil, I have no concerns with the process or the results. Friends who I gave some to used most of it and all the black.. They said it acted like the "store bought veneers" with more shades of a color.
In all honesty I keep thinking that large diameter plastic sewer pipe caped on both ends would work. A longer period of time I suppose, no heat except leaving it flat on your drive way during the summer. Give it a kick in the morning and evening to keep the solution uniform, I just don't know. Maybe no heat at all, just a good soak, and the cold water fix. This way you can produce longer and wider sheets of what ever you need.
I have contacted the Rit company several time but there not replying back. It would be nice to apply some science to this.
I hope this helps
Ron
This is beautiful work. Even though small very nice and maybe even harder than some of the larger projects. I like the cases you made to put the coasters in. I might be a little mad at someone that put a wet glass on one of these.
Beautiful work and design! In many ways more impressive than any case-work I've seen in quite awhile. Very demanding work in it's own way. Most impressive. Congrats!
Awesome - they deserve to be framed they are so pretty.
Nice woodwork. Very accurate. Ik would also would like to make my own coasters and coaster sets. I started also a website about it to present my models: http://coaster-set.com. I like to hear how you think about the designs. Thanks in advance.
Log in or create an account to post a comment.
Sign up Log in