
There are a lot of ways to draw things in SketchUp. Some folks like to draw the parts for a project in separate SketchUp files and then import each of them and assemble them as a model. Others prefer to draw all the parts in the same drawing window but laid out separately. then they move all the parts together.
Tim Killen and I both advocate a third method. We draw the parts in situ. For us this is a more efficient process because we don’t have to move parts around the drawing quite so much. I refer to this as relational construction. One some key parts are placed, the rest of the parts are just drawn in to fit. Assuming that the key parts are drawn and placed accurately, the rest of the parts should be drawn accurately as well.
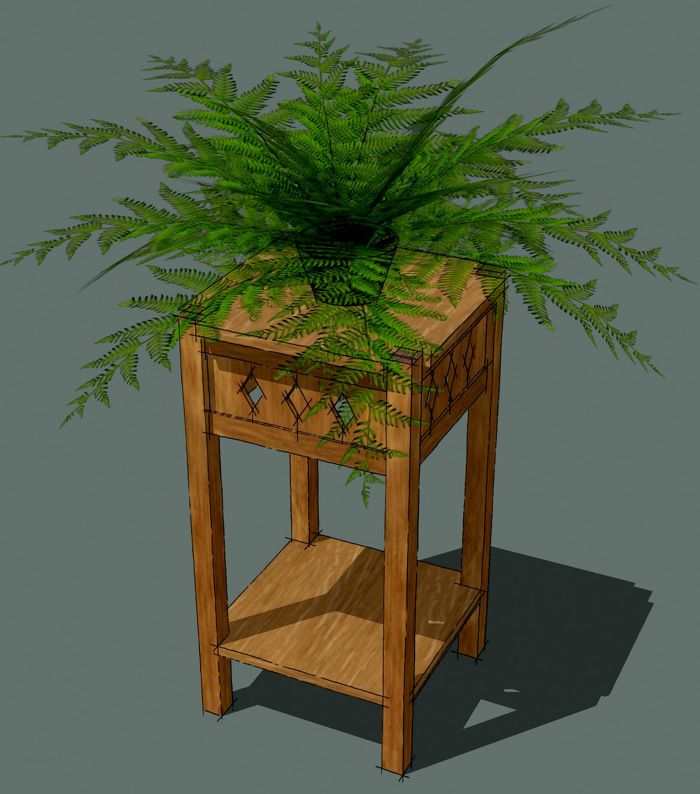
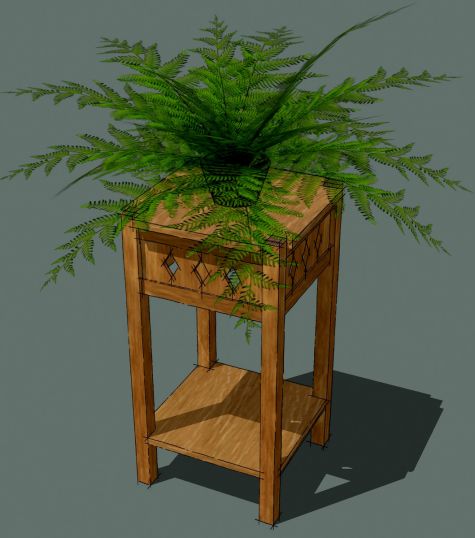
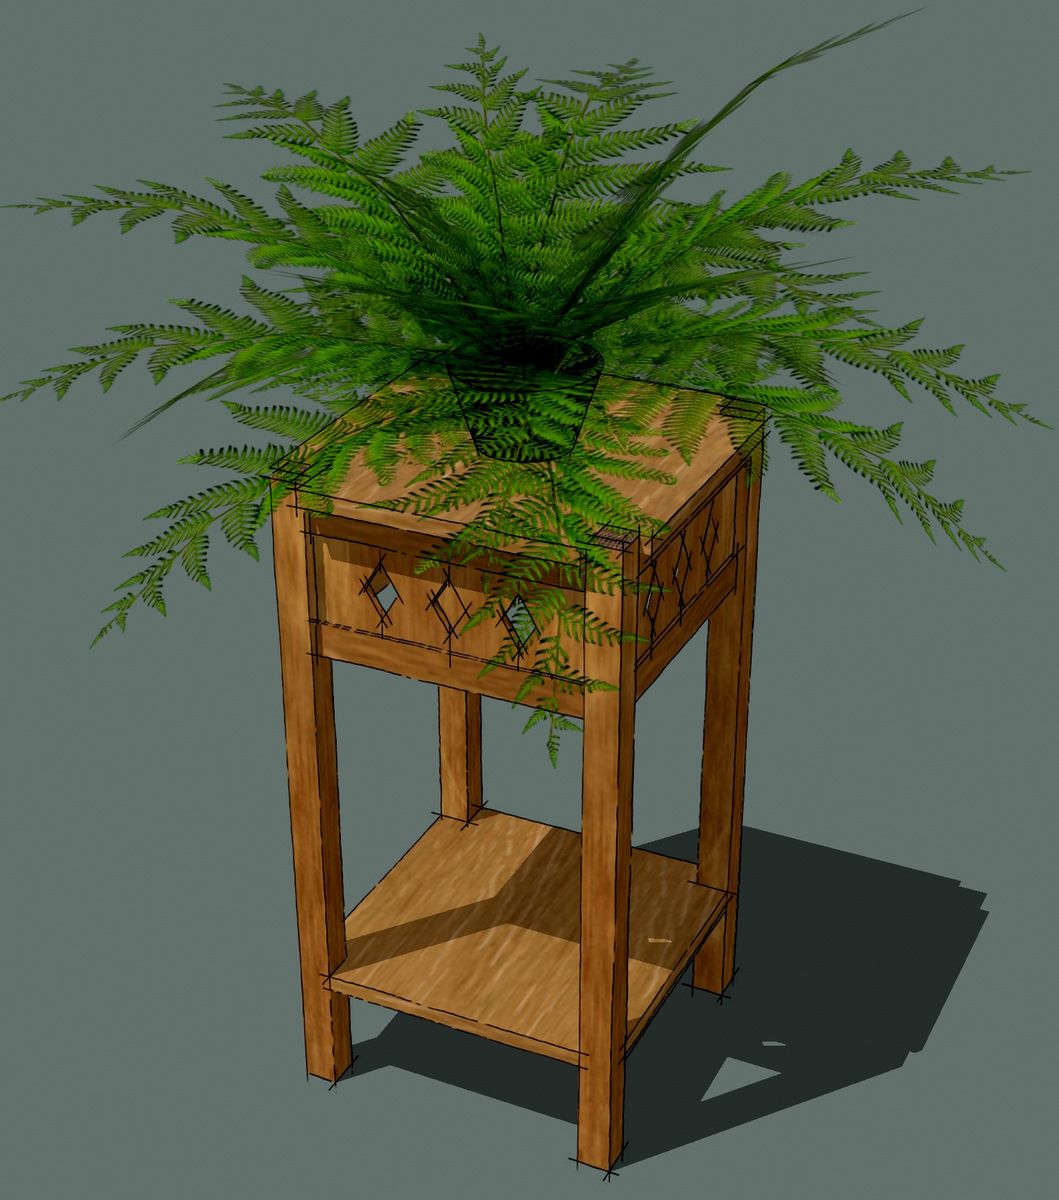
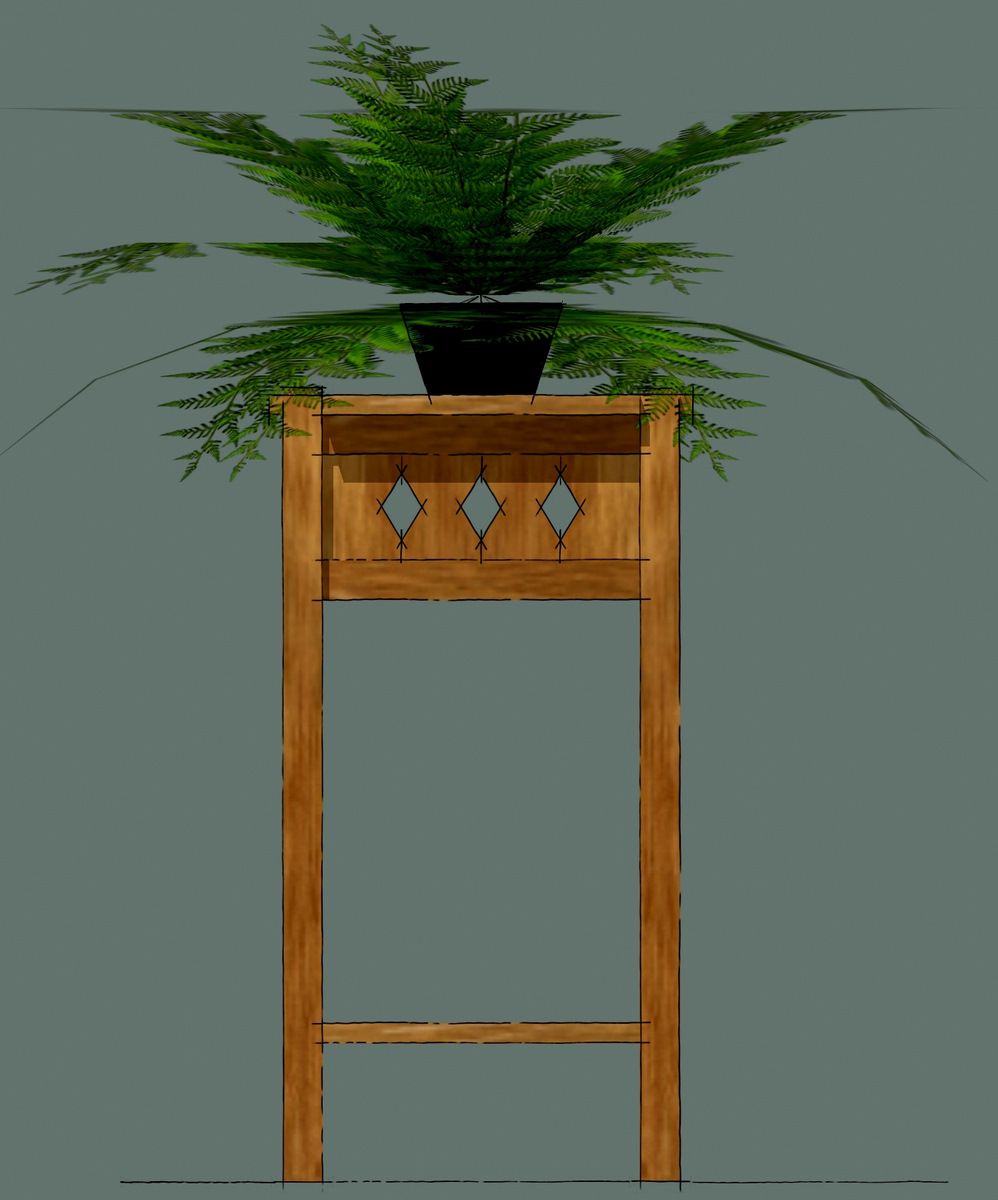
In the following video I’m drawing a fern stand from Mission Furniture: How To Make It originally published by Popular Mechanics Company. Although I’m working from a simple plan, the process I am following is the same one I would use for any piece of furniture. I start by drawing the key pieces that define the size and shape of the piece. In this case, the key parts are the legs. I then draw the rest of the parts to fit between or on them. Each part is made into a component before moving on to another part. I don’t bother with the joinery until after the parts are made. Each part is made into a component before moving on to another part. You’ll notice that I flip components frequently. Flipping creates mirrored copies of the originals. Even if it won’t matter immediately, I flip symmetric components because this will make editing easier later on.
If I need to submit the design to a client for approval, it would be at this stage. There’s little point in drawing in the joinery if the client can’t see it. Also, if the piece needs to be modified, it is much easier to do if the joinery isn’t there. Only after the design is finalized would I go back and draw in the joinery. Some of those details might not be needed but if as in the case of tenons, the joinery affects the overall dimensions of the parts, I would add them in so that the parts are properly dimensioned in the cut list.


Comments
Dave - thanks for "putting it all together" with this drawing, including a bunch of shortcuts! I can use essentially every one of them.
However.... maybe its my machine, but the sound level (with video and computer levels at max) was barely audible. Next time, can you set your recording level a little higher?
Happy New Year,
Randy
Randy, I'm glad you were able to get something out of this. Sorry about the sound. It was quite loud on my home machine but on my work machine, I also find it rather hard to hear. I'll see if I can fix the audio and replace the video file tonight.
Happy New Year to you as well.
Dave
Dave,
I am trying to get comfortable with SU, and there are a couple of things that drive me crazy. I would like to draw chairs, and the legs of course come out at a compound angle. I can get the leg drawn, but what's the best way to rotate the angles? I can figure out in terms of x, y, z, which angles to use, but I think the biggest problem I have is when using rotate and protractor, trying to "fix" it to a specific axis.
Any thoughts on this?
Secondly, what's the best way to then move the tilted leg to a specific spot in a plane (chair seat)?
Thirdly, how can you scoop out bowls in something like a chair seat?
Any help would be appreciated.
thanks,
Stevo
ps. We are driving up to Rochester to see friends on new years. I live in Madison, but used to drive a truck thru Rochester when in college.
Steve, drop me an e-mail by clicking on my name at the end of my post.
One thing you might find useful is to add 'handles' to the part that give you easy places to get hold of it for rotating in the desired axis. These 'handles' can be simple faces that are oriented either horizontally, vertically or both. There are a few other tricks that I can try to demonstrate as well.
Dave
Randy, I've edited the video to increase the sound volume. Let me know how it sounds for you. Thanks.
Dave
Dave - the sound level is now very good. Thanks.
Randy
Glad to hear that Randy. Maybe I need to have you check the sound levels before I post my videos.
Happy New Year.
-Dave
A must view!
Woodworkers using SketchUp for designing and planning projects, regardless of skill level, will learn something from this one.
Well done!
Hi Dave,
Thanks for your help. I can't seem to find your email, no matter where I click. Mine is sfirst@sys-seminar.com. Perhaps if you send me a quick note, I can respond to it and get your email that way. I like the idea of the handles and would like to hear more. I think learning how to "fix" the protractor to the correct axis is my major problem. I would entertain any help you can provide, and again, thanks for the great service you are providing.
Stevo
Dave
I am a regular visitor to this site and find it very helpful in learning Sketchup A big thanks to you and Tim for generously sharing your knowledge with the wider world .
Thanks for sharing your approach to drawing in Sketchup which I found particularly helpful. Below find my comments and questions on some aspects which I feel I need further explanation on
1) General Approach - I found the approach of setting out the major components before getting involved in the joinery very helpful as it is easy (particularly when learning the program) to spend hours fiddling to get the pieces to fit .
2) Components + Flipping - The value of making components ( and making them before you move on to the next piece ) is very well illustrated and is clearly a fundamental element in Sketchup. I still am a bit hazy on the need for flipping and would appreciate some further explanation on this aspect of components particularly as it can save you time in other situations .
3) Opening Up Cpmponents to Edit - In the demonstration you opened up the leg component to facilitate editing for receiving the rail tenons . Presumably that means removing a face and restoring it after your done editing ?
4) Intersecting - In the video you demonstrated a manoeuvre using Intersect ,allowing you to clean up the mortices receiving the tenons on the rails. I didn't get exactly what was happening - Could you elaborate further just on that bit ?
5) Visual Appearance of Final Drawing - For me the addition of the textures added enormously to the final image , I have no doubt that a client would appreciate it as well . I am aware that your posting was mainly concerned with the drawing process but would appreciate a little explanation of how you achieved the finish on the drawing . ?
Thanks
Jonas Mac
Jonas Mac,
Thank you for your comments and questions. I'll address some of them below and the rest in a future blog post(s).
"2) Components + Flipping - The value of making components ( and making them before you move on to the next piece ) is very well illustrated and is clearly a fundamental element in Sketchup. I still am a bit hazy on the need for flipping and would appreciate some further explanation on this aspect of components particularly as it can save you time in other situations."
First, the command is "Flip" but if you read that as "Mirror", it may make more sense.
There are several reasons for flipping components. In the case of the legs for this table, the mortises are the same on the inside faces and you could get away with rotating each copy 90° from the previous one. This would result in the back face of the left front leg being the left face of the right front leg. Now suppose the mortises on the left/right faces aren't the same as on the front/back faces. You would end up with mismatched mortises. Rotating could also cause problems for details drawn on the legs.
In the case of the rails on the table, again, for this table it wouldn't make much difference if the copies were rotated end for end. They would look the same in the model. However, suppose you wanted to modify the model and make it a rectangular table. If you move the right end of the front rail components to the right, the left end of the rear rail components would move left. It's not the end of the world because you can then move the rear components to the right to get them in the right place. On the other hand, with the rear rail components flipped (mirrored) when you move the right end of the front rails, the right end of the rear rails would shift right as well and would eliminate the need to move the rear rails over into the correct location.
There are a number of other reasons for flipping components. think of a bookcase. If you don't flip one side, the dadoes drawn on the inside face of one side will be on the outside of the other. If you rotated one side, the dadoes would look alright but suppose you decide to knock 3/4" off their width to allow for a face frame. If you take that 3/4" off the front edge of the left side, it comes off the back of the rotated right side. I could probably come up with a couple of dozen other examples but I think you get the point.
For my method of work, even if it would make any difference in the appearance of the current model whether I Rotate or Flip components, I choose to flip them. It isn't all that unusual for me to go back and edit components to change the model. The Flip command is quick and easy and can save loads of frustration later.
Note that the side rails in my model are instances of the front rail components so they would end up being extended. If I didn't want their dimensions to change, I would select one set, either sides or front/rear and use the Make Unique command to break the relationship. then the front and rear components will be edited together and the side components will be edited together.
"3) Opening Up Cpmponents to Edit - In the demonstration you opened up the leg component to facilitate editing for receiving the rail tenons . Presumably that means removing a face and restoring it after your done editing?"
No, I didn't actually remove any face when I created the mortises on the legs except those remaining faces after the intersection of the crossing mortises. To make the mortises themselves, I traced the base of the tenon with the Rectangle tool and used Push/Pull to push that rectangle in. I orbit the camera inside the rail so I'm looking at the base end of the tenon and the face of the leg when I draw the rectangle for the mortise. This eliminates any need to layout the mortise and if I trace the tenon, the mortise has to be the right size and if the rail is in the right place to begin with, the mortise must be properly located as well. Saves time and reduces errors.
"4) Intersecting - In the video you demonstrated a manoeuvre using Intersect ,allowing you to clean up the mortices receiving the tenons on the rails. I didn't get exactly what was happening - Could you elaborate further just on that bit?"
After pushing in the second mortise, the two intersect each other. In that particular case, SketchUp doesn't remove the faces that would be removed if you were cutting the mortises in actual wood. The vertical faces that cross each other aren't intersected either. You can tell because there's no vertical line at their intersection. I selected all of that geometry and ran Intersect>Intersect Selected to get the required intersections. Then I deleted the unneeded edges and faces to clean that up. That stuff probably wouldn't make a lot of difference in a small model but if you have a lot of that in a larger model, it can cause file size bloat because of the extra edges and faces. Even though I'm usually the only one that could see that stuff, I think it is sloppy workmanship to leave it so I clean it up.
"5) Visual Appearance of Final Drawing - For me the addition of the textures added enormously to the final image , I have no doubt that a client would appreciate it as well . I am aware that your posting was mainly concerned with the drawing process but would appreciate a little explanation of how you achieved the finish on the drawing."
You're right. the aim of this video was to demonstrate the construction of the model; the woodworking, if you will. I'll cover adding the materials in another post. For this model, though, it was extremely simple and fast and there's not much to see. I'll make it a little more interesting though for the post.
Thanks for your interest. The questions are always good.
Happy New Year,
Dave
If you don't mind me asking, what video screen capture software are you using for these tutorials? They are excellent quality. Thanks ...
Dave
Thanks for the detailed reply/explanation to the points I raised .
Generally I am able to make sense of the detail in your reply and I will revisit the demonstration video to make sure I get the concepts lodged in my brain . I am much happier now with the concept of mirroring rather than flipping and I am grateful to you expanding on this important concept for me.
There is one just bit I still can't get and that is the the bit from 6.28 to 7.24 where you state you are working inside the leg . I don't understand the view ( it's dark inside the leg ! ). Could you explain again how you are getting the view of the interior of the leg ?
Glad to know that you had planned a future post for the wood finish .
Thanks
Jonas Mac
Swingman, I use SnagIt8 for my screen capture. I tried a couple of free ones but had a lot of difficulty keeping the audio and video synchronized.
Jonas Mac, sorry for the confusion. When I edited the leg to insert the mortises, I orbited the camera so it was inside the rails. That allows me to trace the base of the tenons easily and accurately. Before orbiting the camera into the rail, I opened the leg for editing.
Does that help?
This method doesn't work for users who have set up SketchUp to hide other components while editing a component because the rail would then be hidden.
Dave
Dave
"I orbited the camera so it was inside the rails."
I wasn't aware that you could position the camera inside the actual leg. What do you click on to to this?
"Before orbiting the camera into the rail, I opened the leg for editing."
Is this a matter of just clicking on the leg component ?
Thanks
Jonas Mac
Jonas Mac, there's no collision detection so you just zoom in somewhat close and then orbit. Since SketchUp is a hollow modeler you can put the camera inside a component if you want. I use the center mouse button to orbit so it makes it very quick.
I open components for editing by double clicking on them with the Select tool.
Dave
Dave
I seem to have got a bit lost trying to replicate the position the camera to carry out the adjustments within the leg as the video.
Doe one have to invoke the camera positioning tool or be in a particular mode to get the internal view illustrated in the video ?
I have gained a lot though the tutorial generally . I am aware that Sketchup is not a solid modeller, I can see the ends of tenons when I remove a face on the leg , It's just the positioning of the camera within the leg which is evading me .
Thanks
Jonas Mac
Jonas Mac, I'm sorry this is orbiting thing is giving you trouble. I certainly didn't mean for it to be a hard thing to do. There's nothing to invoke and nothing special to do as far as placing the camera. I use the center mouse button to switch to orbiting the camera as I move the camera into the rail.
E-mail me and let's see if we can arrange a time so I can do a demo for you. We'll get you over the hump, yet. Click on my name at the end of the blog post, above to send me an e-mail.
Dave
I'm seeing a similar thing (in 7.1.6087), and I'm wondering if there's been a change in the code, because I know I've been able to orbit and zoom inside a solid before. Now, it looks like no matter how close I get, when I orbit I'm still beyond the "near end" of the model.
-Steve
I have the most current version of 7.1 Pro on my machine but this is something I've done for years. I've also done it on the free version.
Steve, perhaps we can hook up, too.
I wish we could edit comments.
I wonder if there's a difference between PC and Mac versions for this. I have put in a call to find out and will report back.
Dave
I haven't heard back from my 'people' on this but I tried it on my Mac again and had no trouble at all. I wonder what's going on. I would like to help you get this worked out, though.
I just emailed Dave with the solution to the mystery: The camera has to be set to perspective projection in order to be able to rotate into the interior of a component. If the camera is set to parallel projection, it is effectively positioned at infinity, making it impossible to get "inside" anything.
-Steve
FWIW, I've personally found it easier to use the "pan" tool to get inside some components. Just zoom up close, then "pan" in toward the model. Might want to try this as an alternative if "orbit" is giving you trouble.
YMMV ...
Swingman, I'm glad you got it to work.
Dave - great technique video. Having just purchased a digital plan and seeing benefits, I am interested in using SU for future projects. Can plugins be used with the freeware SU?
Thank you Dustyface,
There are no limitations on using plugins with the free version of SketchUp. That said and since you're just starting out with the program, I would suggest getting familiar with the native tools before adding a bunch of plugins.
Dave
I just cannot get this concept of positioning the camera inside the rails. There must be some step or setting that I am missing. Could you please give some more detailed description of how this is done? Thanks.
PghDave, are you working with the Camera set to Parallel Projection or Perspective? I work in Perspective mode while modeling. There aren't any special steps involved. Just zoom in so the end of the rail nearly fills the drawing window and then orbit to the side until you are in the rail.
You might try shifting to X-ray view so you can see where you're going a bit more easily.
Dave
Log in or create an account to post a comment.
Sign up Log in