
35 Degree Field of View
A week or so ago I was chatting with a new SketchUp user. He was asking if he could control the perspective in his views of his model. As it turns out there is a lot of freedom to control the SketchUp’s camera. In the Camera menu you can choose from Parallel Projection, Perspective or Two-Point Perspective.

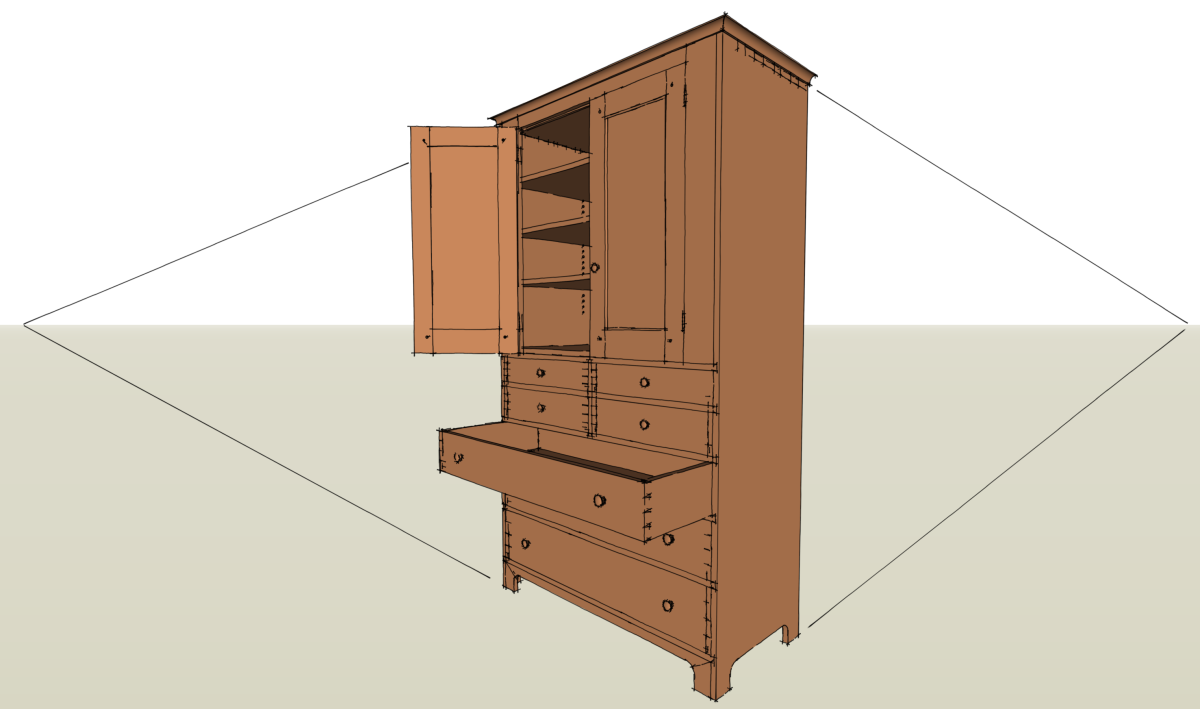
Typically the default camera setting is Perspective. As you can see in the image above, the horizontal lines, although parallel in reality, appear to converge toward vanishingpoints on the horizon. Things at greated distance will appear smaller. Although it doesn’t show in this view, the vertical lines also converge toward a third vanishing point. If the camera’s point of view is from above the horizon the vanishing point will be below the horizon. this can make the model look smaller at the bototm than at the top. This image was created with the camera set to 28mm focal length to bring both vanishing points within the drawing window.
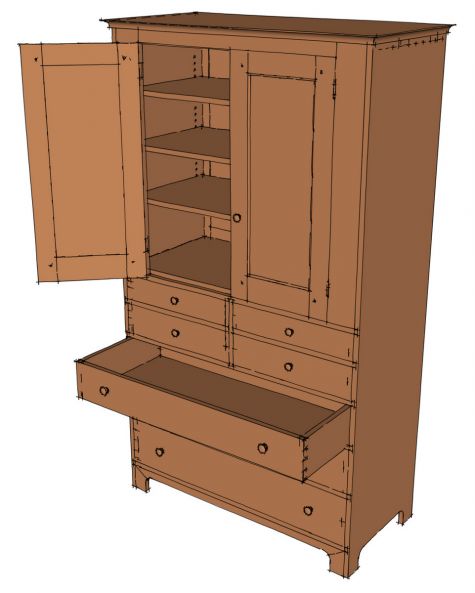
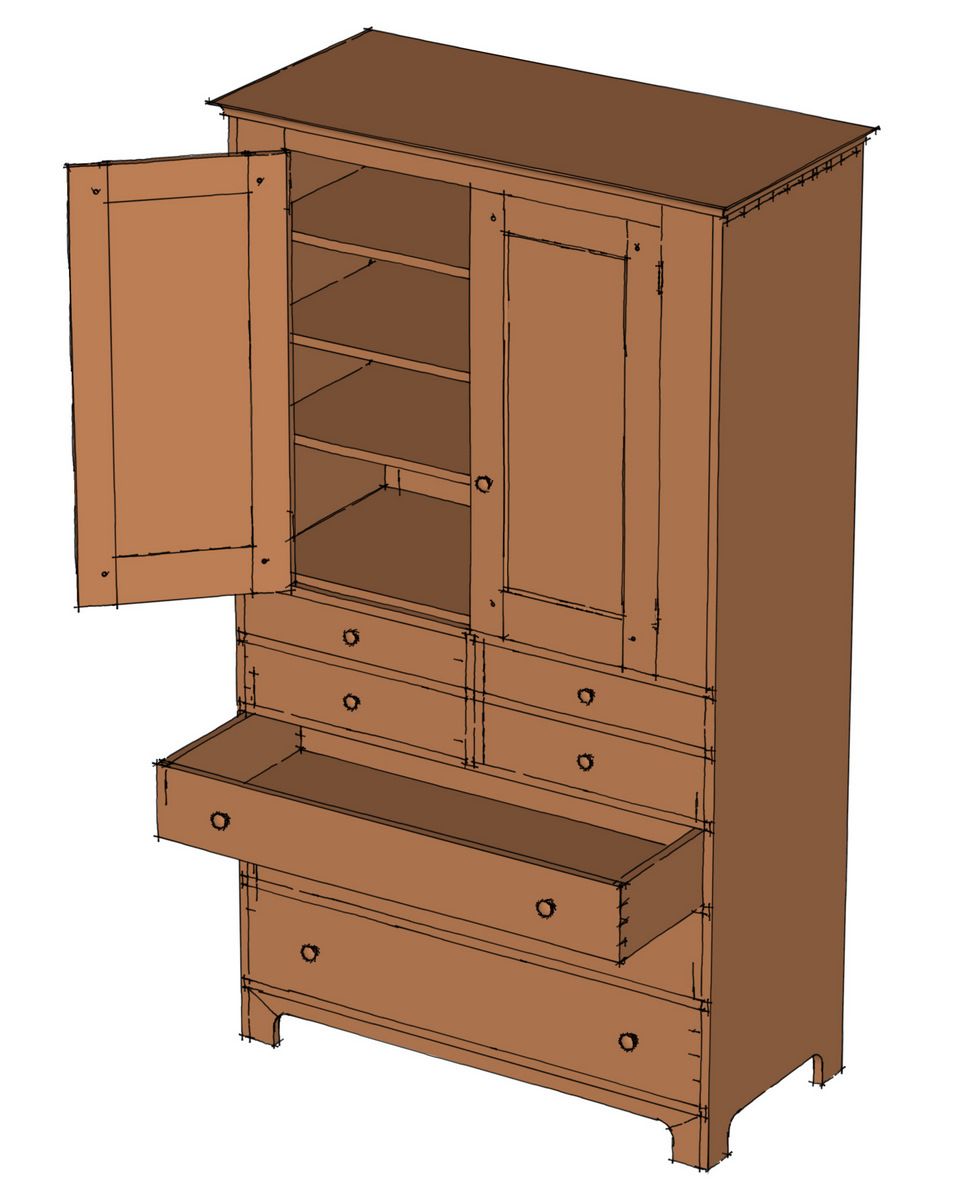
The default setting for the camera in Perspective view is 35°. The perspective effect from the converging lines is fairly obvious here. You can even see that the vertical lines appear to converge.
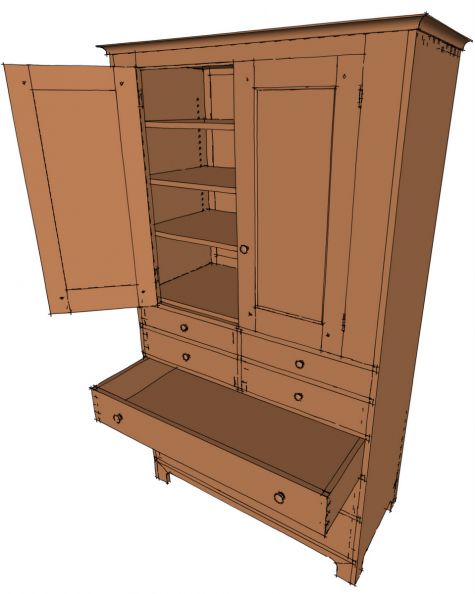
With the camera set to 28mm, the perspective effect is quite strong.

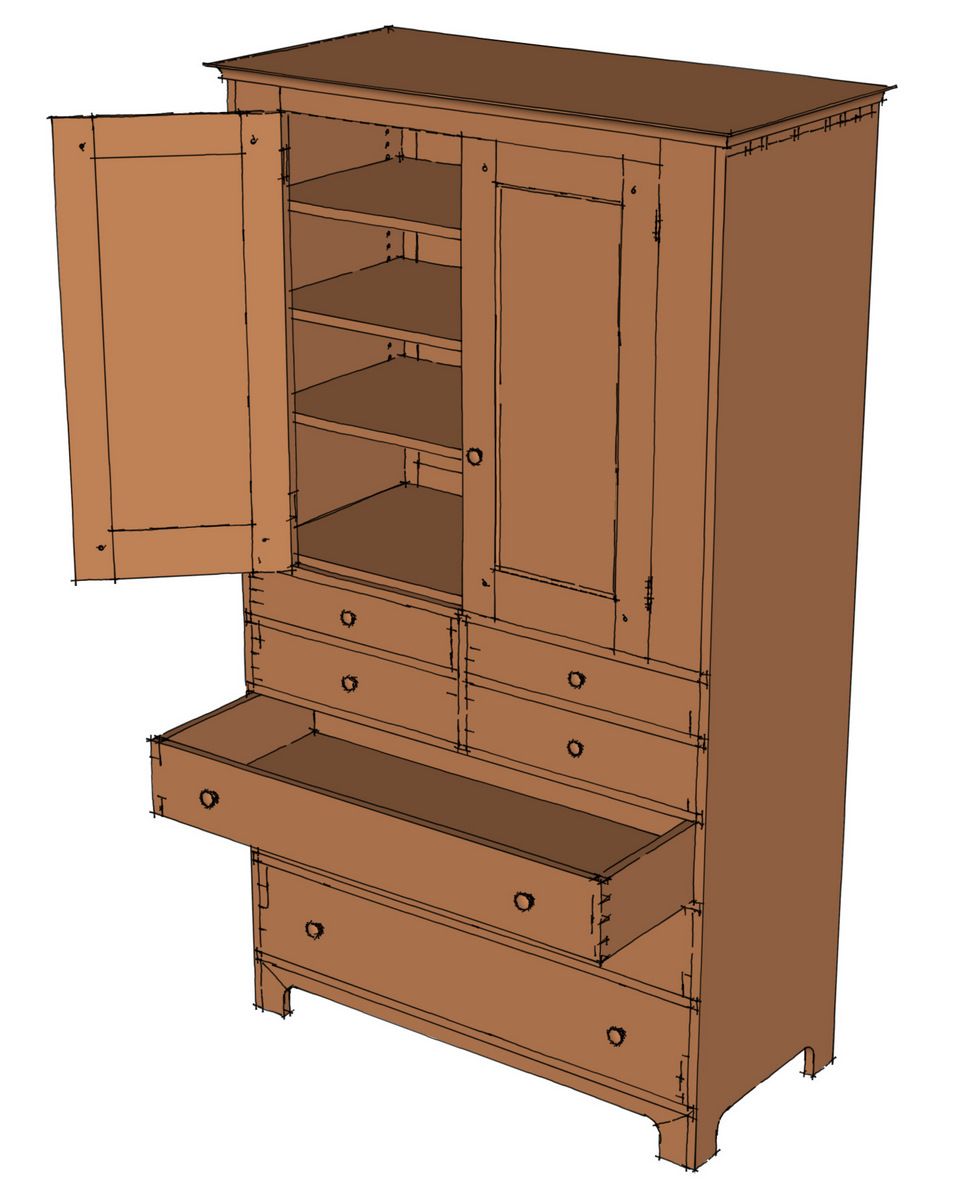
At 85mm, the perspective effect is subdued but it’s still there. This is actually a pretty nice view for furniture pieces.

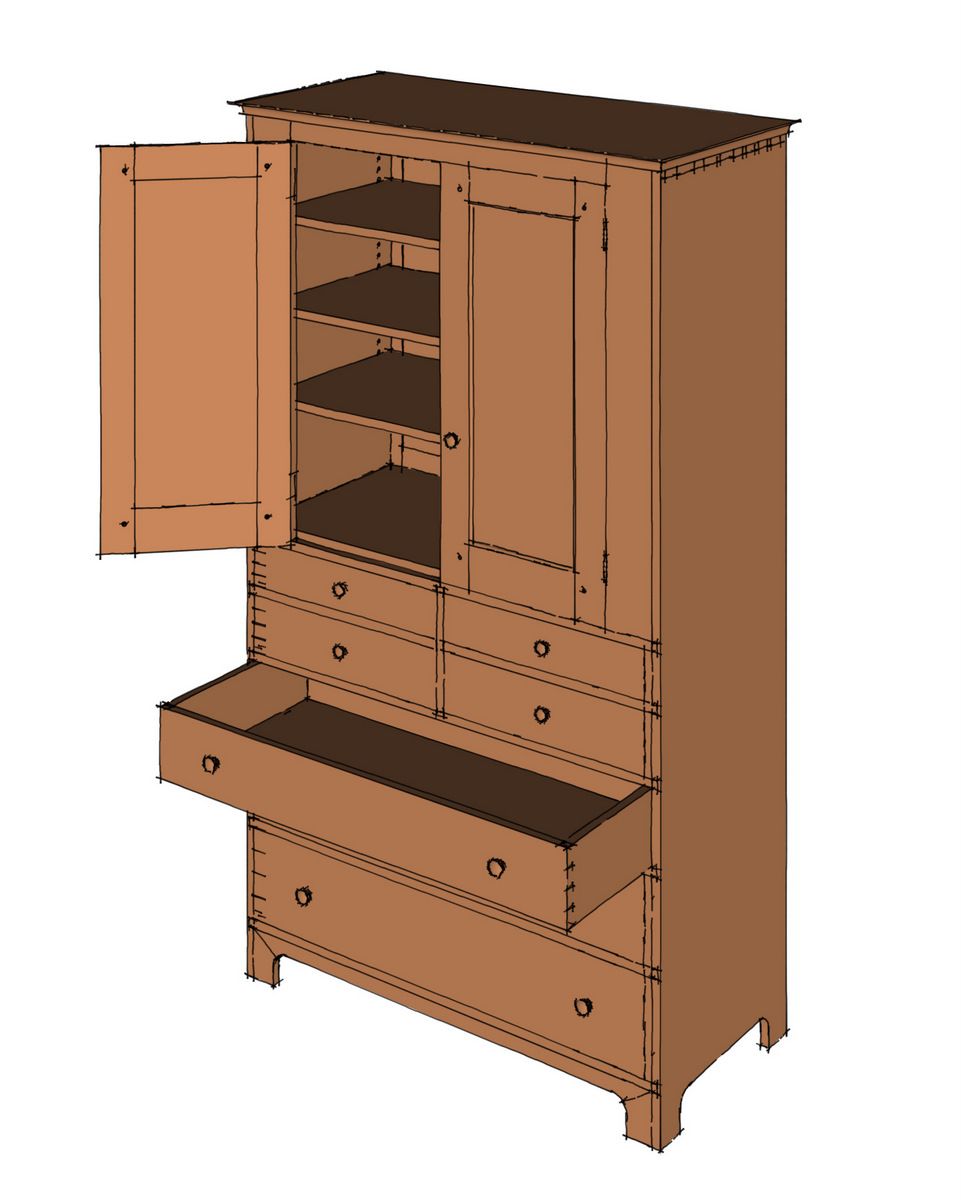
A focal length setting of 200mm compresses distance and lines don’t appear to converge at all.

To addjust the angle of view of the lens in Perspective mode, you can either go through the Camera menu and choose Field of View or you can click on the Zoom tool. Then just type the value you want. You can type either a focal length or the angle of view in degrees. If the label in the Measurements box shows “Field of View” and “deg.” and you want focal length in millimeters, enter the units, i.e. 85mm and hit Enter. The label with change to “Focal Length” and the value will be shown in millimeters. If you want to go back to Field of View, add “deg” after the value.

You can also choose Two-Point Perspective which will cause the vertical lines to be drawn parallel to each other. After selecting Two-Point Perspective from the Camera menu the cursor will change to the Pan tool (white hand). You may find you need to pan the camera up or down to see the entire model. Note that if you select the Orbit tool the camera will go back to normal Perspective.
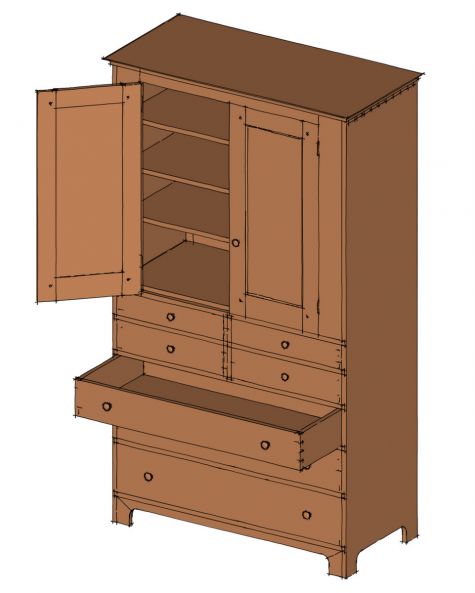
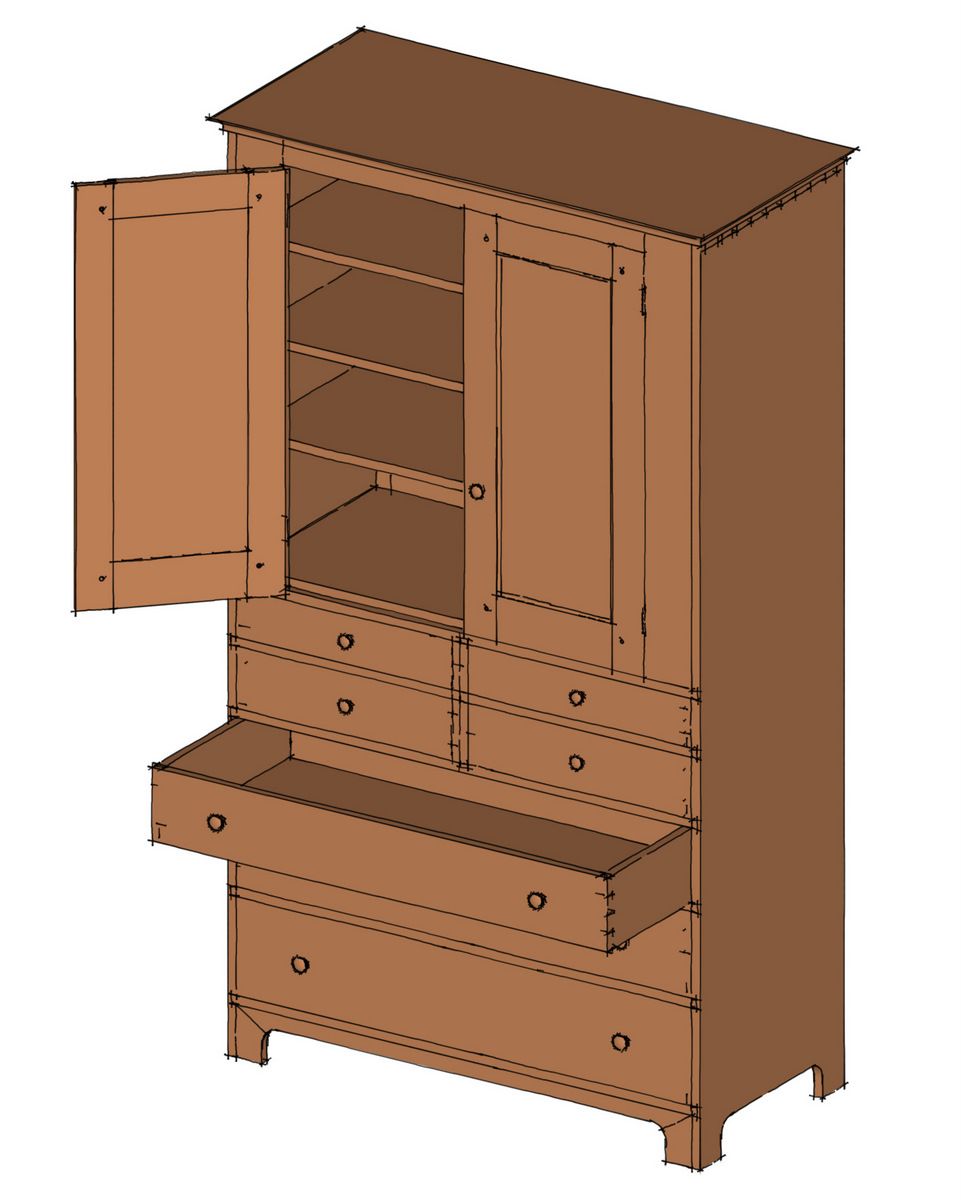
Finally, the Parallel Projection mode results in lines drawn so they don’t converge at all. this is also referred to as Isometric Projection. There is no reduction in size as distance from the viewer increases. This view is a common “3D” view created by 2D technical drawing methods. There is sometimes value in this sort of drawing especially if you need to be able to scale parts off of the drawing. On the other hand, it can be a bit jarring for those who aren’t used to looking at this type of drawing. If you are making images for a client to look at, you may find they have a better time reading perspective views instead of Parallel Projection. In any case, you have your choice.






Comments
That is a great tip. I use that trick all the time for getting pictures in tight spaces, such as the back side of an island that is in a hallway.
I have some shortcut keys built in to take advantage of this. Alt+1, Alt+2, etc are set to the default views. Top (plan) view, front (elevation view), etc.
Then Alt+P is set to Perspective. When Perspective is off, it defaults to Parallel Projection (Isometric) so that Alt+P will toggle between the two.
I can switch around pretty easily when drawing things with flat sides, or if I want to see what it looks like Isometrically from the top, front, bottom, etc.
Log in or create an account to post a comment.
Sign up Log in