Cutting and Fitting a Blind Finger Joint
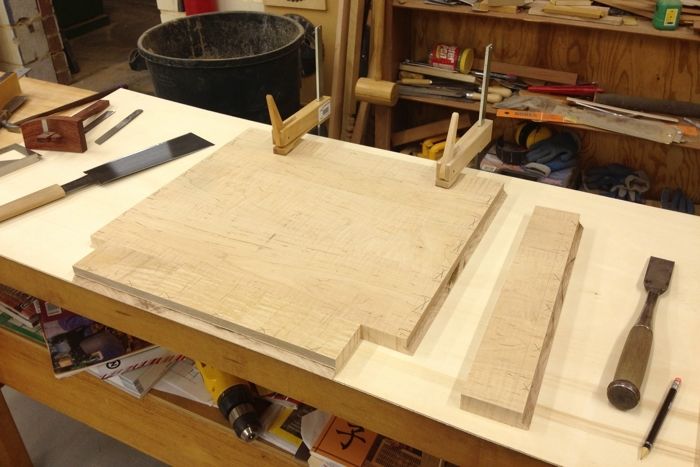
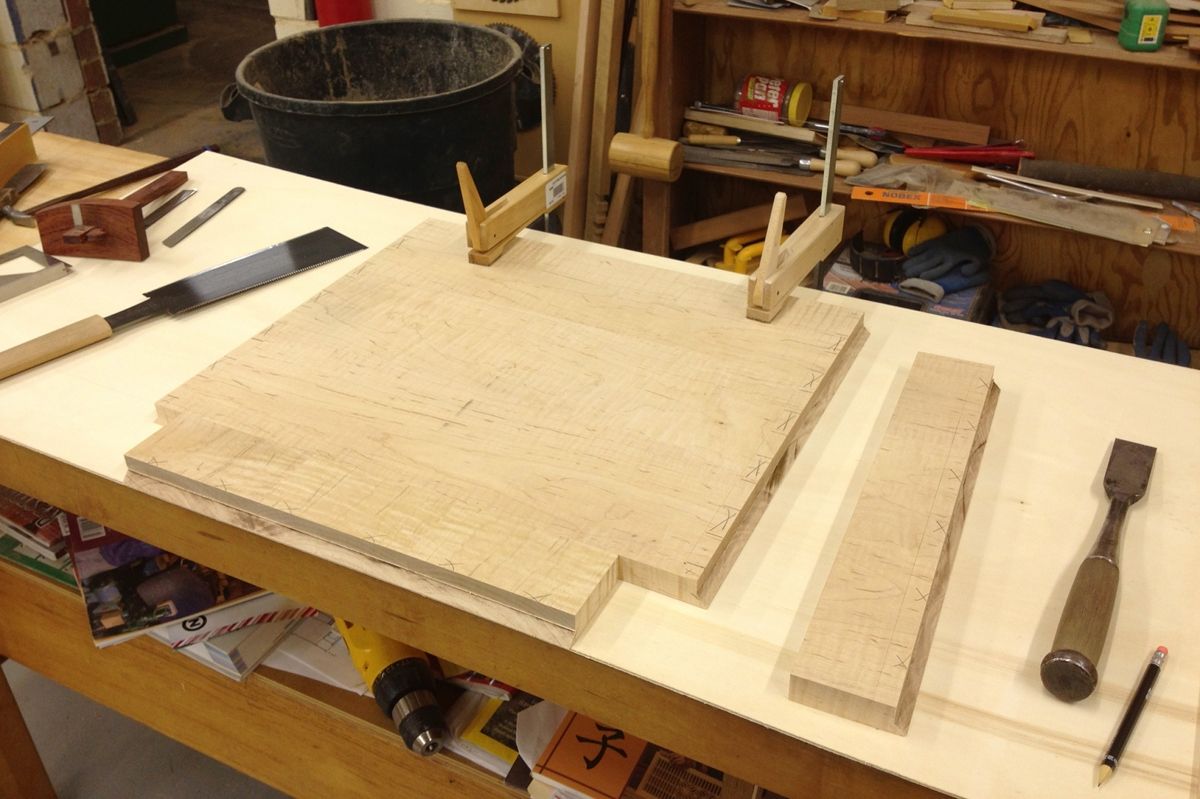
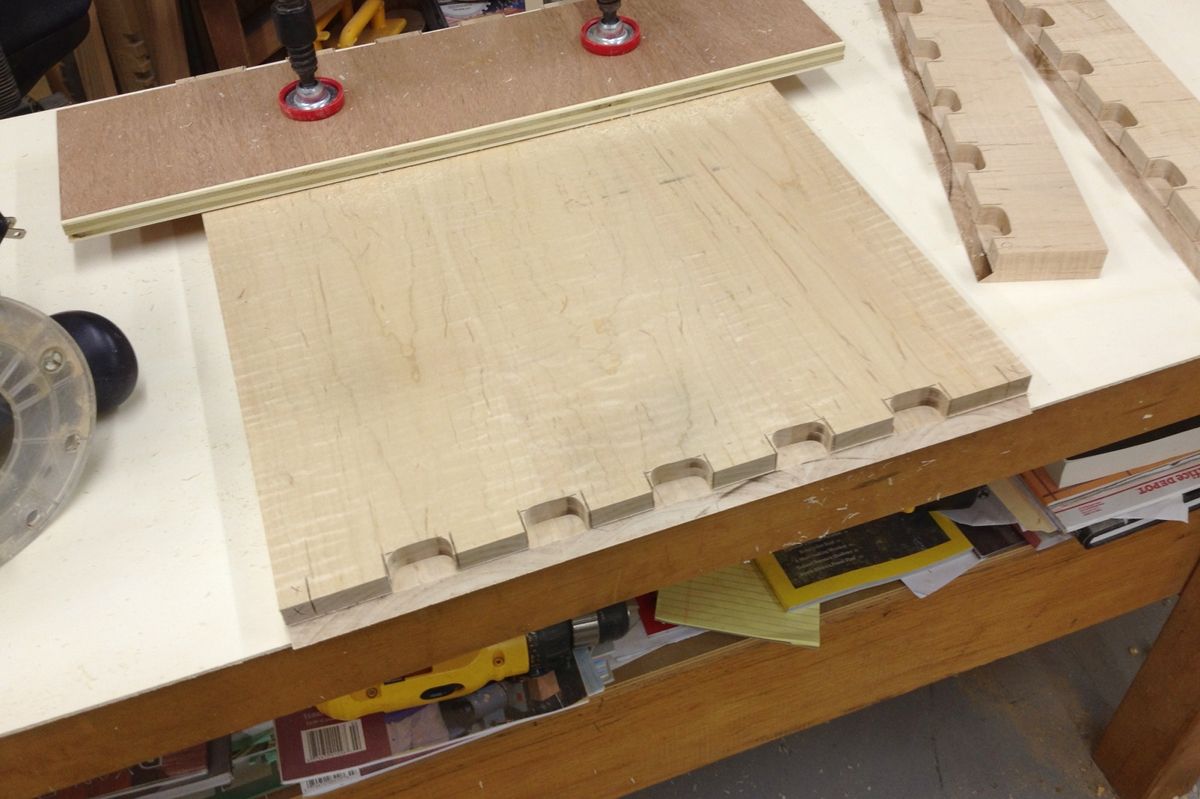
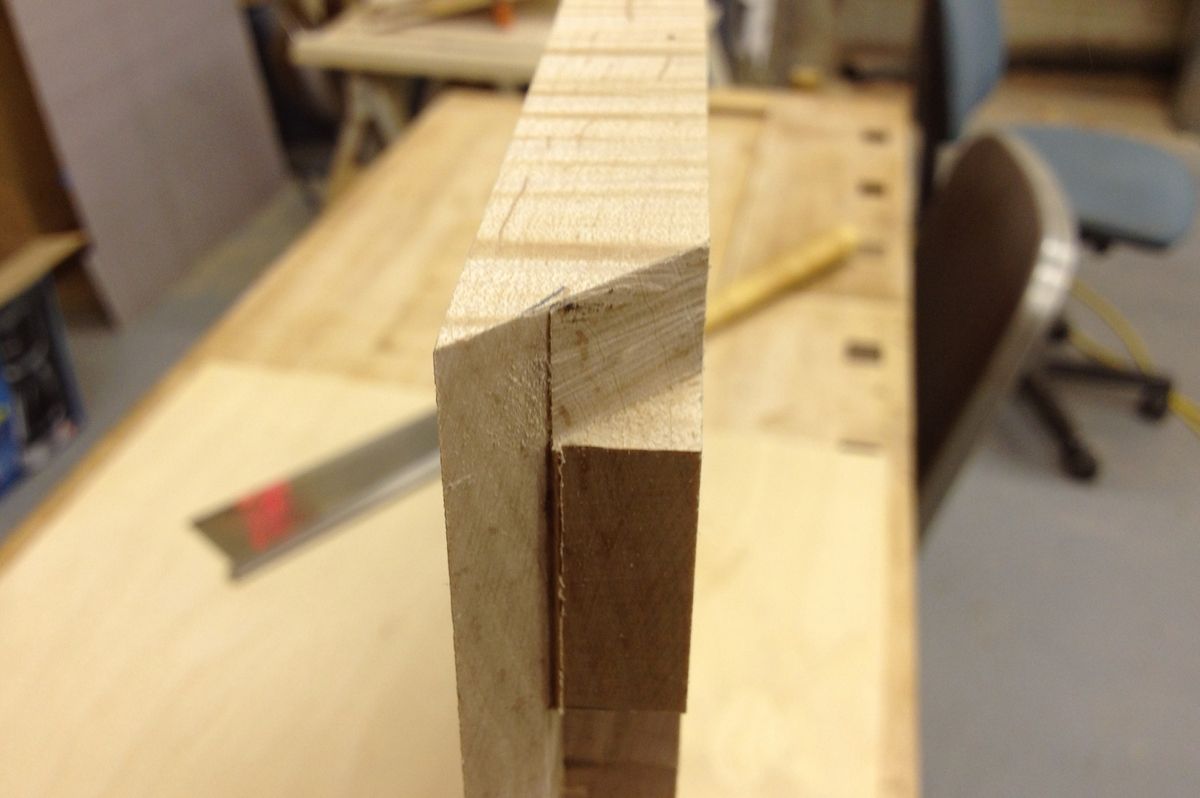
Parts and tools on my workbench ready for the rip cut on the finger joints.
Panel Preparation
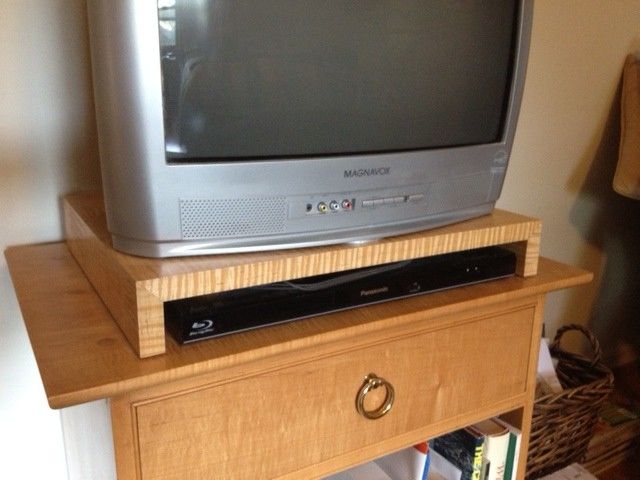
This little entertainment center project was constructed from a single piece of 4/4 curly soft maple which started out at a little under 6-in. wide and 8-ft. long. After removing 2-in. to 3-in. from the ends, I cut my stock into three equal lengths, and followed up by machining them flat, straight, and to a width of about 5-3/8-in.
I oriented the three pieces so that the annual rings all ran alike, with the plan to have the outside of the tree up in the final product. Additionally, I made sure most of the grain all ran in the same direction along the edge of the boards. Lastly, I arranged the boards so that the figure and grain on the face of the boards made for a pleasing composition. Once satisfied with the arrangement, I checked to make sure the edge joints were clean, straight, and square. The panel was glued up with yellow glue and a few pipe clamps. I like to remove excess glue with a thin putty knife and sight the panel to confirm that it is flat and free of twist when I set it aside to dry.
Handplaning the Panel
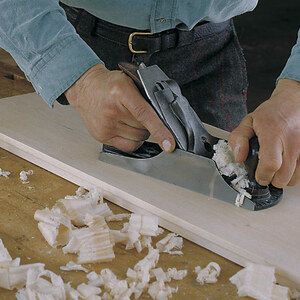
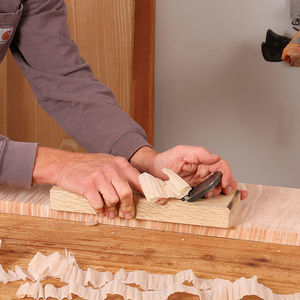
Once the glue was dry enough to remove the clamps, I scraped off any remaining excess glue. From there I planed the top and bottom faces in two steps. Initially cleaned up the faces and evened out any inconsistencies at the glue joint with a 60mm hiraganna. Because the maple was figured I started with light passes to verify the best direction to plane. Then I increased the cut to create a shaving with a thickness between 2 and 3 thousands, the thickness of a sheet of writing paper. With the panel clean and flat I used a 65 mm hiraganna to put the final surface on the two faces and both edges. At this point I am looking for the thinnest full width shaving I can get.
With the panel surfaced I cut my parts to length on a cabinet saw with the aid of a crosscutting sled. The top is 16-in. deep and 20-in. wide. The sides are 2-3/4-in., tall leaving 2-in. of height to accomodate a Blue-ray player.
The Joinery
I started out by scribing a light line with a kibiki 3/4-in. in from the end, staying a short way off the front and back edge so that it wouldn’t show up after the joint was assembled. Using a pencil, I layed out the width of the knuckles of the finger joint just a taste wider than a 30mm chisel. The sockets and pins of the joint were 1/2-in. in thickness and length. This left 1/4-in. in thickness for the miter along the outside corner and and approximately 1/2-in. at the front and back edges. With my tablesaw set at 45-degrees, I cut the 1/4-in.-deep miters across the width of each part. With the saw set back to 90-degrees, I trimmed 1/4-in. off the ends, making sure to stay just clear of the miter.
Making the Sockets
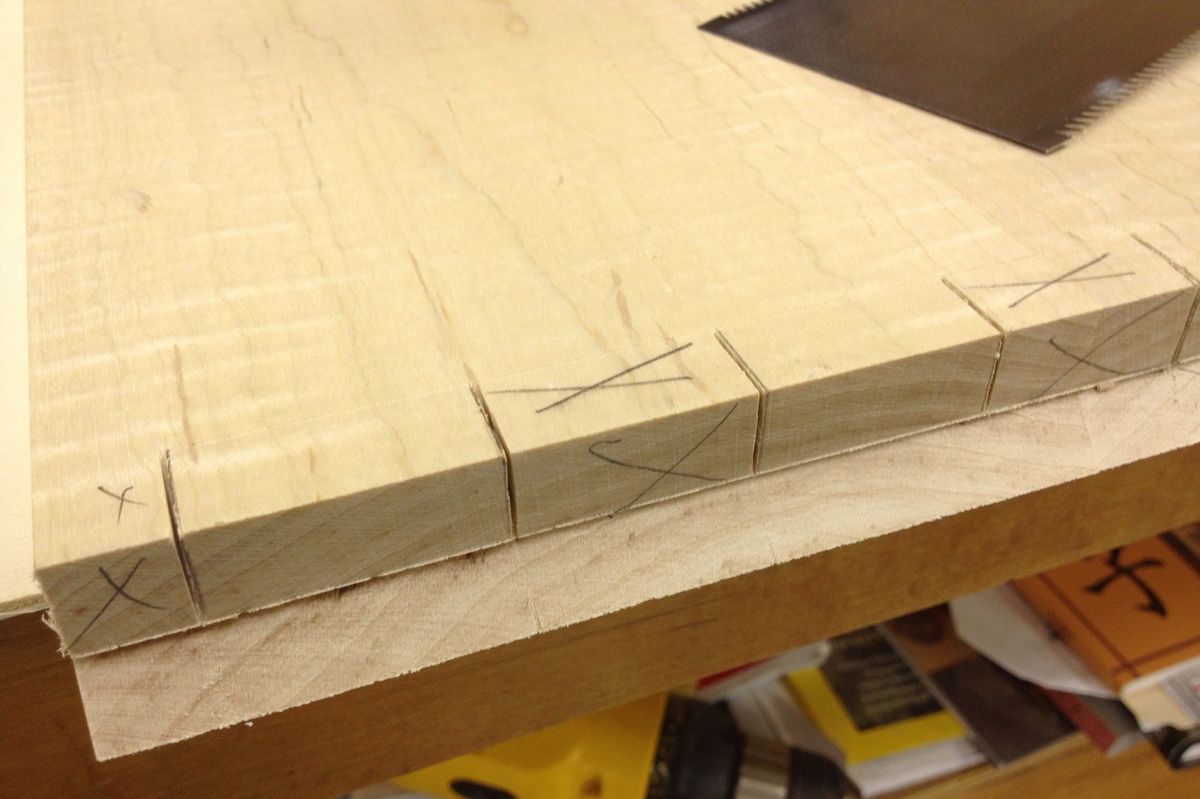
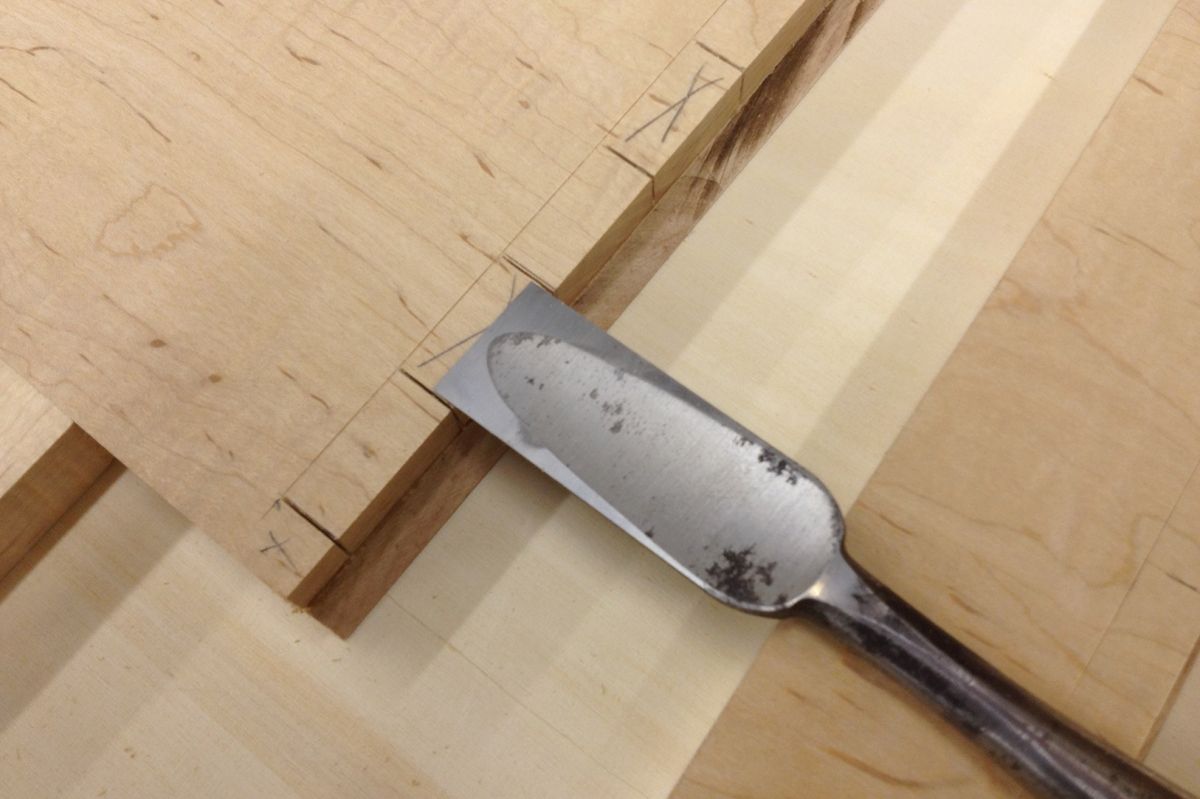
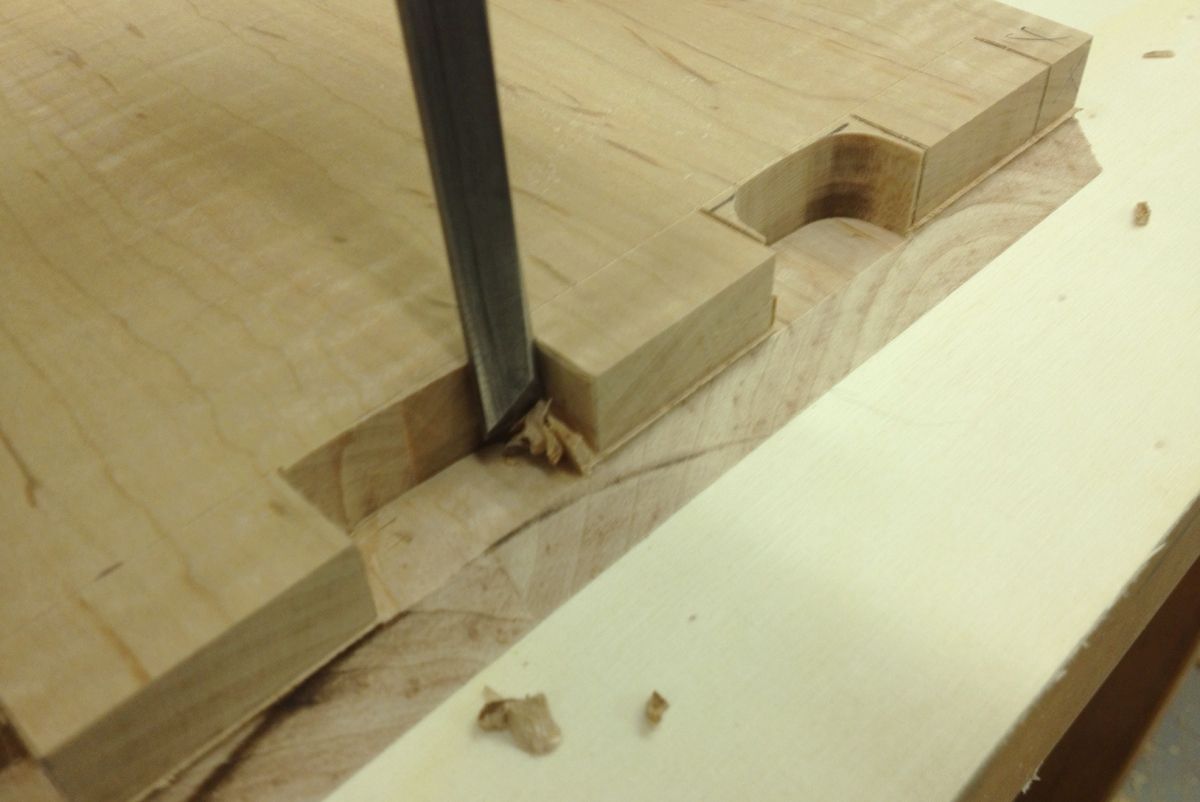
With a 210mm ryoba I made a small rip cut on the socket side of my pencil lines. Because my side pieces were so short, I opted to clean out the majority of the material in the sockets with an electric router. I was concerned that if I chopped out the waste, I would run the risk of splitting the sides. With the 30mm nomi that was used to lay out the joint, I trimmed the sockets right up to my scribe line, 3/4-in. in from the end and split the pencil line that defined the width of the sockets and pins.
Miter
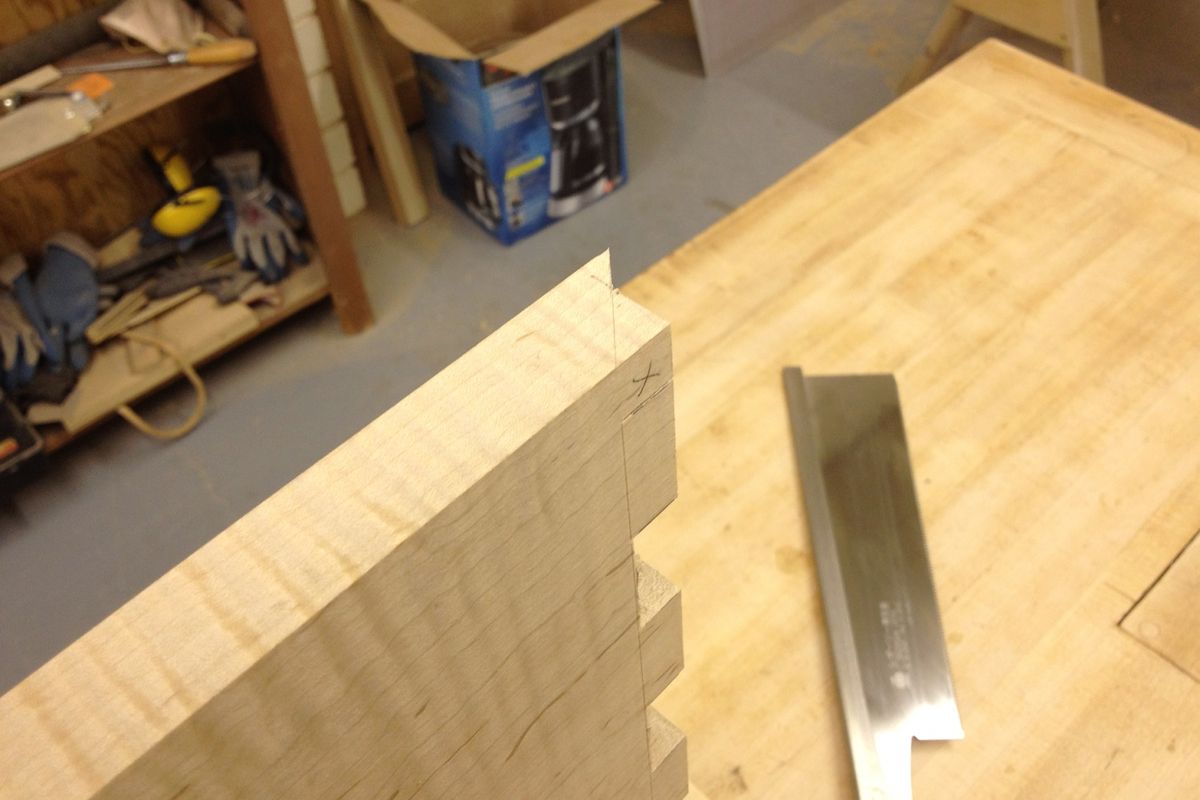
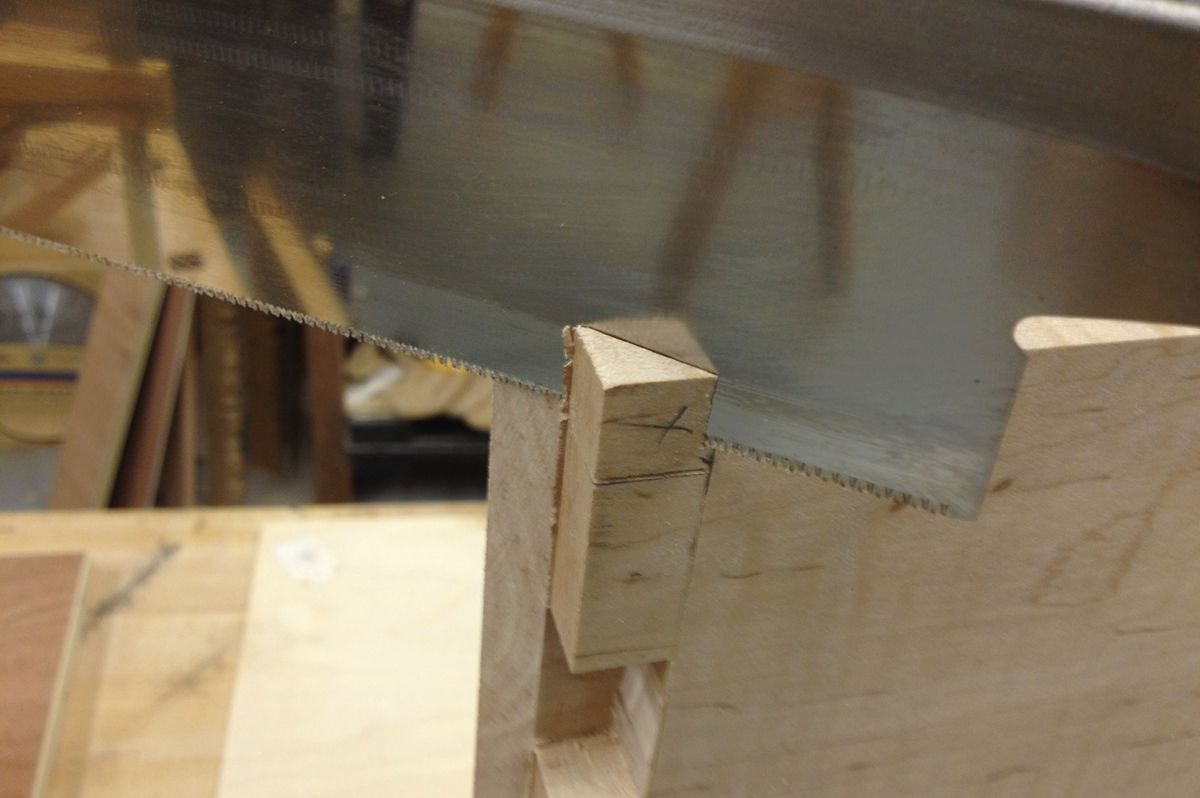
With a 240 mm fine toothed dozuki saw, I cut the remainder of the miters at the front and back corners, staying just to the waste side of the line. With a paring chisel I trimmed the sawn part of the miter to line up with the miter cut established on the table saw.
Final Fitting
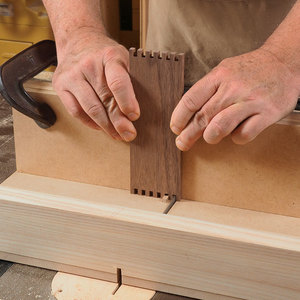
Once all the joinery was cut according to my layout, I checked to see how things fit together. I used a paring chisel to loosen up any pins that were too tight. With the knuckles of the finger joint sliding smoothly past each other I verified that the depth of all the sockets were sufficient. Finally I made a few slight adjustments to the miters at the front and back edges so that my parts would come together at 90 degrees.
Assembly
One of my goals was to not have to do any cleanup or surfacing work, short of breaking edges after the assembly. I made clean glue blocks to protect my surfaces and was careful to resist my tendency to use too much glue. With all the surface area in this joint, I wasn’t concerned about strength, however I did shoot for a row of tiny glue beads along the outside corners.
Finish
I finished with three coats of a thin wiping oil varnish and rubbed the final coat out with a fine abrasive pad.
Summary
Based on this little test project I think that the blind finger joint/miter is a practical joint for solid wood case work were a strong joint is needed and a clean mitered look is desired.
 Jay Speetjens’ Two Pines Trading Co. specializes in Japanese hand tool instructional videos, classes and more.





Comments
Nice shelf. Now if I only knew what Kibiki, Ryoba, Nomi and Hiraganna was...
oh, yeah, and is there a huge difference (read as functional) between a 60mm and a 65mm Hiraganna? And is 240mm critical when selecting the Duzuki?
I agree, nice shelf. Kinda lost me on the particulars though.
Although nothing presented here needs to be exclusively done with Japanese tools, probably 95% of my hand tools are. The last 5% is just a matter of time, well and money.
A kibiki is a marking gauge that is equipped with a small marking knife for scoring the line. A ryoba is a two bladed saw. One edge is set with rip teeth and the other crosscut teeth. Nomi are chisels. Hiraganna are smoothing planes. Typical or standard Japanese smoothing planes are 70mm. I like the feel of 65mm kanna. In hardwoods opting for narrower planes make the pulling of shavings a bit easier.
As far as saws are concerned there are several considerations. For saws other than replaceable blade types, blade length corresponds to teeth size. With replaceable blade saws most manufacturers offer several blade configurations for their main saw lengths.
If you are interested in learning more, Toshio Odate has a comprehensive book on the topic.
Japanese Woodworking Tools: Their Tradition, Spirit and Use by Toshio Odate is one of the few comprehensive English language texts on the subject. This work is replete with clear descriptions of a wide range of tools, from marking to sharpening including tangible information on their set-up and use. Woven into the text is a rich narrative of personal experiences as an apprentice and in later life, which illuminate the values and spirit of the shokunin, approach to their work and respect for the tools.
Link:http://twopines.net/Two_Pines_Trading_Co./books.html
Log in or create an account to post a comment.
Sign up Log in