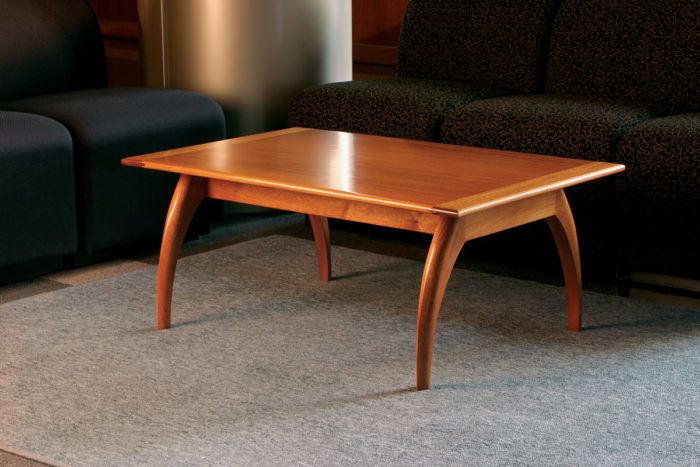
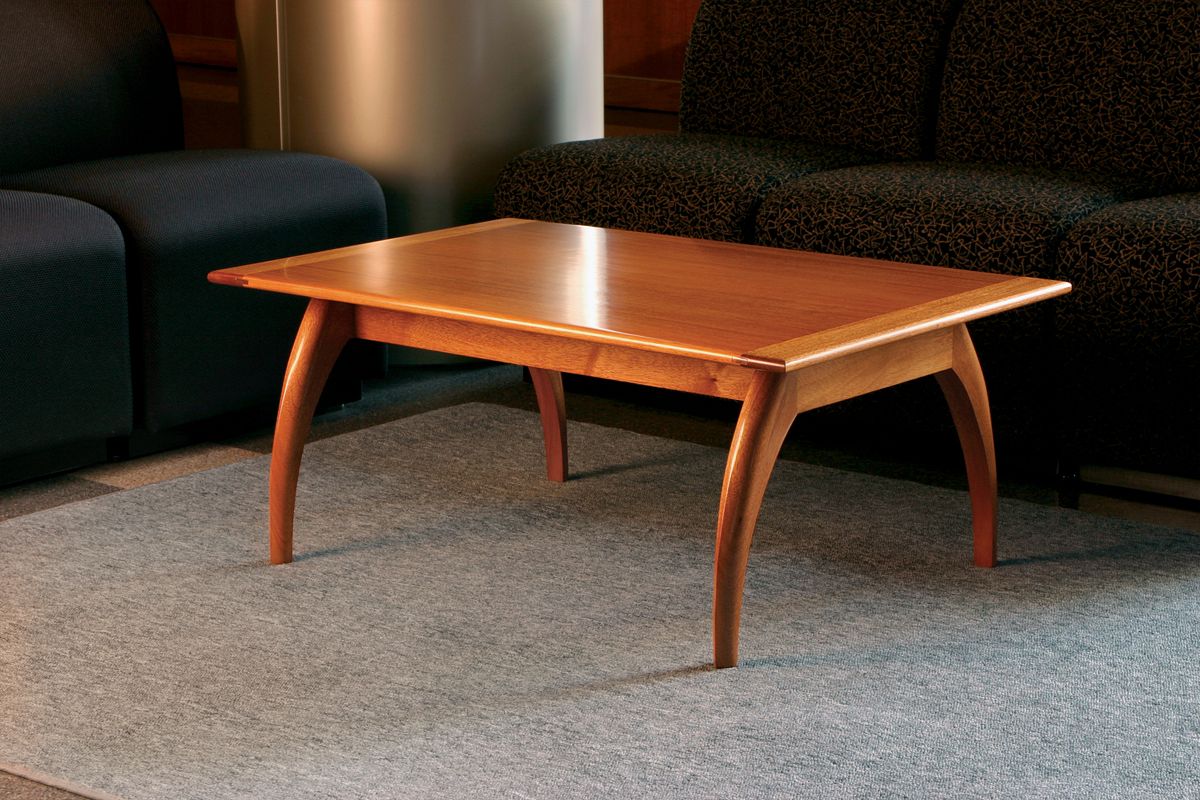
Scandinavians are known as some of the world’s most dedicated coffee drinkers, and who can blame them? If my coffee table looked as nice as this one, designed in the Scandinavian style by furniture maker Mario Rodriguez, I’d have an extra cup or two every day myself. Just so I could sit and admire the furniture a little longer.
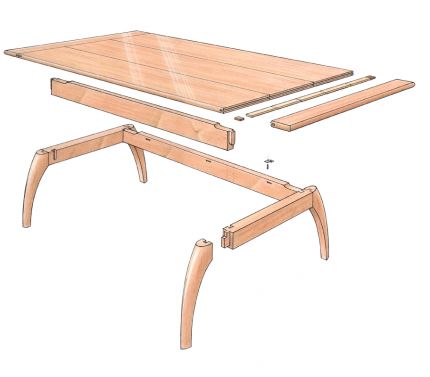
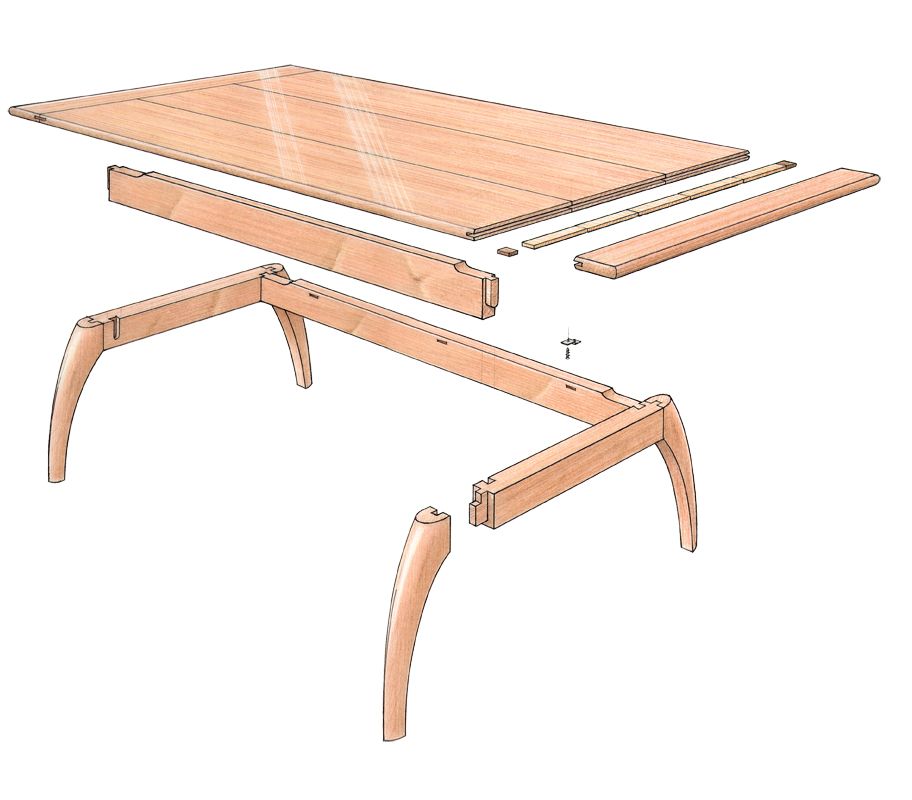
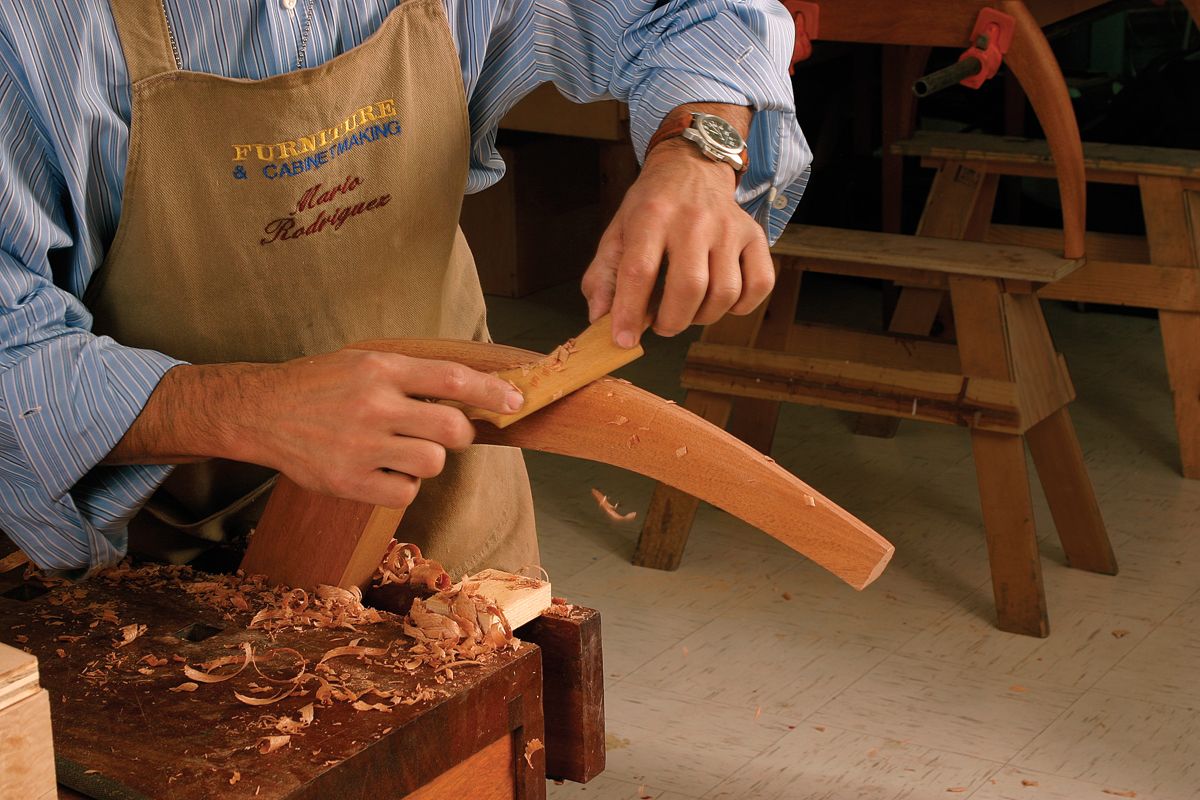
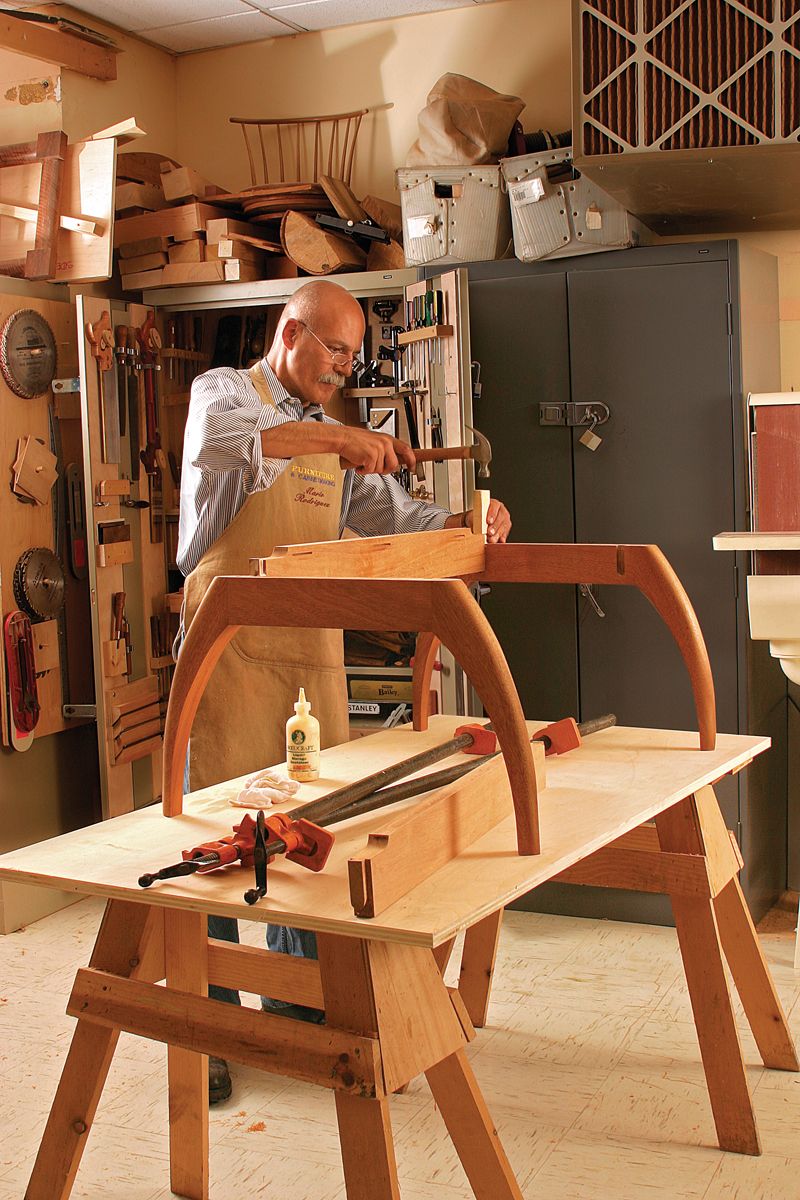
The table features legs with bandsawn arches shaped by spokeshaves and other hand tools. The legs are joined by stretchers that support a floating top, which features breadboard ends.
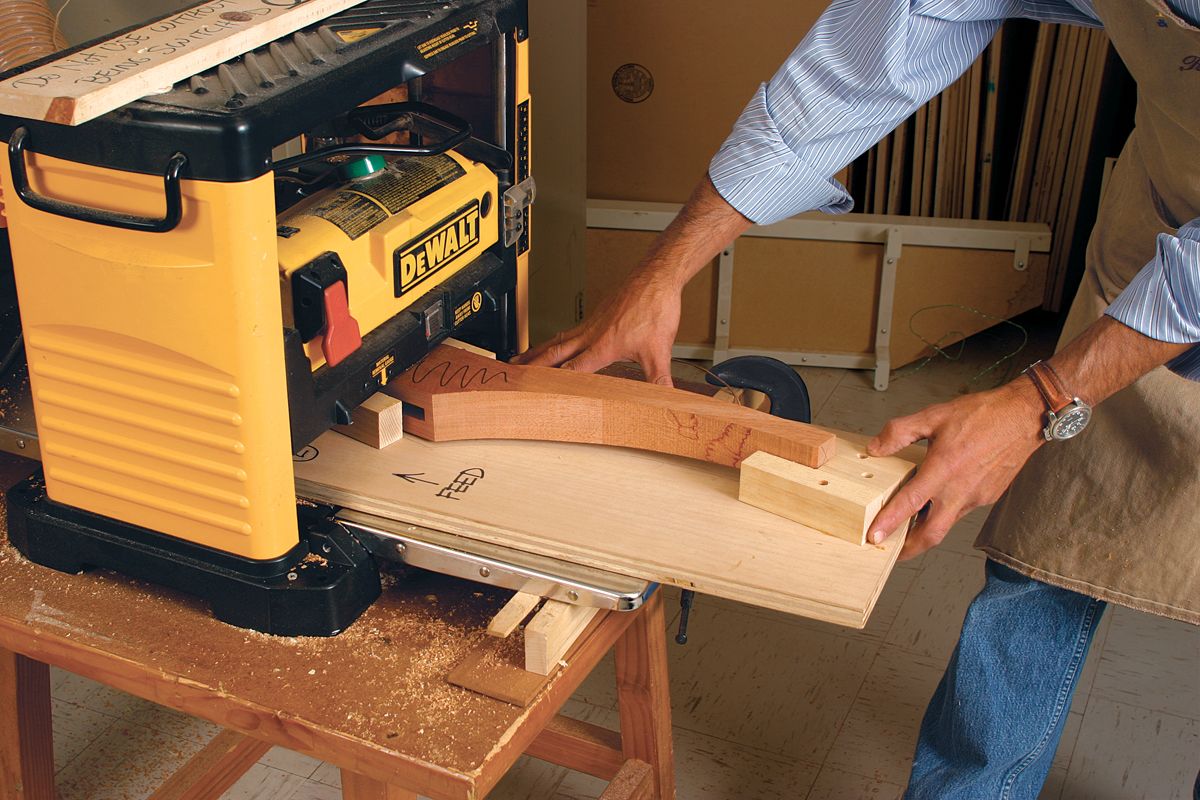
Now you can give your own woodworking a shot of caffeine by building the table, following the drawings and instructions in this free download. The download includes a dimensioned drawing of the project, along with Mario’s 8-page artlicle describing the build. Other drawings include scaled leg details that can be enlarged to serve as a photocopy templates for cutting and shaping the table’s legs. Mario also demonstrates how to use a planer sled to taper the leg’s thickness from top to bottom.




Comments
exelente aporte
Great learning experience for an amateur woodworker. I struggle with the finish trying to just use Pure tung oil in several layers. I eventually sanded this all off and went with Minwax wipe on Poly. Material: American Walnut. Time: 20 hours. Note: get yourself a spokeshave Sanding the laeg into shape takes a long time. Thanks for the plan!
The hardest part I see on this project is to shap the legs. Maybe i'm missing something here but wouldn't it be a lot easyer to cut and shap a thin pattern for the legs then cut and shape your leg blanks to the pattern then round over the edges.on the router table. Done. I've been thinking about making this table for a long time and thats the way I will approace it.
looks really stupid, it looks like its made out of wood or something, why would anyone eat the carrots?
This is just absolutely gorgeous! What a beautiful and functional piece of furniture!
I've made this project twice, once out of African Mahogany and Walnut, and again out of Sapele. The first one was a learning experience for a beginner, but successfully completed. I also used draw bore dowels in the leg Tennons for a little more strength. The second one (a year later) replicated the plan completely and precisely.
Both were finished with 3 coats Waterlox sealer finish and one coat Waterlox high gloss finish.
Log in or create an account to post a comment.
Sign up Log in