Bandsaw Box Bonanza
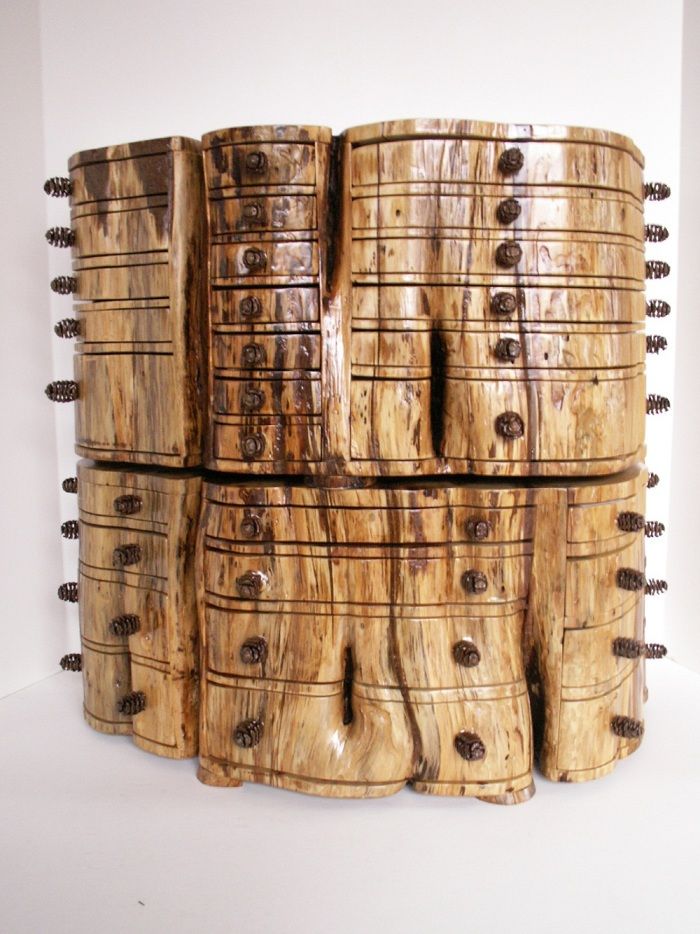
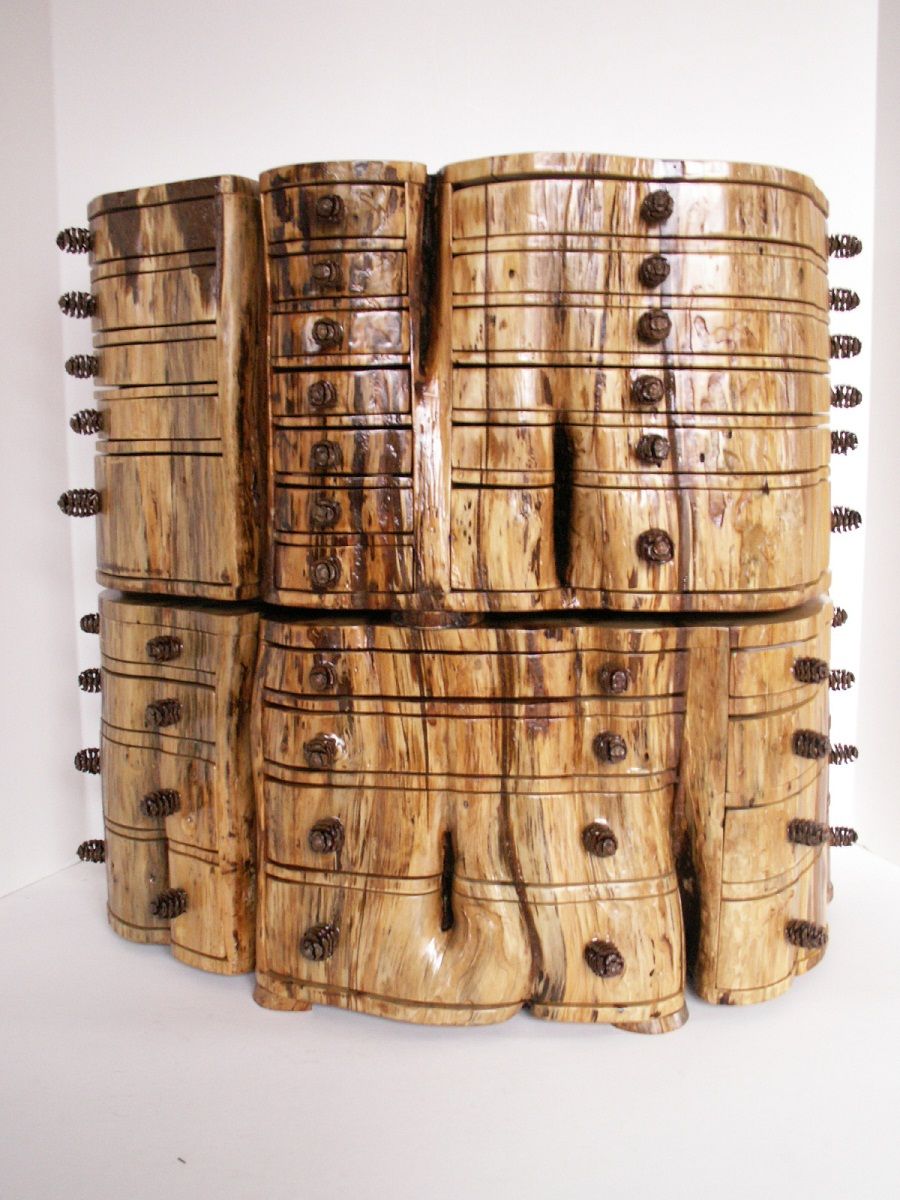
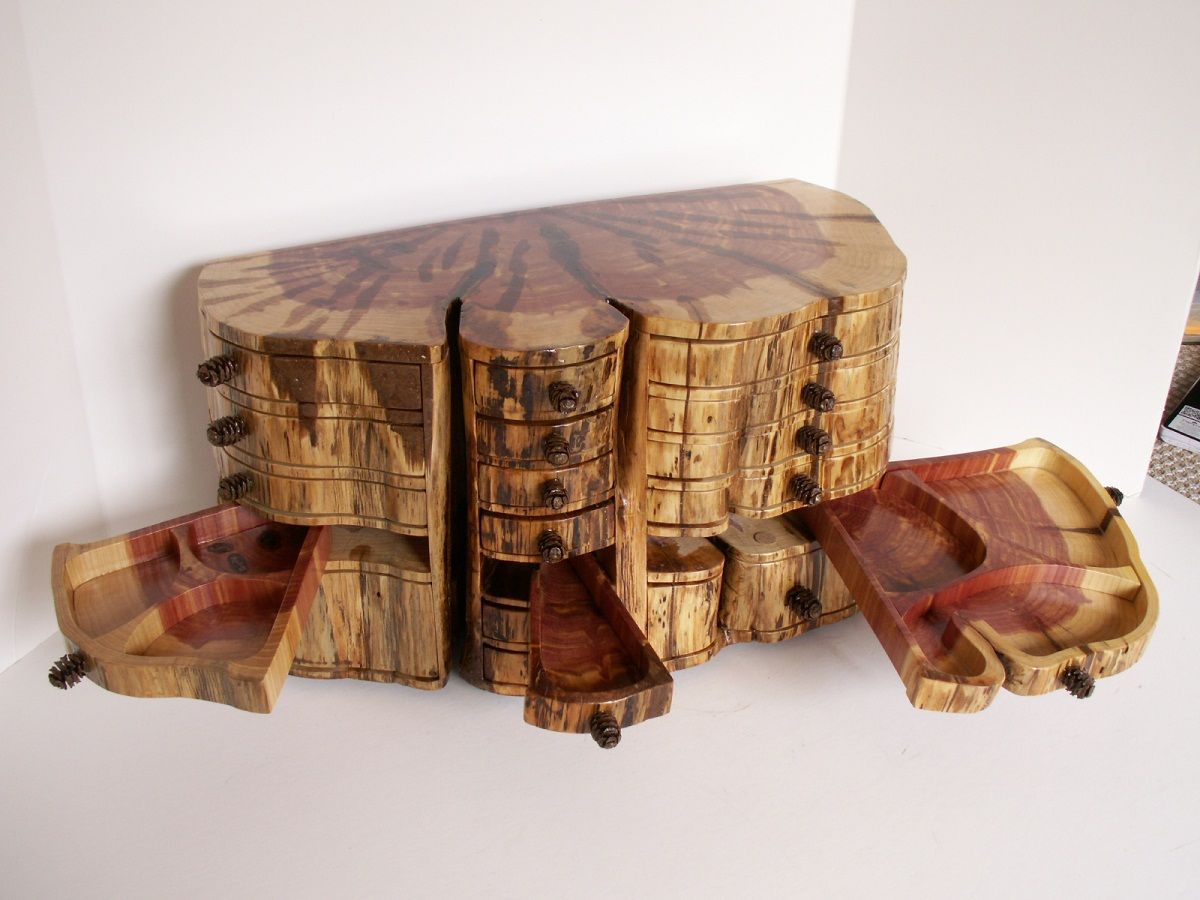
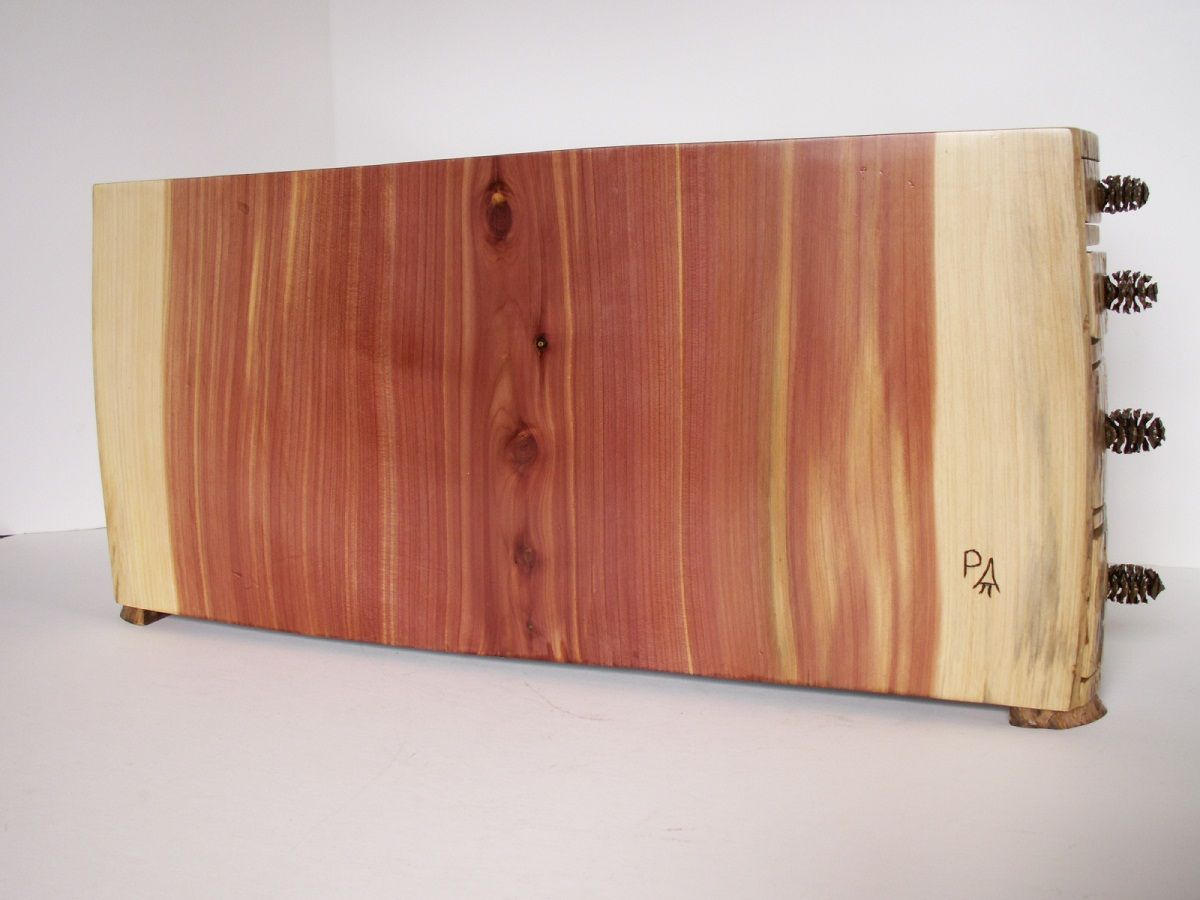
Started with on piece of red cedar 19"x20" and cut it into more than 150 pieces!
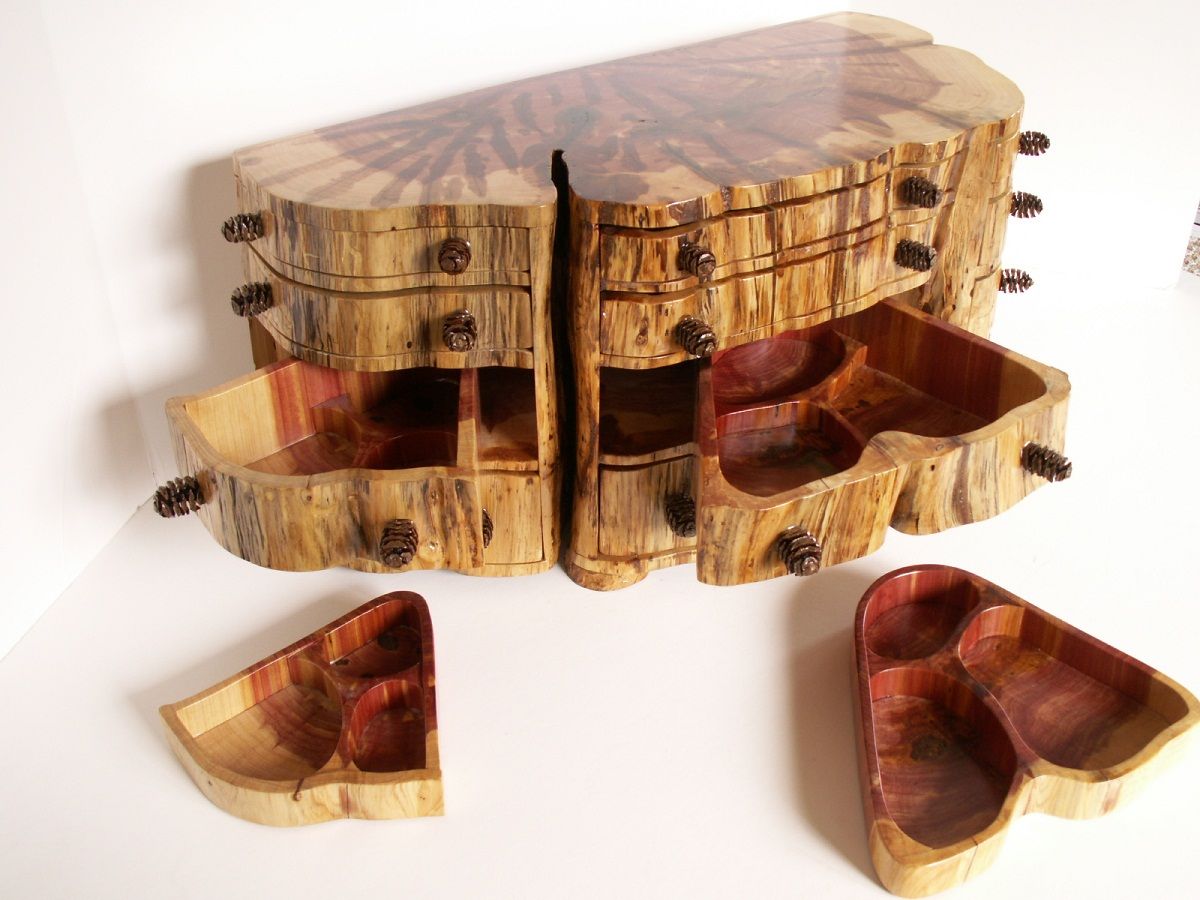
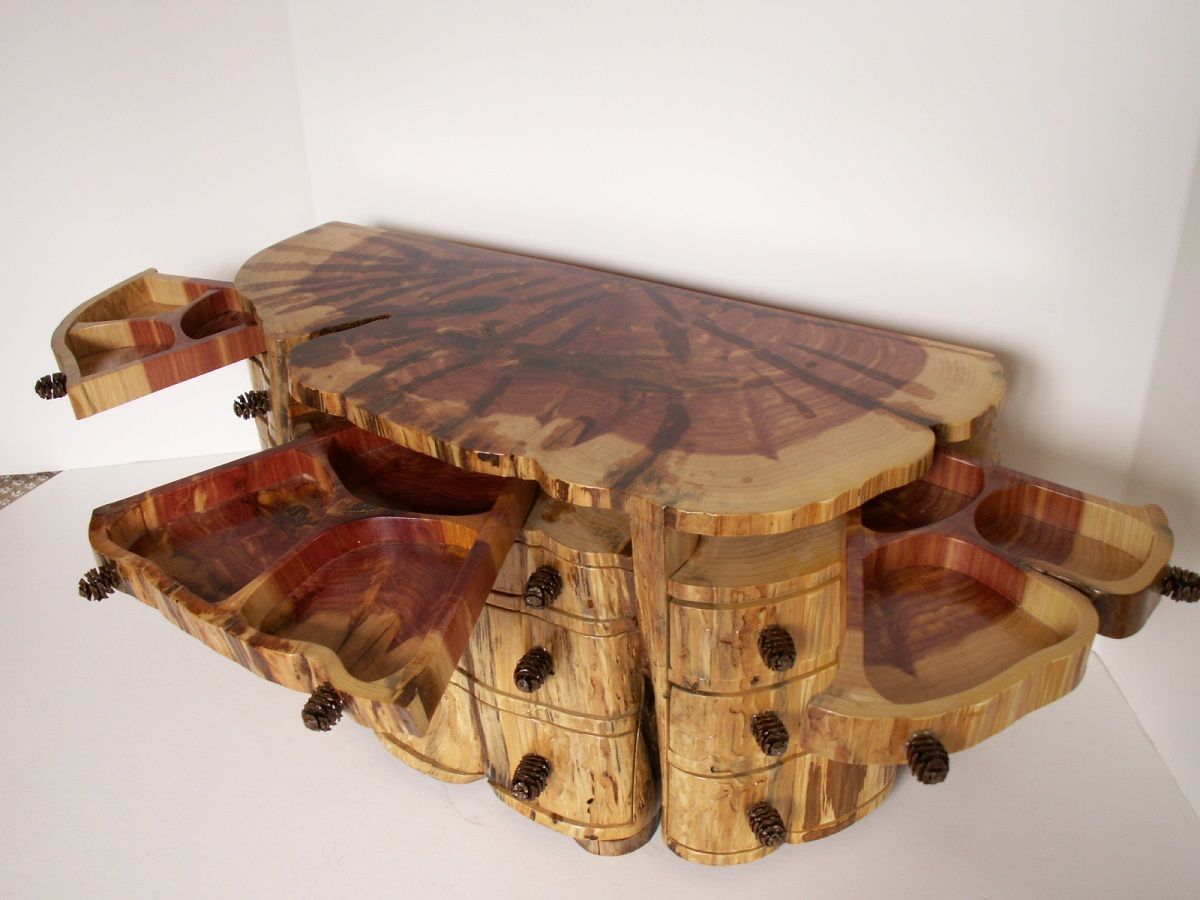
This was a “one-time” project. Sanding 150+ pieces became tedious, but, the shop always had a pleasant fragrance! Some sapwood was punky so epoxy, plus sawdust, came into play. Time will tell how well the “end-grain” drawer dividers hold up also. On the tops, the epoxy dried darker than the catalyzed lacquer that I used for finish, inside and outside. The deep “furrows” into the surface determined the size and locations of the drawer sections. More than once I dropped fragile drawer fronts and had to glue them together!! Y’all have bin there! Once I forgot the sequence of cutting the drawer sections apart and ended with no drawer bottom; so one drawer has a cross-grain drawer bottom for strength!!!


Comments
It's very nice. Beautifully done!
Wow....makes me dizzy looking at it. I can imagine there was some head scratchin on that one. Beautiful job, the finished product is fantastic.
Fantastico. Questa un'opera d'arte.
This is beautiful, thanks for sharing. I have started making jewelry boxes similar to this out of logs going along with what fits the wood rather than using a pattern on lumber and appreciate the work that goes into it. Though I would love if you could tell me a little more about how you managed to cut the drawers out at an angle to the back. Did you make a jig to hold the piece up at an angle while cutting the drawers out? The compartments make sense to me, but I just can't figure out how you managed to have the drawers angled to the center like you do. Hope my question makes sense.
in response to kbeard question:
1st- band saw the back panel
2nd- band saw the top/bottom panels
3rd- mark the top edge of the remaining chunk to the shapes of drawer sections (leaving an outer perimeter on which you can glue the drawer dividers during the glue-up stage)
4th- band saw the vertical drawer sections you just marked
5th- mark the face for drawer height and dividers
6th- band saw the horizontal marks for drawers and dividers
7th- then follow the normal procedure for bandsawing the drawers apart and the whole glue-up process. Sounds a bit complicated! Understand????
Yes, I get it now. I was mostly unsure on how you handled the horizontal drawer dividers that you glue back in after cutting out the drawers from the vertical chunk. I have done the same sort of thing with some boxes and haven't liked how they turned out. I seem to always have more success the less gluing I have to do and the more I leave the carcass of the box intact and connected. You managed to make it look great though, so I will have to give this method a try. Thanks for explaining it to me. :)
more response to kbeard: the technique I have found most successful for gluing the bottom/drawer dividers is the following time consuming technique: (using 5 minute epoxy)
-glue the bottom back into place
-place 4 spacers on the 4 corners of the bottom to make up for the saw kerfs/sanding and set the bottom drawer in place
-place the first drawer divider in position on top of the bottom drawer and tack it to the sides in several places using epoxy(use clamps to pull the sides tight if needed)
-continue the same process for additional drawers/dividers
-after all tack are cured remove drawers and turn the unit upside down and epoxy the entire seam between the divider and the sidewals
-hint: I use cardboard spacers and I have them stick out the front/back so they can be removed before trying to remove the drawer
Log in or create an account to post a comment.
Sign up Log in