Arts & Crafts Inspired Dining Table
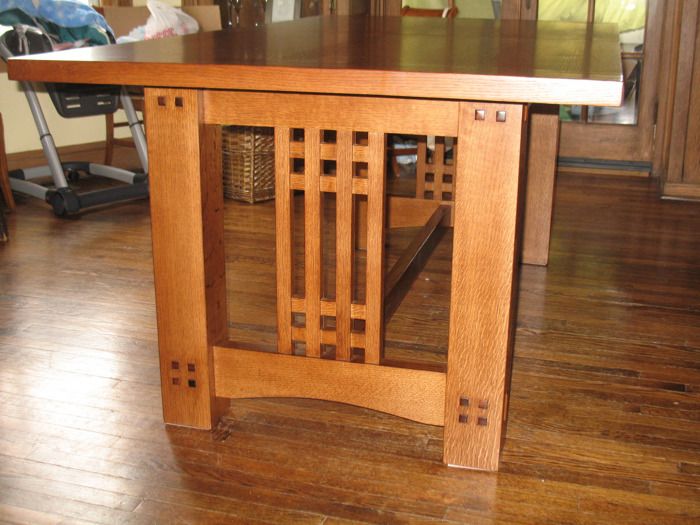
This was my first dining table project and was, by far, the biggest I have done to date. I designed and built this table myself drawing inspriation from the Arts & Crafts movement and, specifically, furniture designs by Stickley, Mackintosh and Greene & Greene.
This trestle table features a floating top which can open to accomodate two leaves. The leaves are stored under the table top in a wooden, structured sling to prevent warping. The table is designed to come apart in 6 sections (not counting the leaves) to make moving easier (end piece x2, side rails x2, trestle rail & top). The trestle rail is held in place using a recessed metal screw that pins the trestle’s tenon end. The top side rails and thus the whole table is held together using hook screws and crown bolts. I tried several different techniques including the use of knock-down hardware but found that only the combination of the hook screws and the crown bolts provided enough tension to stop the table from wiggling.
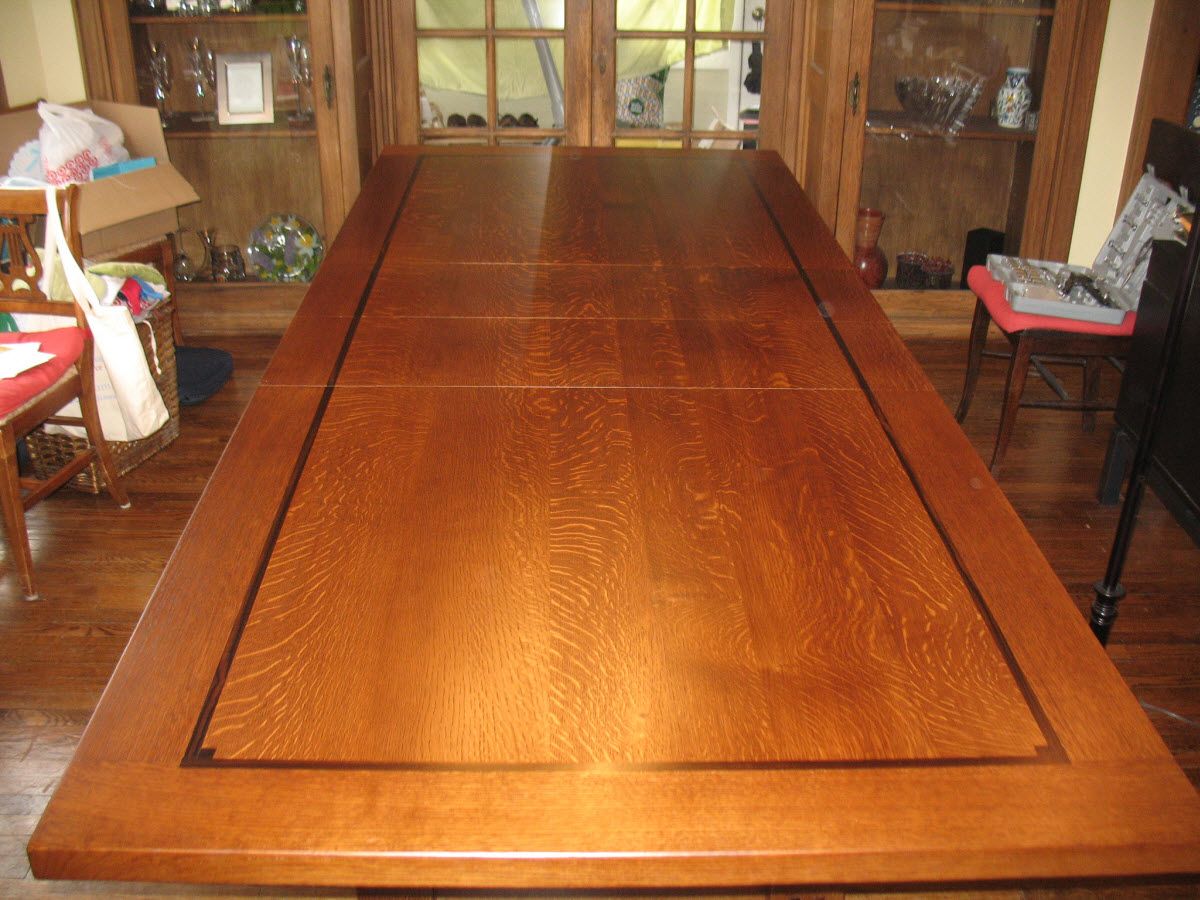
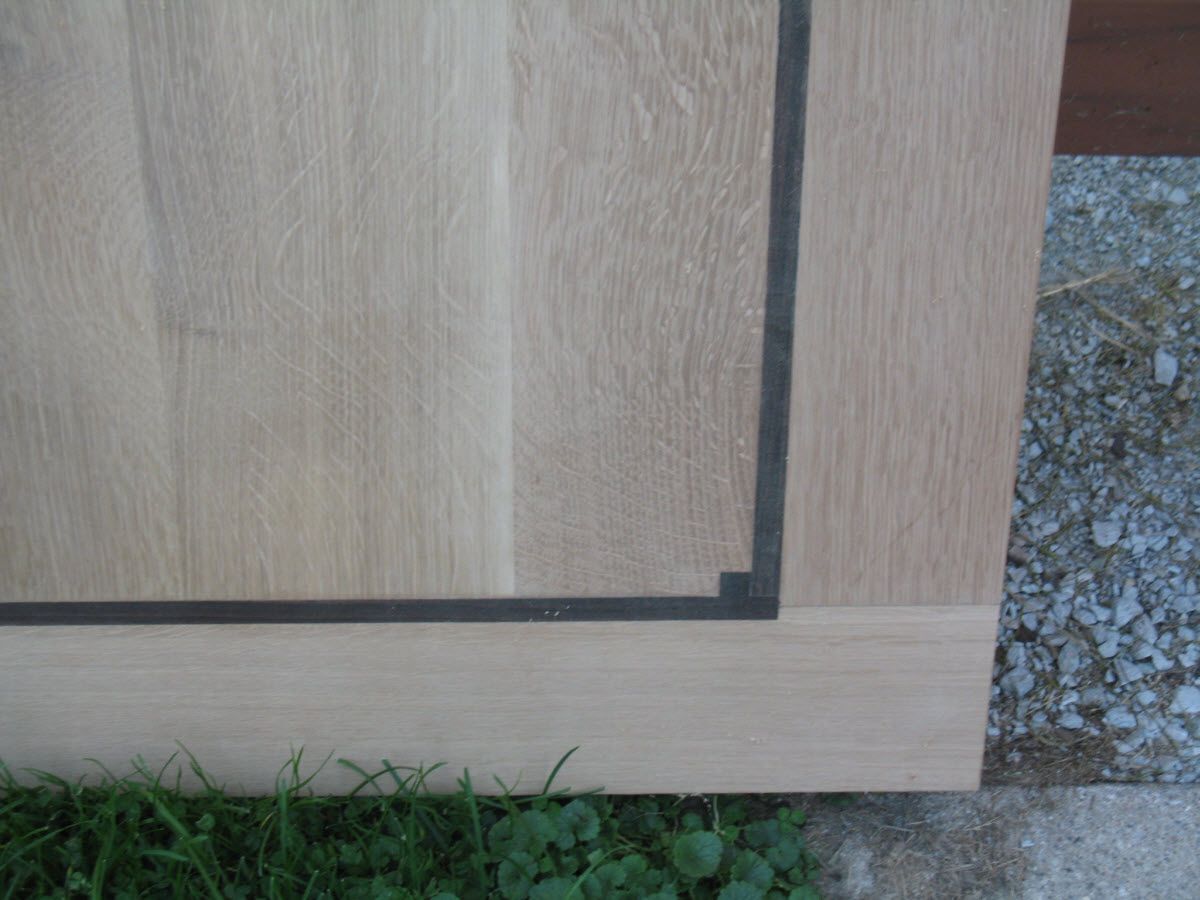
The entire project was constructed using quartersawn white oak and accented with Madagasgar ebony. All of the inlays were made by scratch and were approximately 1/16″ – 1/8″ in thickness. The top features breadboard ends which have ebony inlays on the side – a feature seen, to a much larger degree in Greene & Greene designs.
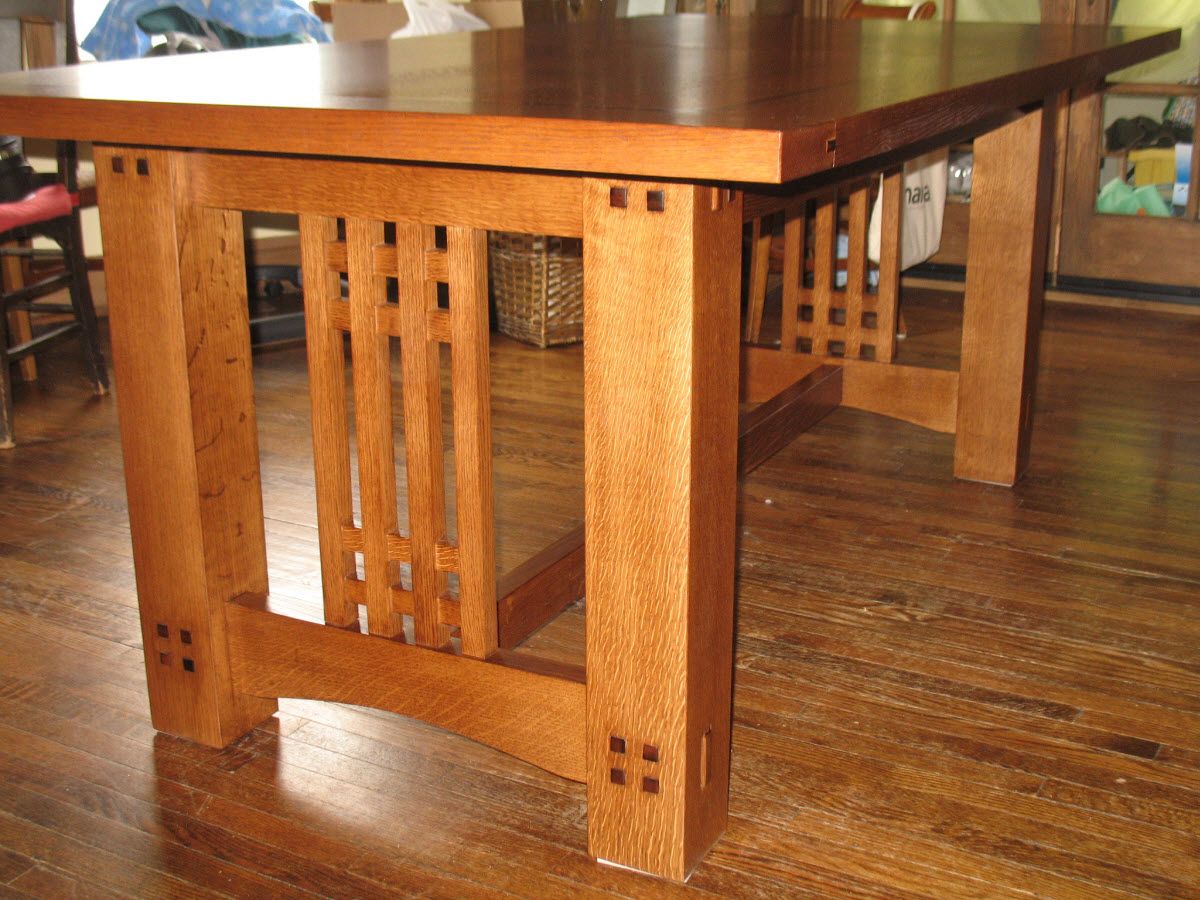
The legs measure 4 3/4″ square and were constructed by gluing up several boards and then covering the joint with a homemade veneer. I tried to implement the Stickley method of making legs to show grain on all four sides but I encountered significant difficulties with the technique. I was also worried about the strenght of my joints as the Stickley technique causes there to be a hollow center.
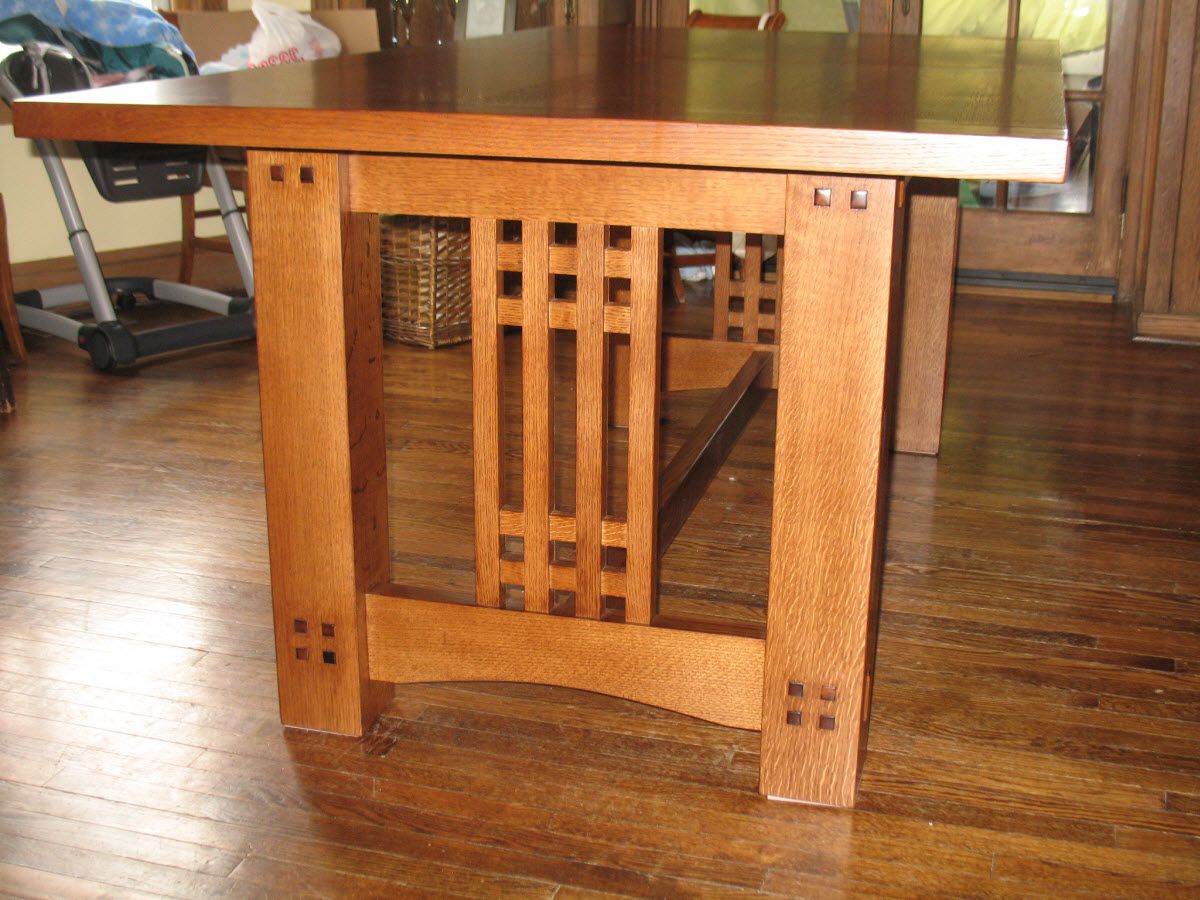
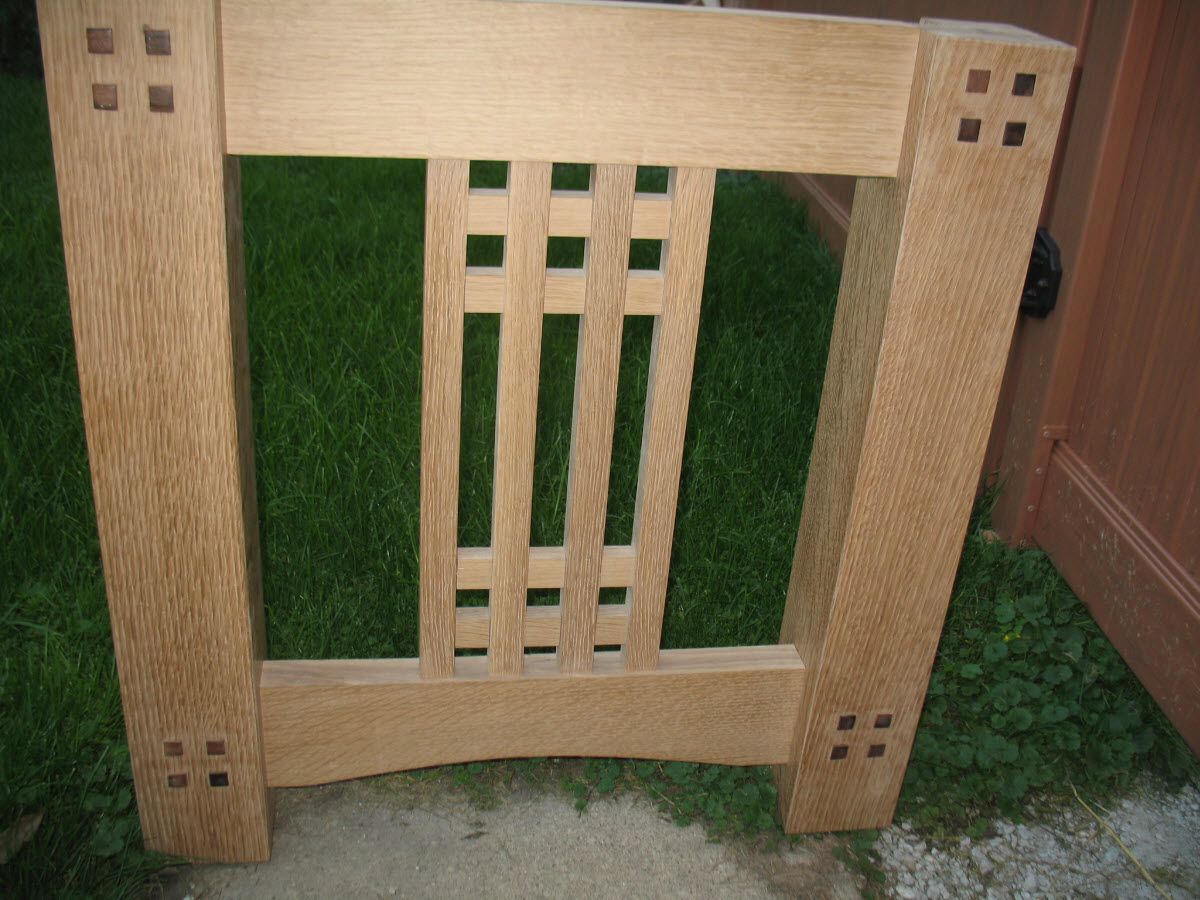
The base ends feature mortise and through tenons for the top and bottom rails. The joints were glued and pinned with dowels. I found it very difficult to create and then subsequently drive in square ebony pegs so the ebony pegs on the side are only for show (and to cover the pins).
The trivet-like pattern in the center was made using half lap joints for the inner two stiles. The rails were attached to the outter stiles using dowels. In order to give a consistent look when viewing this pattern from the outside and inside, I used a veneer to cover the half-lap joints. I originally tried to install this mortise and tenon joints but found alignment of the piece to be less than square. I was able to fix the problem by cutting the entire assembled piece on the table saw, making the ends square and then using dowels to attach to the botton and top rails. This technique was definitely much easier to do and is something I will continue using in the future.
The table is stabilized with a breadboard end. I was quite pleased at how well it has prevented the top from racking or cupping – not to mention that it was pretty easy to do. I highly recommend it!


Comments
Love every bit of it, I'm envious.
Outstanding!!!Looks great
Great table! Are you planning chairs?
What type of finish did you use?
Log in or create an account to post a comment.
Sign up Log in