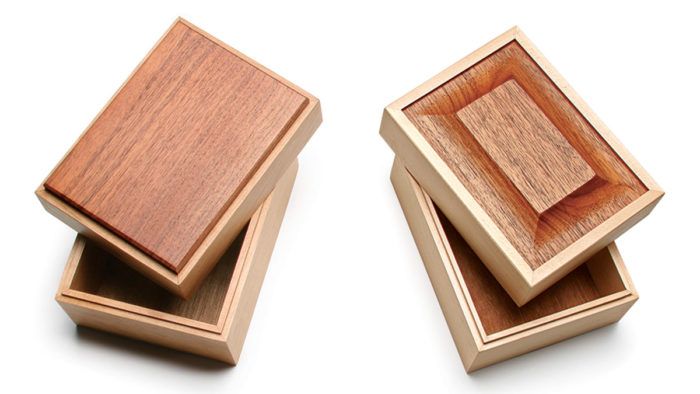
2 Fast Ways to Build a Decorative Mitered Box
Think out of the box to simplify a rabbeted lid.
Synopsis: Bill Nyberg uses two innovative methods to simplify a common project — a decorative box with a rabbeted lid. The traditional way is to build a solid box, cut off the lid on the tablesaw, and then use a bearing-guided rabbetting bit to rout a rabbet on the inside of one piece and the outside of the other. But the fitting process for this method is tedious, so Nyberg came up with two ways to streamline the process. The first method allows you to cut one of the rabbets before the box is assembled. The second method, which he calls “the inside-out box,” turns the whole process on its ear. Once you try it, you may never make a box the “old” way again.
One of the challenges of building a small, decorative box is deciding how to align and attach the top to the base. The most common way is hinges, but they can be time-consuming and fiddly to install. The simple rabbet joint works fine and leaves an attractive, clean look, but it can be troublesome, too.

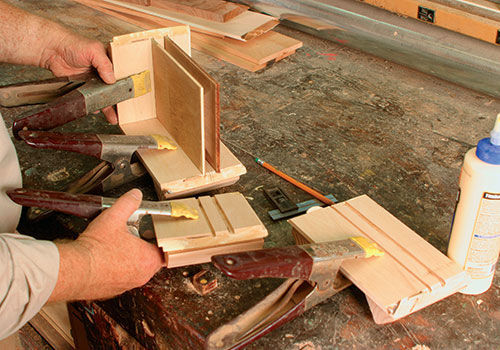
The traditional method is to create a solid box, cut off the lid on the tablesaw, and then use a bearing-guided rabbeting bit to rout a rabbet on the inside of one piece and the outside of the other. you finish the joint by either squaring or rounding one set of corners and finessing the joint for a good fit. Simple to explain, harder to accomplish. Cleaning up and fine-tuning the inside rabbet is tedium defined, and is done mostly by hand-sanding. I’m sure that’s what kept my father, Helge nyberg, an extremely accomplished woodworker, from using a rabbet joint on anything but the fanciest box. The joint is seductive, however.
My cousin Carl taught me a way to streamline the traditional method for a rabbeted lid, and then I came up with a radical new way that I call “the inside-out box.” either technique is much simpler than cutting the rabbets after the box has been glued up. The inside-out method works so well that I use it for functional boxes as well as for fancy work. I’d bet even old Dad would consider it.
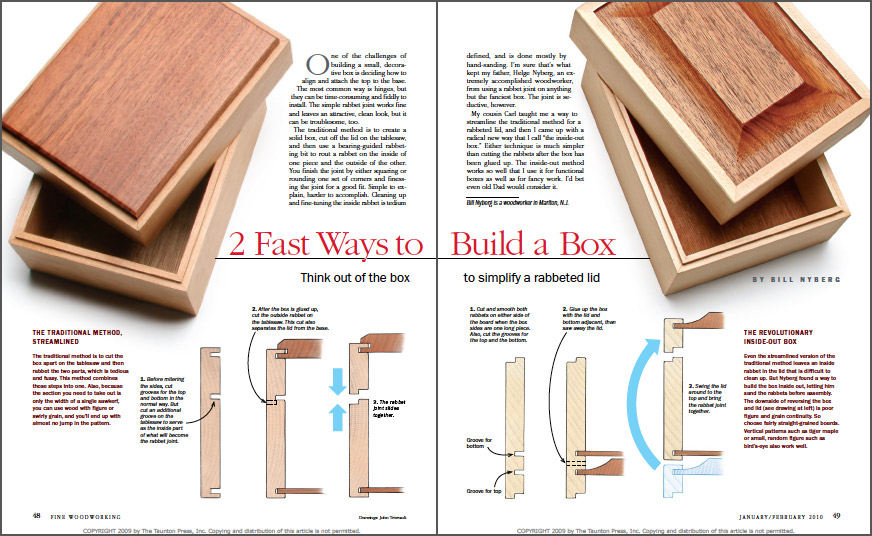
The traditional method, streamlined
The traditional method is to cut the box apart on the tablesaw and then rabbet the two parts, which is tedious and fussy. This method combines those steps into one. Also, because the section you need to take out is only the width of a single sawkerf, you can use wood with figure or swirly grain, and you’ll end up with almost no jump in the pattern.
The revolutionary inside-out box
Even the streamlined version of the traditional method leaves an inside rabbet in the lid that is difficult to clean up. But Nyberg found a way to build the box inside out, letting him sand the rabbets before assembly. The downside of reversing the box and lid is poor figure and grain continuity. So choose fairly straight-grained boards. Vertical patterns such as tiger maple or small, random figure such as bird’s-eye also work well.

From Fine Woodworking #210
To view the entire article, please click the View PDF button below.


Comments
If you're real, real smart you won't use black palm for these boxes. It's a good-looking wood when it's finished but it's not worth the chipping and splinters.
I had the good fortune of having Gabon ebony for 1 box. I'd been hoarding it for a couple years for the perfect project. I made my wife a keepsake box the 'old' way for our 25th anniversary. A place she can keep the stuff I'm never supposed to see.
I added a silver lift ring in the center of the top for accent. And functionality.
By the way, I love the plan:)
Mikaol Daley
Log in or create an account to post a comment.
Sign up Log in