Arts and Crafts Side Table
Versatile design is quick to build, but rewards precise joinery.

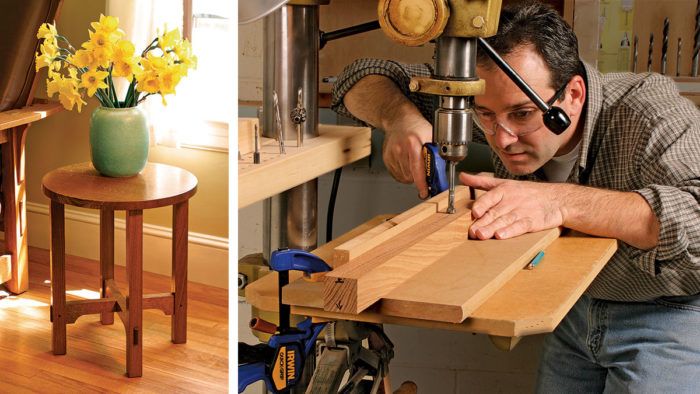
Synopsis: Inspired by the designs of Gustav Stickley, this small table is made from quartersawn white oak, fumed to an authentic Arts and Crafts finish. Pegged through-tenons join the lower stretchers to the legs. This is a relatively simple project that uses little material and can be built with common hand tools and machines. Much of its beauty lies in the simplicity of its design and the precision of its joinery.
The inspiration for this table dates back a century to designs by Gustav Stickley. He defined his furniture philosophy as being “where the beauty lies in simplicity of the wood and of the joints themselves.” To be faithful to the original designs, I built my table from white oak with pegged through-tenons joining the lower stretchers to the legs.
There are many uses for a small table: With slight changes in size, it can sit next to a chair in the family room, serve as a bedside table, or be used as a plant stand. Made from cherry or maple, this design would fit nicely into more modern décor.
This is a relatively simple project that uses little material and can be built with common hand tools and machines. So sharpen your chisels and planes and let’s get started.
Lay Out The Legs And Cut The Mortises
 Much but not all furniture in this style was made from quartersawn white oak with its characteristic ray flecks running across the grain on opposite sides of the board. I chose this type of wood for the prominent top of the table, but for the rest of the piece I used more readily available riftsawn boards.
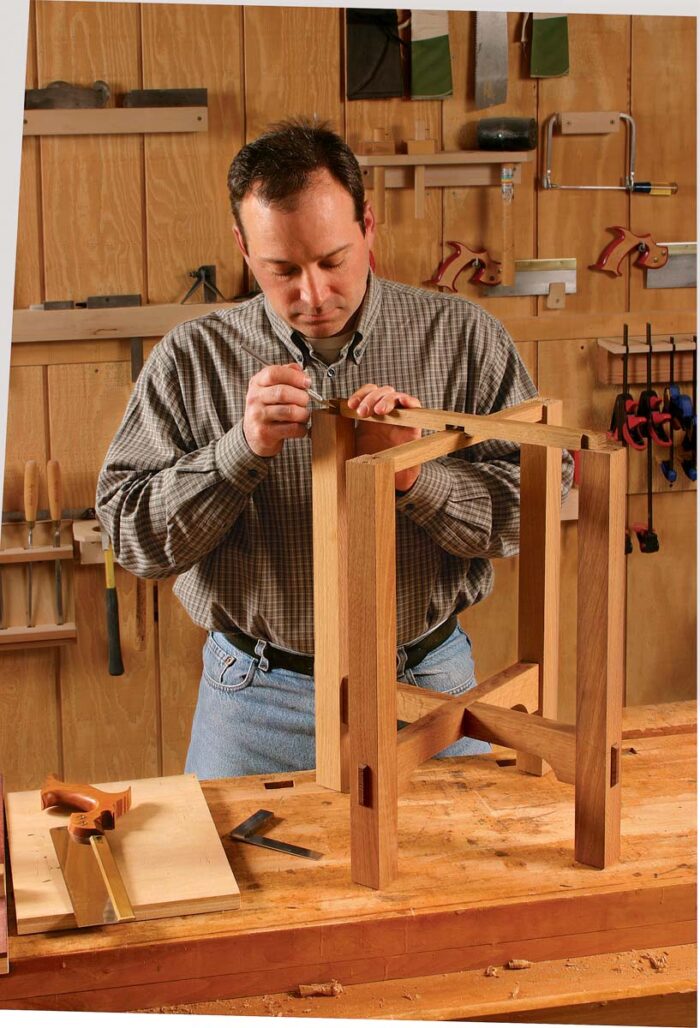
Because three sides of each leg will have near equal exposure to the viewer, I cut and surfaced the legs to size, and then selected the least attractive side of each leg to face inward. When laying out the mortises, make sure to place them accurately on all the legs and make sure the leg dimensions are identical; this will keep the table square and stable. Because the lower stretchers end in through-tenons instead of the more common blind tenons, remember to mark both sides of the legs using the same side as a reference edge. I lay out the mortises using a marking gauge, a square, and a knife. I prefer a knife to a pencil because it gives greater precision and allows you to set the chisel in the knife cut later for the final paring cuts. These joints will be exposed, so take the time to lay out and cut them precisely.
From Fine Woodworking #186
For the full article, download the PDF below:
Fine Woodworking Recommended Products

Dividers

Dubuque Clamp Works Bar Clamps - 4 pack

Veritas Precision Square


Log in or create an account to post a comment.
Sign up Log in