A Table Saw Splitter You Will Actually Use
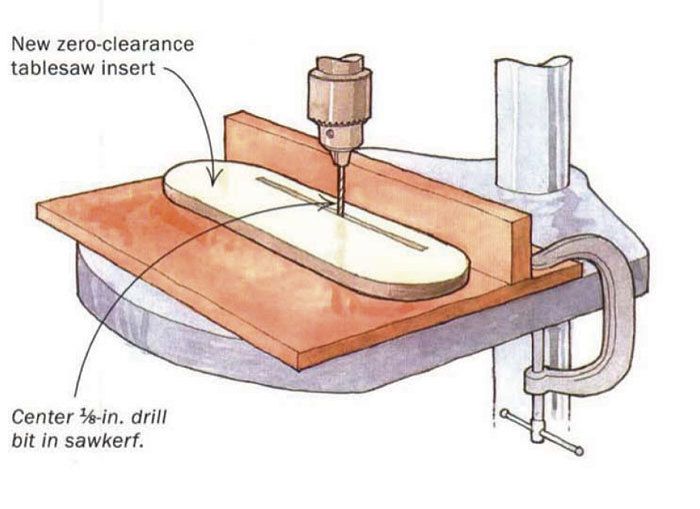
Adding a splitter to a new tablesaw throat insert is an excellent safely practice. Once installed, neglecting it requires a conscious effort, so the odds are that it will see everyday, real-life use.
I’ve found, though, that the usually recommended procedure of extending the kerf behind the blade and gluing in a wooden tongue is hard to pull off without introducing minuscule errors. And the slightest error will result in a device that snags the workpiece. This method solves those problems.
Raise the sawblade through the new insert. Then place the insert against a fence on a drill-press table. Align things by lowering a drill bit of a diameter that is equal to the blade thickness (usually 1/8 in.) into the kerf. When the bit is centered in the kerf, lock the fence, change to a drill bit 1/32 in. smaller, switch on the drill press and bore a hole near the outfeed end of the kerf. Now push that same drill bit into the hole, shank up, along with a dab of cyanoacrylate glue. The drill bit will now serve as the splitter pin. It will be aligned perfectly with the sawkerf and should have about 1/64 in. of clearance on each side.
Michael Standish, Roxbury, Mass.
Fine Woodworking Magazine, October 2001 No. 151

Fine Woodworking Recommended Products
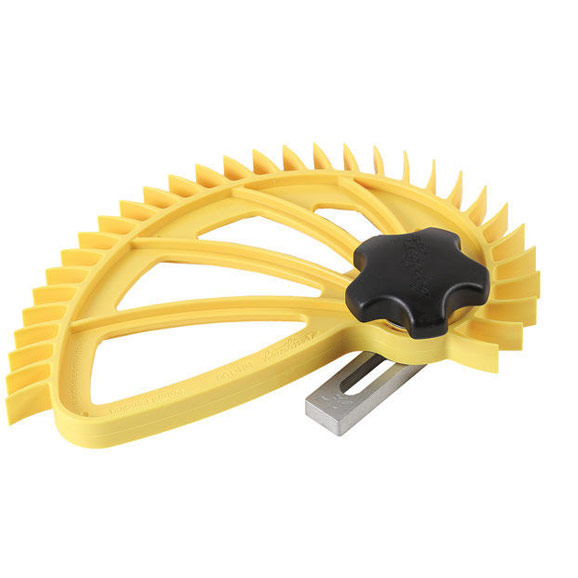
Hedgehog featherboards
Rockler Dust Right 650 CFM
Bessey EKH Trigger Clamps




Log in or create an account to post a comment.
Sign up Log in