Finger-Joint Jig

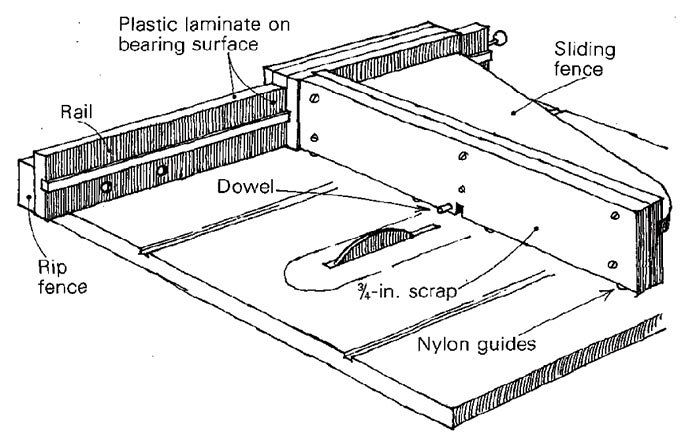
Here is a box or finger-joint jig like Tage Frid’s (Fine Woodworking, Winter ’76), except that it uses the table-saw rip fence rather than the miter gauge a sturdier, easier-to-adjust arrangement. It consists of a guide rail bolted to the saw’s rip fence, and a sliding-fence assembly that holds the work. Make the guide rail from particle board or hardwood plywood and cover both sides with plastic laminate to reduce sliding friction. Bolt the rail to the rip fence with four 1/4-in. bolts. Countersink the bolt heads on the inboard side.
As with the rail, the sliding-fence assembly is made from particle board or plywood with plastic laminate glued to the bearing surfaces. An essential part of the jig is the hardwood tongue installed in the rail that slides in a groove in the fence assembly. Tack nylon furniture glides to the bottom of the fence assembly to allow the jig to ride freely along the table.
Set-up time is fast a good-fitting joint can usually be achieved in two test runs. The first step is to install a dado blade for the desired finger size, say 3/8 in. Raise the dado blade about 1/32 in. above the thickness of the stock to be cut. Now screw a scrap of 3/4-in. material to the front of the sliding fence assembly to serve as a disposable fence. Drill a 3/8-in. hole in the center of the scrap fence about 1/2 in. from the saw table. Insert a short 3/8-in. dowel in the hole to act as a guide pin. Now adjust the rip fence/rail so that the distance between the guide pin and the dado blade is equal to the size of the dado 3/8 in. in our example.
Using a piece of scrap, start a test pass. While holding the stock vertically against the fence assembly and against the guide pin, pass the stock over the dado blade. After each cut, shift the stock to the right so that the previous cut registers over the guide pin. Start the cut in the second test piece by lining it up with the sawcut in the fence (rather than the guide pin). The joint should be snug but loose enough to allow gluing. If the joint is too tight, move the rip fence to the left. If it’s too loose, move the fence to the right.
Tom Burwell, St. Paul, Minn.

Fine Woodworking Recommended Products

Marking knife: Hock Double-Bevel Violin Knife, 3/4 in.

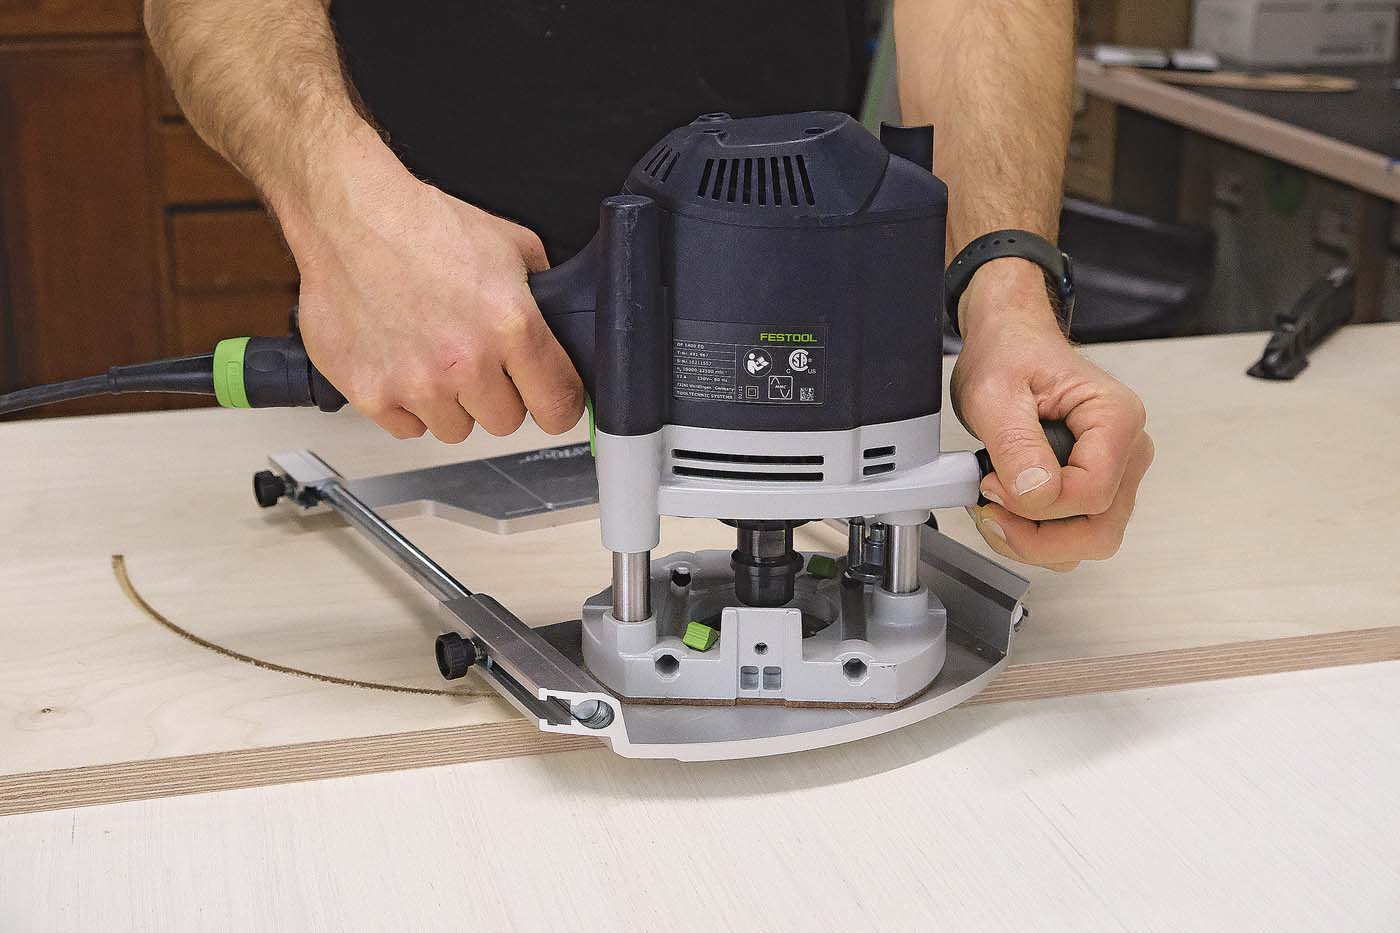
Woodriver Circle Cutting Jig

Double Sided Tape


Log in or create an account to post a comment.
Sign up Log in