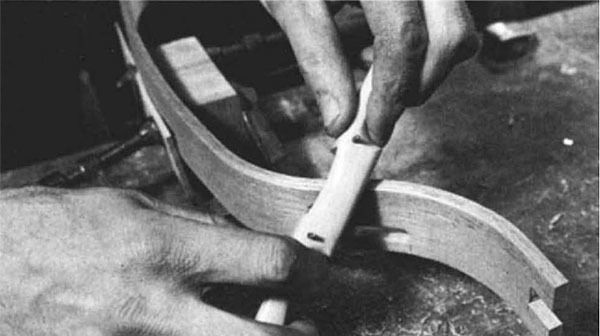
Synopsis: Jere Osgood’s serving tray introduces the woodworker to bending a simple lamination. The tray can be made entirely with hand tools and clamps, although a tablesaw and a bandsaw or jigsaw are a great help. The bottom is best made of good-quality plywood; the handles are of walnut and the sides are four laminations of 1/16-in. mahogany. Osgood explains how to line the form and which glue is best. He tells you how to clamp and mark the sides, make the mortise-and-tenon joint, and finish the piece.
The serving tray described here is designed to introduce the woodworker to bending a simple lamination. The project is small and easily modified to suit your own taste, yet making it will give you the experience you need to apply the process to your own work. It can be made entirely with hand tools and clamps, although a table saw and a band saw or jigsaw are a great help.
The tray is symmetrical and combines a plan view of the work with the form layout. The curve is constructed by swinging a series of arcs with the centers and radii shown below. The important thing in making any two-part form is taking accurate account of the full thickness of the laminates and form liners (Fine Woodworking, Spring ’77). Because the curve of this project need not be absolutely precise, I have simplified the drawing process by using the outside line of the bent side as the face line of the concave half of the form. This means accounting for the total thickness of the liners on the convex half of the form. Where you need precision, you would construct the form drawing by dividing the total thickness of the liners, half on each side of the piece itself. In any case, you need a full-size shop drawing from which to make the form.
The bottom panel of the tray, shown in the photo at the top of the next page, does not lend itself to solid wood construction and is best made of good-quality plywood; I used 1/4-in. birch ply. The handles are of walnut and the sides are four laminations of 1/16-in. mahogany. This thickness turns the 3-in. radius well and the four layers are enough to minimize springback. Commercial veneers of 1/28 in., 1/30 in. or 1/40 in. could be used, but they are not the best because they often acquire lumps and bumps during glue-up. If you can’t find thicker veneer, you can saw it from an 8/4 board on the table saw, using a hollow-ground planer blade or a carbidetipped blade. Resawn stock might require five thinner layers to produce the 1/4-in. thickness, because it does not always bend as easily as sliced veneer.
From Fine Woodworking #7
For the full article, download the PDF below:
Fine Woodworking Recommended Products
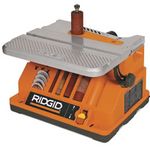
Ridgid EB4424 Oscillating Spindle/Belt Sander

Suizan Japanese Pull Saw







Log in or create an account to post a comment.
Sign up Log in