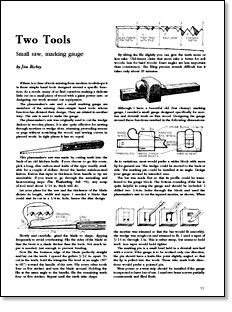
Synopsis: This quick article extols the virtues of simple, but valuable, tools: the planemaker’s saw and small marking gauge. And you can use the saw to make the gauge. The saw was originally used to cut the wedge dadoes in wooden planes, and it’s effective for sawing mortises or wedge slots, trimming tenons or pegs without scratching the wood, and sawing curves in pierced work. Jim Richey explains how to make one and then how to make a small marking gauge that suits tasks like mortise and dovetail work on thin wood.
If there is a class of tools missing from modern workshops it is those simple hand tools designed around a specific function. As a result, many of us find ourselves making a delicate little cut on a small piece of wood with a giant power saw, or designing our work around our equipment.
The planemaker’s saw and a small marking gauge are members of the missing class—simple hand tools whose function has dictated their design. They are related in another way: The saw is used to make the gauge.
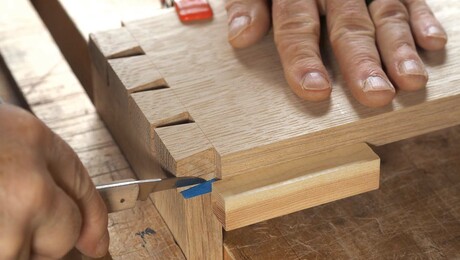
The planemaker’s saw was originally used to cut the wedge dadoes in wooden planes. It is also quite effective for sawing through mortises or wedge slots, trimming protruding tenons or pegs without scratching the wood, and sawing curves in pierced work. In tight places it has no equal.
This planemaker’s saw was made by cutting teeth into the back of an old kitchen knife. If you choose to go this route, pick a long, slim carbon-steel knife of the type readily available for a couple of dollars. Avoid the harder stainless-steel knives. Knives that taper in thickness from handle to tip are unsuitable. If you want to go through the annealing and heat-treating steps (Fine Woodworking, Fall ’76), any scrap of tool steel about 1/16 in. thick will do.
Let your plans for the saw and the thickness of the blade dictate its length, width and taper. I needed a blade that could start its cut in a 1/4-in. hole, hence the slim design.
Slowly and carefully, grind the blade to shape, dipping frequently to avoid overheating. File the sides of the blade so that the front is a shade thicker than the back. Not much taper is needed, just enough to prevent binding.
Now file the business edge of the blade perfectly straight and lay out the teeth.
From Fine Woodworking #8
For the full article, download the PDF below:
Fine Woodworking Recommended Products

Starrett 12-in. combination square
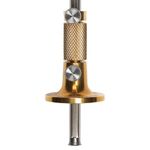
Tite-Mark Marking Gauge
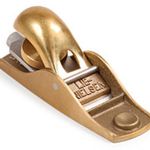
Lie-Nielsen No. 102 Low Angle Block Plane








Log in or create an account to post a comment.
Sign up Log in