Three decorative joints
Emphasize the outlines with contrasting veneers and splines
Synopsis: Dovetails are difficult for the beginner, and after helping students over the years fix their mistakes, Tage Frid realized you could outline the whole joint with veneer of a different color for decorative effect for both dovetails and mortise-and-tenon slipjoints. He also worked out a three-way miter where the strengthening splines are emphasized in a contrasting wood. Here, he explains all three joints, and extensive drawings show how they look — even showing three variations on the splined miters — and how to cut them. Side information discusses Bermudan cogged dovetailing. From Fine Woodworking #35.
I’ve been a craftsman and designer for 53 years and a teacher for more than 30, but I’m still learning. My students keep me on the ball by always asking questions. I experiment to come up with new ideas and simpler or better ways to do things. Students usually don’t ask for help until they are in trouble. By then they have a big investment in time and materials, and we have to figure out some way to fix the mistake so it does not stick out like a sore thumb.
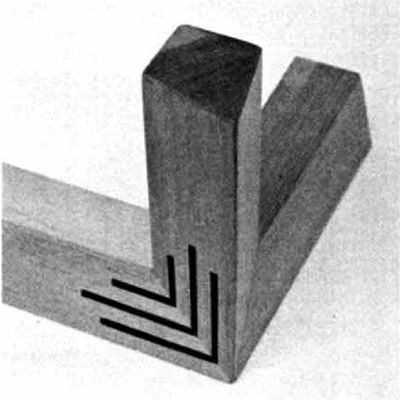
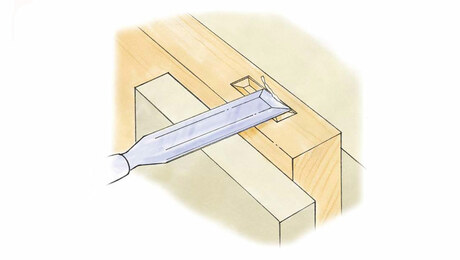
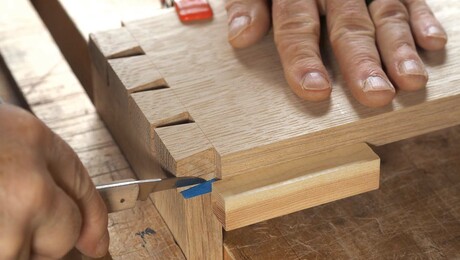
Dovetails are difficult for the beginner, and I have many times shown how to fix a badly fitting dovetail by inserting a piece of veneer. When I thought more about this trick, I realized you could outline the whole joint with veneer of a different color for a nice decorative effect. The technique also works on other joints, such as the mortise-and-tenon slipjoint. Another kind of decorative joint is a three-way miter where the strengthening splines are also emphasized in a contrasting wood. This is an attractive joint for framed cabinets, tables and stools. Here is how to make these three joints.
Outlined dovetails—The joint is laid out, cut and fit in the same way as a regular through dovetail. The veneer inlay that will outline the base of the pins and tails is glued onto the inside face of the mating pieces before the joint is cut. The rest of the outlining is done after the joint is glued together. Gauge the usual depth-lines around the ends of both pieces. To house the inlay, cut shallow rabbets up to the gauge line on the inside face of each piece. If you cut the rabbet on the tablesaw, set the blade as high as the gauge line (the thickness of the dovetailed pieces). Then set the fence to cut the rabbet slightly shallower than the thickness of the veneer.
The grain of the veneers should run in the same direction as the grain in the pieces to be dovetailed. It’s easier to trim the inlay flush after the glue has set than to fit it perfectly before. So cut the veneer slightly oversize. Be sure the joint is perfectly tight where the end grain of the veneer meets the solid wood, especially on the pins piece because the veneer will be visible on both edges.
For the full article, download the PDF below:
Fine Woodworking Recommended Products

Leigh D4R Pro

Veritas Precision Square

Suizan Japanese Pull Saw


Log in or create an account to post a comment.
Sign up Log in