Turning a Matched Set of Bowls
Patternmakers' tricks for consistent shapes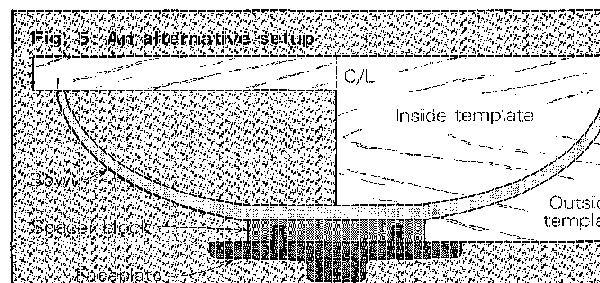
Synopsis: Turning a good matched set of bowls can be a challenge, and it calls for careful planning and execution. In this article, Arthur F. Sherry shares patternmakers’ tricks and templates that will help you turn a series of bowls exactly alike. He offers tips on drying the wood thoroughly, on designing the bowls, and on cutting out and sanding the bowl template. He uses a lathe to turn the inside of the bowl, stopping often to check the fit. There’s no room for error in turning the outside of the bowl, and he explains how to do it and what the template drawbacks are. Drawings show the template and its dimensions, as well as an alternate setup. Side information covers a food-safe walnut-oil finish.
Getting the most from an outstanding piece of wood by making a one-of-a-kind bowl is part of the woodturner’s art. But turning a good matched set of bowls can be an equal challenge, calling for careful planning and execution. A matched set, to me, means consistent shape more than anything else. Bowls can be made of different woods, or be inlaid with elaborate designs. Yet if their shapes are the same, we instinctively know they belong together. Here are some patternmakers’ tricks and templates that will help you turn a series of bowls, or almost anything else, exactly alike.
Wood never stops moving as its moisture content changes, of course. Plan to use dry wood, or your bowls will become oval after they have been turned. I frequently rough-turn bowls, then let them dry for a few days to stabilize before I finish turning. I’ve found species such as mahogany and walnut to be particularly stable, but you can apply these techniques to more highly figured species, too.
Start by designing the shape on paper. Then transfer the layout to a squared piece of 1/8-in. plywood (figure 1). Lay out the centerline of the bowl, marked C/L. Then, with a knife, scribe lines for the top and for the bottom of the bowl, perpendicular to the centerline. Draw the cross section of one half of the bowl on the template, and scribe rim lines (parallel to the centerline) to mark the outside diameter of the bowl. Notice that the side of the rim should be left at least in. thick, so that after the inside has been turned you can mount the bowl as shown in figure 4, for turning the outside.
Cut out, file and sand the template to shape. If I am making more than a few bowls, I copy this template onto another piece of plywood and use the master only for the final fit. I never touch the master to the spinning bowl.
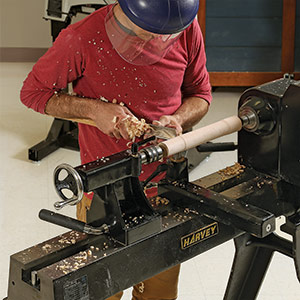
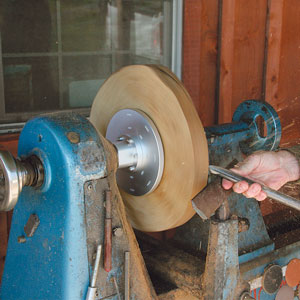
To turn the inside of the bowl, screw the blank (bandsawn round) to a faceplate and mount it on the lathe. Turn the block to the final height of the bowl, plus 1/64-in. for final sanding. Next turn the diameter, and stop to check it with both a square (so that the side is perpendicular to the face) and a ruler. I measure with a ruler, as shown in figure 2, instead of using calipers, because calipers have a tendency to give a little—a ruler is more accurate. First, mark the center of the blank while the bowl is turning, then stop the lathe and hold the ruler so it crosses the center point. If you stop the end of the ruler against a small wooden block held against the side of the bowl, the ruler will line up exactly with the edge of the rim.
From Fine Woodworking #38
For the full article, download the PDF below:
Fine Woodworking Recommended Products

Stanley Powerlock 16-ft. tape measure

Starrett 12-in. combination square
Tite-Mark Marking Gauge






Log in or create an account to post a comment.
Sign up Log in