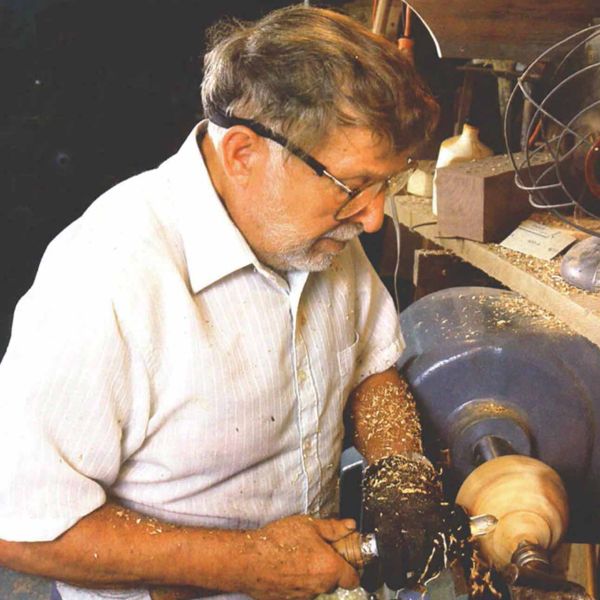
Synopsis: Any well-coordinated person can pick up the rudiments of spindle turning quickly, says Rude Osolnik. Don’t think about duplicating complex spindles you see in books; concentrate on cutting a nice, free shape, he advises. He recommends working with found wood, which is inexpensive if not free, and stunning. He talks about finding the highs and lows, connecting them with shoulders, coves, and beads. His tool kit is pretty small, and he doesn’t spend a lot of time preparing turning stock, other than drying it and sawing off protuberances. He then explains each step of making a pot, from practicing with the lathe off to forming the concave surface on the pot. And he recommends not sanding the piece once you’re done. In side information, Dick Burrows discusses what it was like to work with Rude Osolnik.
I always enjoy teaching spindle turning because any well coordinated person can pick up the rudiments of the craft so quickly. Unlike so many woodworking disciplines, spindle turning doesn’t demand a long apprenticeship. Almost from the start, good students begin exploring an endless variety of shapes, wood grains, colors and textures, and injecting their own feelings and personality into their work. This personal involvement is what makes the craft so fascinating for me year after year.
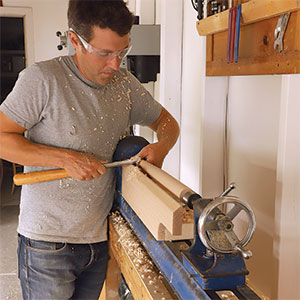
If you want to learn spindle turning, don’t even think about duplicating the complex spindles you see in books. That copying has given spindle turning a reputation as a boring, repetitive task. Relax, and concentrate on cutting a nice, free shape. I encourage beginners to start with simple shapes, like the weed pot shown in the picture series, and to work with found wood, which is cheap and often stunning. If you buy expensive wood, you’ll be too worried about the money to learn how to handle your tools and master the basic cuts. The secret to spindle turning is locating the highs and lows, which is a matter of measurements, then connecting those points with shoulders (flat areas), coves (hollows) and beads (round or oval swellings). These shapes are cut with a parting tool and a shallow fluted gouge, with the same techniques used to shape the weed pot.
Since so many good turnings are designed to showcase the natural beauty of woods, searching for wood is a good way to start thinking about turning. Good sources for hardwoods include the firewood pile, trees knocked down by storms or old age, and fallen branches. Look for sections with curvy undulations to the bark, or with burls, bubulous growths often having spectacular, distorted grain patterns. Spalting, the dark-line patterns caused by mineral stains and fungus infestation as wood decays, is very pretty. Wood with wormholes, cracks and interesting bark also is good.
Generally, dead limbs are pretty dry, but if the wood feels wet, I stack it out of direct sunlight for a few months to get rid of excess moisture. I might rough-turn a wet piece and put it into a plastic bag for a week before finishing it. I don’t use chemicals like polyethelene glycol (PEG) to stabilize wet wood. I tried it once, but the turning never felt dry. One thing that sells turnings is the warmth you feel when you pick up a piece. If a turning feels clammy, it won’t sell. That’s why wood doesn’t sell well on a rainy day when it can absorb environmental moisture.
If your found wood doesn’t have an exceptional grain or spalted pattern, it’s crucial that its turned form be attractive. This means a turning has to be balanced, well-proportioned, and have pleasing lines. That’s an intimidating roadblock for many beginners. Get around it by working from nature.
From Fine Woodworking #63
For the full article, download the PDF below:
Fine Woodworking Recommended Products
Veritas Wheel Marking Gauge

Dividers
Veritas Standard Wheel Marking Gauge








Log in or create an account to post a comment.
Sign up Log in