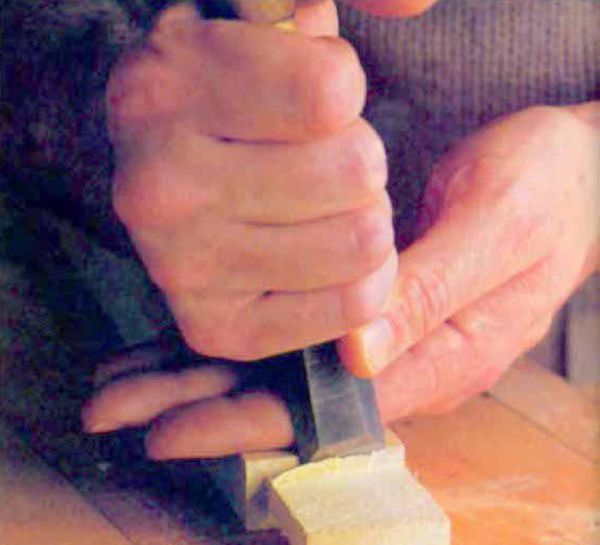
Synopsis: Michael Podmaniczky says a paring chisel is the most basic and useful tool, and it’s versatile, too, doubling as a plane, a drawknife, even a cabinet scraper. He explains correct and incorrect uses of the paring chisel, grip variations, and tells you how to use your chin and the weight of your head to drive the chisel sometimes. He advises practice techniques and shows, using photos and illustrations, how to achieve various cuts – paring to a shoulder line, chamfering, and flattening endgrain. Side information by Sandor Nagyszalanczy discusses Bahco’s ergonomic chisel design.
One of my favorite, and often enjoyed, times is the first slice I take with a paring chisel after a good sharpening. This most basic and useful tool is also the most versatile, doubling as a plane, a drawknife, even a cabinet scraper. But like any tool, it only performs for the hands that understand its basic personality quirks and all.
There are many types of chisels, from the brutal timber framers’ mortiser down to the tiniest carver, each one requiring a different technique. Here, I’ll limit myself to an examination of the parer and how it’s used for fine cuts. You can pare with any chisel, so much of the advice here will apply to all chisels. But the parer is a special case in that it is a lightweight, specially shaped tool that can get into places other chisels can’t. Paring chisels are thin and light, with beveled edges to reduce weight and increase maneuverability. They are not expected to take hammering or prying. The nature of this tool is to remove light shavings of wood, usually with a finished surface as the intended result: sides of dovetails, tenon shoulders, etc.
The plane finishes large surfaces, the paring chisel finishes small ones. Incorrect use of a tool that’s not necessarily intended for finish cuts—a drawknife for example—results in temporary frustration and extra work. Incorrect use of a paring chisel results in poor joints and ten years of irritation from having to look at them across the living room.
Any discussion has got to begin with the usual enjoinder: buy the best. There’s no point in trying to master a second-rate tool. But don’t fret, I’m not suggesting that you buy a drawerful of expensive chisels. You can get by with two or three good parers, say, in., in., and 1 in. or 1 in. You have many years to fill up that drawer. For rough-cut pounding, also pick up a couple of solid, inexpensive hooped socket or reinforced plastic-handled butt chisels. I like Stanley. There’s no need to break the bank.
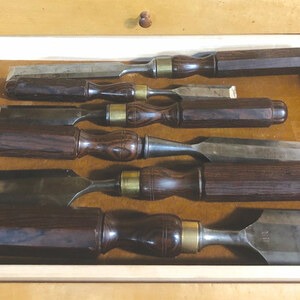
As I’ll discuss further along, the action of paring—whatever sort of chisel you may be using—requires that the flat chisel back be used to “jig” the cutting edge in a straight line. It follows that the longer the blade, the longer the controlled cut. While this is true, it’s also true that sometimes smaller areas need to be pared, and a long tool gets in the way. . . hmmm. . .what to do? Longbladed patternmakers’ chisels are really great for big work, and I go one step further and use cranked-handled ones—tools in which the shank of the chisel is bent so that the line of the handle is parallel with, but above, the line of the blade.
From Fine Woodworking #64
For the full article, download the PDF below:
Fine Woodworking Recommended Products

Veritas Precision Square

Olfa Knife
Veritas Micro-Adjust Wheel Marking Gauge






Log in or create an account to post a comment.
Sign up Log in