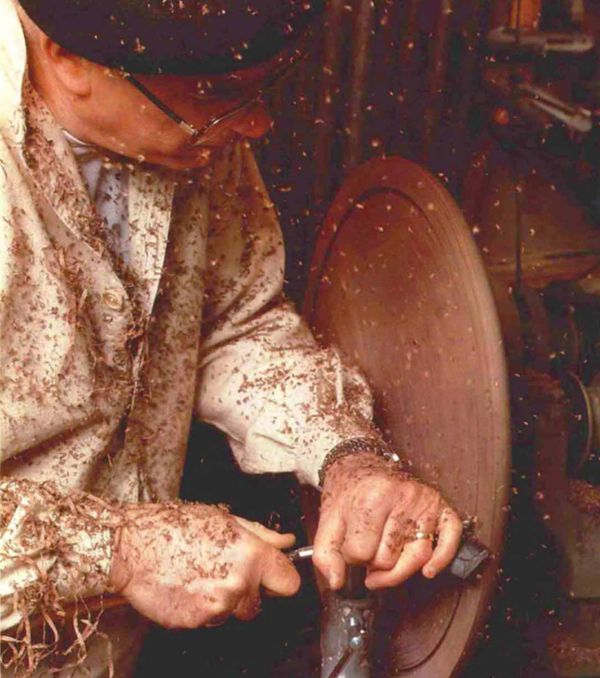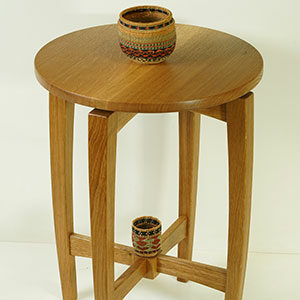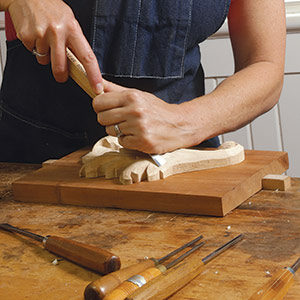
Synopsis: Here are 17 photo-illustrated steps demonstrating how to turn and carve a piecrust top, using traditional methods. The original of the table shown in this article is at Independence Hall, in Philadelphia.
A piecrust top looks intimidating, but even a beginner can carve one with sharp tools and some attention to the order of events. You don’t need many carving tools—a -in. #5 gouge (or one suitable for the shape of cove to be carved), a #2 gouge about the same width and a medium-size flat chisel will suffice. I’ve probably turned and carved three or four dozen piecrusts, and can tell you that the job is very satisfying. Be sure, however, that your wood and your glue joints are sound. I once had a knot catch the tool while turning a 30-in. blank, and the exploding top left permanent marks on both my shop and my memory.
Tops come in a variety of sizes. The one shown here is medium size, about 20 in. in diameter. Feel free to scale the design up or down. You expect a mahogany tabletop of any size to be one piece—mahogany was once available in very wide planks indeed—but walnut tabletops larger than 12 in. in diameter are generally glued up from two or three boards.
Old tabletops were made from air-dried wood with about a 15% moisture content. In modern houses, they shrink quite a bit as central heating brings the wood’s moisture content down to about 8%. One hallmark of a genuine lathe-turned antique top is that it’s no longer round. So, for this reproduction, I’m using airdried walnut from the stack out behind my shop, rather than wood from my kiln. With luck, it’ll shrink about as much as the original table, which is in. out of round. This shrinkage will take a year or so to occur.
The process begins by gluing up the blank, bandsawing it round and attaching a glue block to which the lathe faceplate can be screwed. I don’t use paper in the glue-block joint because I don’t want any chance of repeating that memorable explosion. It’s easy enough to saw off the bulk of the block when the turn ing is done—run the tabletop horizontally over the tablesaw to make a series of side-by-side kerfs in the block, chisel off the waste, then plane the bottom of the table flat.
From Fine Woodworking #67
For the full article, download the PDF below:
Fine Woodworking Recommended Products

Starrett 12-in. combination square

Jorgensen 6 inch Bar Clamp Set, 4 Pack

Stanley Powerlock 16-ft. tape measure


Log in or create an account to post a comment.
Sign up Log in