Completing a Steel-String Guitar
Setting the neck for playability
Synopsis: Guitarmaker William “Grit” Laskin says the differences between a mediocre guitar and a great one are pretty subtle, but these details are an essential part of producing an instrument that plays well. Once you’ve built a basic guitar, Laskin explains how to dovetail and set the neck, put in frets, and make the nut, bridge, and saddle. He covers underlying aspects of guitar construction that determine setup, action and playability. His how-to also details how to handplane the fingerboard blank, and the relationship of the neck and body.
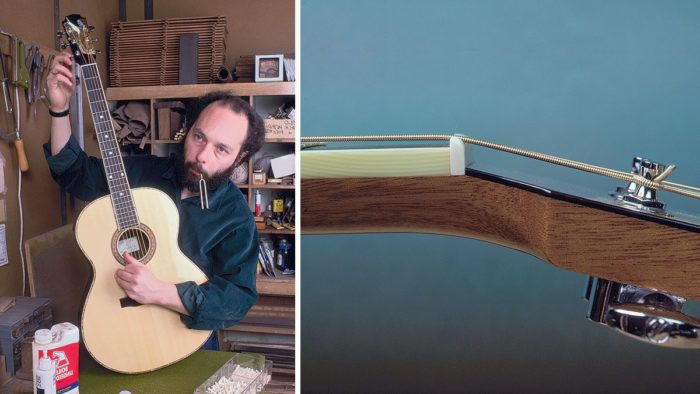
The differences between a mediocre guitar and a great one are pretty subtle, but these details are an essential part of producing an instrument that plays well. Once the basic guitar has been built, as outlined in FWW #67 and FWW #69, you’re ready to delve into these final steps to complete the steelstring guitar, including dovetailing and setting the neck, fretting, and making the nut, bridge and saddle. I’ll also cover some of the underlying aspects of guitar construction that determine setup, action and playability. Even if you’re not building a guitar but are rather an admirer or player, you should still read on, because the processes discussed here relate directly to enjoying the instrument. This article isn’t meant to tell you everything about the last stages of building and fine-tuning a guitar, but to provide the last part of the overview started in FWW #67 For more information on details and processes that I don’t cover, refer to any of the guitarmaking texts either cited later in this article or in the bibliography in FWW #67.
The first step toward finishing the guitar is setting the neck. Starting with a rough-shaped neck blank with the heel block and peg-head veneer already glued on, we’ll proceed with the following steps: sanding the end of the neck so it will butt to the body at the correct angle, routing the male dovetail on the neck and handshaping it to fit the female dovetail in the body. Then the neck can be shaped and the fingerboard prepared, fretted and glued on. After fine-tuning the neck’s back bow, which is the backward angle of the neck needed to balance the tension of the strings, the neck is glued to the body.
Neck-setting begins by machining the neck’s heel on a stationary belt sander to flatten the surface and create the proper angle between it and the guitar body. This angle is determined with a simple gauge cobbled together from a strip of wood and three small blocks, as shown in figure 1 on the facing page. You’ll also need to draw a pencil line down the center of the neck and the body, for laterally aligning the neck.
From Fine Woodworking #82
For the full article, download the PDF below:
Fine Woodworking Recommended Products

Compass

Drafting Tools

Dividers


Log in or create an account to post a comment.
Sign up Log in