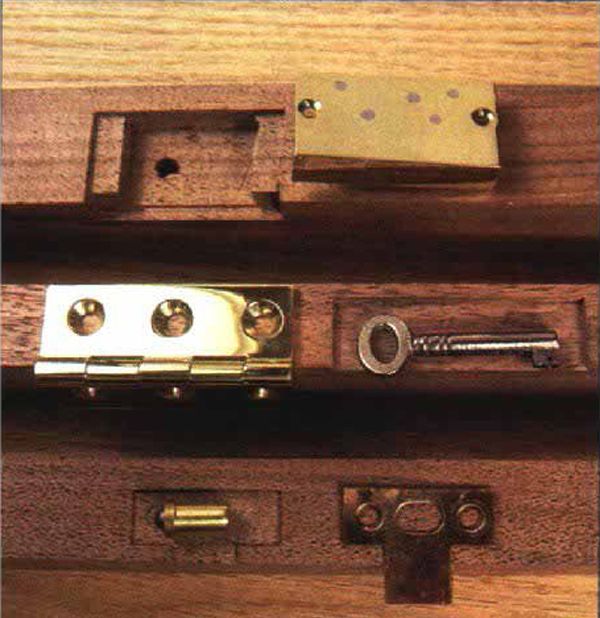
Synopsis: Jeff Greef describes a way to mortise just about any kind of door or cabinet hardware using a few template fixtures and router. He does chisel the corners square, but this method saves him time and money. Each fixture has only two parts, simplifying setup. He explains how he routes hinge, lock, and bullet-catch strike-plate mortises, A side article tells how to make the mortising fixture.
For years I tried faster and more accurate joinery methods while ignoring the amount of time spent chiseling hinge and lock mortises by hand. Then I made a few template fixtures and used them to rout perfect-fitting mortises for hardware on five display cases. Each case has two butt hinges, one lock, one bullet catch and its strike plate. My router method proved to be more than twice as fast as doing the same job by hand, even though I have to chisel the corners square. I’ve used the fixtures when installing the hardware in other cabinets, so I’ve amortized the fixtures’ cost and the time it took to make them over several jobs. Further, the method I’ll describe can be used for mortising just about any kind of door or cabinet hardware.
The setup
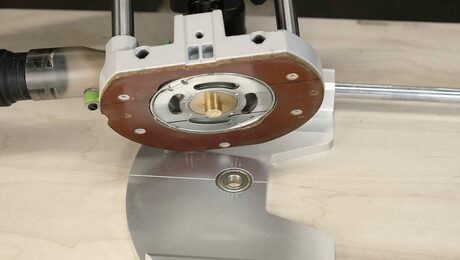
My method for routing hardware mortises is cost-effective, even for relatively small jobs, because the fixtures and setup are simple. Each fixture, like the one for routing a hinge mortise in the drawing on the facing page, has only two parts: a plywood template and a fence. The -in.-thick birch-plywood template has a cutout that guides the router. A solid-wood fence screwed to the template aligns the template with the workpiece. The router’s subbase is fitted with a guide bushing, which follows the edge of the cutout during mortising. Because the diameter of the bushing is larger than the router bit, the size of the cutout must be larger than the size of the desired mortise.
For routing most small-hardware mortises, I chuck a -in.-dia. straight bit into my router and fit the subbase with a -in.-dia. guide bushing, as shown in the drawing. The relatively small-diameter cutter leaves a minimal corner radius, which means I don’t spend much time chiseling the corners square after routing. By feeding the router slowly, you can avoid getting chatter, which Although making a mortising fixture is easy, making the cutout in the template the right size takes some calculating. This is because the guide bushing that follows the cutout is larger in diameter than the bit. For example, a -in.-dia. bit used with a -in.-dia. guide bushing results in a -in. offset. When laying out the cutout for the hinges, I add in. to the width of the cutout and in. to its length, to allow for the offset at the hinge’s ends.
To rout the cutout in the plywood fixture’s working template accurately, I guide my router’s flush-trimming bit with a solid-hardwood “primary” template, like the one in the left photo below. If I wear out the working template, I can rout the cutout in a new one with the U-shaped primary template.
From Fine Woodworking #91
For the full article, download the PDF below:
Fine Woodworking Recommended Products

Festool DF 500 Q-Set Domino Joiner
Milescraft 4007 6in Bench Clamp
Dubuque Clamp Works Bar Clamps - 4 pack




Log in or create an account to post a comment.
Sign up Log in