Double-Blade Tablesaw Tenoning
Spacers and shims between blades make setup fast and accurate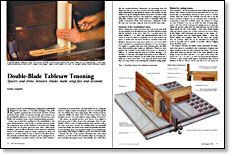
Synopsis: Mac Campbell standardized and streamlined common furniture making operations; he explains his joinery shortcut here. His efficient, no-fuss system for cutting tenons on the tablesaw uses two blades separated by shims and spacers to cut both cheeks at once. He cuts the mortises first and then adjusts his tenoning system to produce tenons that fit. He first explains the anatomy of the standardized tenon, talks about blades for cutting them, and explains his auxiliary fence for end grain cuts. He finishes with details on crosscutting tenon shoulders.
I operate a custom woodworking shop, making pieces individually designed for each client, so I can’t take advantage of the profitable, repetitive operations that are the bread and butter of many production shops. Profits are important, though, and I wanted to apply assembly-line efficiency to my custom work. This lead me to standardize and streamline many common furniture making operations.
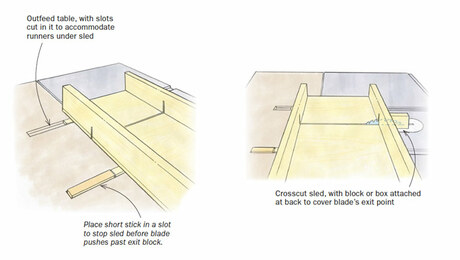
Joinery was an ideal first candidate for this standardization. Like many furniture makers, I rely heavily on mortise-and-tenon joints. The components’ sizes and the members to be joined may change, but the joints are all pretty much the same. After a little experimenting, I came up with an efficient, no-fuss system for cutting the tenons on the tablesaw using two blades separated by shims and spacers to cut both cheeks at once, as shown in the photo above. The precisely machined shims and spacers can be arranged in various combinations to produce tenons to fit any of the mortises I commonly use in my furniture. Once the blades are set, cutting the tenons is simply a matter of running the stock on end through the saw. An auxiliary fence and a miter gauge with a backup board increase the stability and safety of the cut and reduce tearout. Tenon shoulders are also cut on the tablesaw using a sliding crosscut box.
This system can quickly produce most tenons, even angled or stub tenons; plus, it offers several other advantages. First, it is predictable: Follow a series of easily repeatable steps, and the result is the same every time. Second, the resulting joints are structurally sound. And, finally, the system works despite the gremlins that inhabit a woodworking shop—the inevitable variations in stock thicknesses and working characteristics of different species don’t alter the results.
Because the size of the mortise determines the exact tenon thickness, I cut the mortises first and then adjust my tenoning system to produce the proper tenons. Theoretically, you could calculate the mortise-and-tenon dimensions by measuring from the blades and bits you use, but in practice, the final settings are more easily determined by trial fitting the tenon to the mortise. It’s also easier to set up for cutting the tenons if you have a mortise to help you align the blades and fence. The method for cutting the mortise drill press, overarm router, plunge router or mortising chisel and mallet—is immaterial. What’s most important is cutting the mortise the same way every time, using the same tool and the same setup.
From Fine Woodworking #95
For the full article, download the PDF below:
Fine Woodworking Recommended Products

Festool DF 500 Q-Set Domino Joiner
Makita LS1219L Miter Saw




Log in or create an account to post a comment.
Sign up Log in