Veneering Over a Solid-Wood Substrate
Thirty-year old rosewood gives life to a shapely coffee table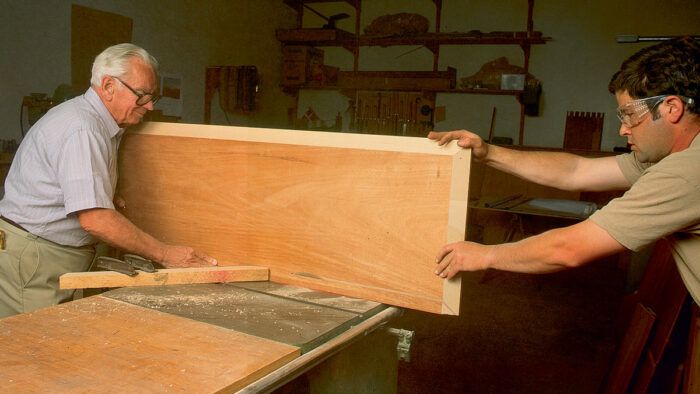
Synopsis: Tage Frid experimented with veneering over contrasting substrate and found some interesting design options. In a coffee table shown in this article, he removed the wood to expose a graduated portion of the substrate along its edge. He beveled the veneered tabletop and then bandsawed gentle curves along both sides and ends so that the maple substrate seems thinner in the center and wider at the ends. Frid says that some of the finest furniture ever made used veneers extensively, and they stand the test of time. He offers direction on how to position the veneer on the solid wood underneath, along with advice on gluing. Detailed drawings illustrate other tips, and pages of photos show how he took each step.
I’ve been experimenting with veneering over solid woods for a while and have discovered some interesting design possibilities. One of them, which I’ve used on the table shown below, involves removing wood in such a way that I expose a graduated portion of the substrate along its edge. By first beveling the veneered tabletop and then bandsawing gentle curves along both sides and ends, the exposed maple seems thinner in the center and wider at the ends. The effect can be very dramatic or much more restrained. For this table, I wanted to maximize the contrast with the veneer—some prize rosewood I’ve been saving for 30 years— so I chose maple for the substrate. Whether you’re looking for a subtle distinction or a loud contrast, the veneer adds an element to the design that would be impossible without it.
Some people think real woodworkers don’t use veneers. This is small-minded thinking. Veneering has been around almost since man first started cutting trees. Indeed, some of the finest furniture ever made—fabulous 18th- and 19th century pieces from France and England—used veneers extensively and over solid wood. Many of those pieces have stood the test of time.
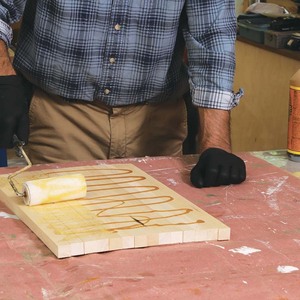
When veneering over solid wood, orient the veneer in the same direction as the substrate. I used a vacuum veneer press, but clamps and cauls (wooden blocks to spread the clamping pressure) can also be used. Although I normally use regular yellow glue for veneering, I used plastic-resin glue for this table because it works better with oily woods like rosewood. In either case, it’s essential that you spread the glue evenly and not too thickly. I use a paint roller with a rough, woven (washable) pad, which is designed for spreading contact cement. It’s important to veneer both the top and bottom of the tabletop so that the wood can exchange moisture with the air evenly on both sides. I glued mahogany veneer on the bottom of this table.
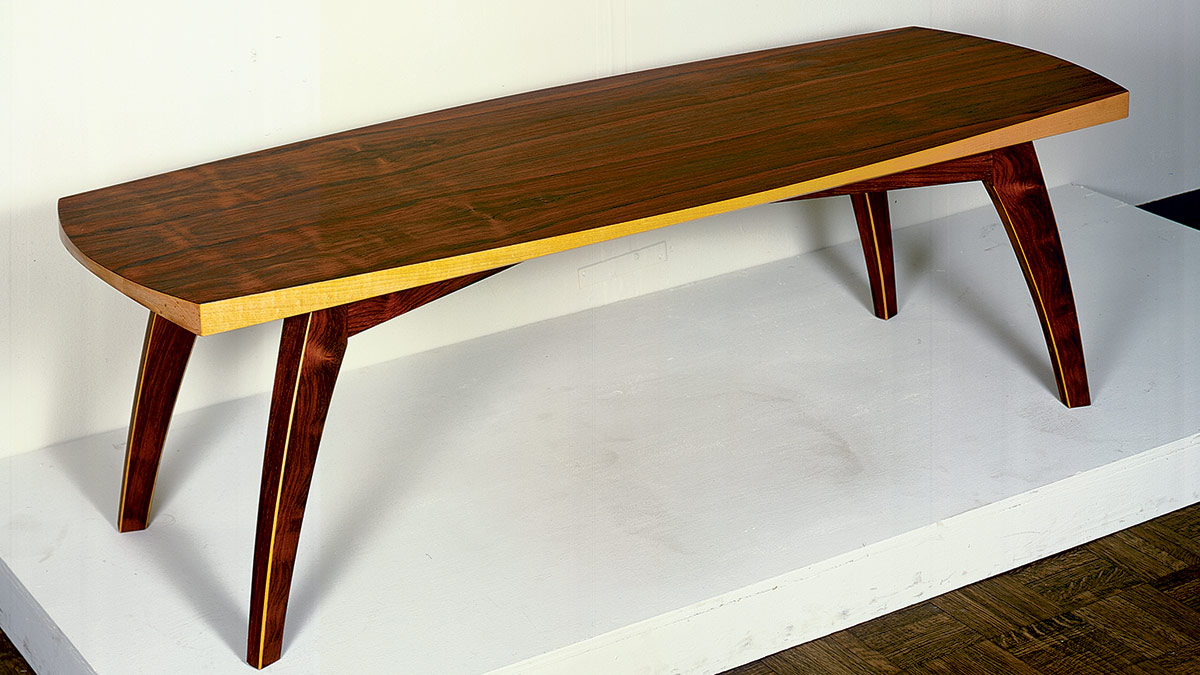
I designed the legs of the table to complement the top. Because they’re curved, I made sure the grain runs full length, so there are no short-grain sections that could be vulnerable. After shaping, mortising and veneering the legs, I spokeshaved the corners to expose a little bit of the maple.
The table’s finish is Watco Danish Oil Finish—the simplest to apply and the easiest to repair. That’s important, especially if you put your feet up on the coffee table as much as I do.
 From Fine Woodworking #98
For the full article, download the PDF below:
Fine Woodworking Recommended Products
Ridgid R4331 Planer

Drafting Tools

Stanley Powerlock 16-ft. tape measure






Log in or create an account to post a comment.
Sign up Log in