The first time I used tambour doors in a furniture project, my client had commissioned a dining buffet to fit into an extremely small dining room. Hinged doors stuck out too far when opened, and regular sliding doors limited access to the inside of the cabinet. Tambours provided an elegant solution.
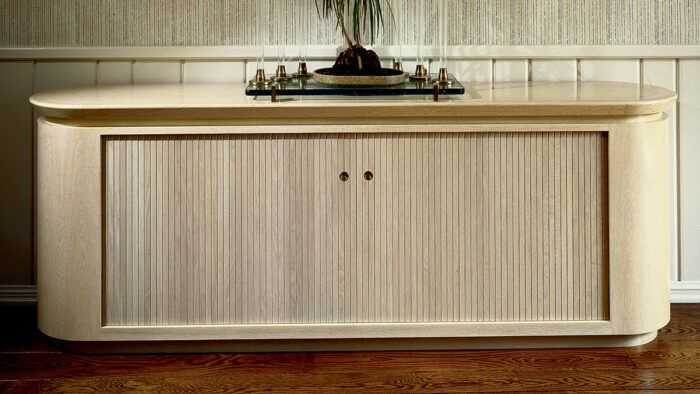
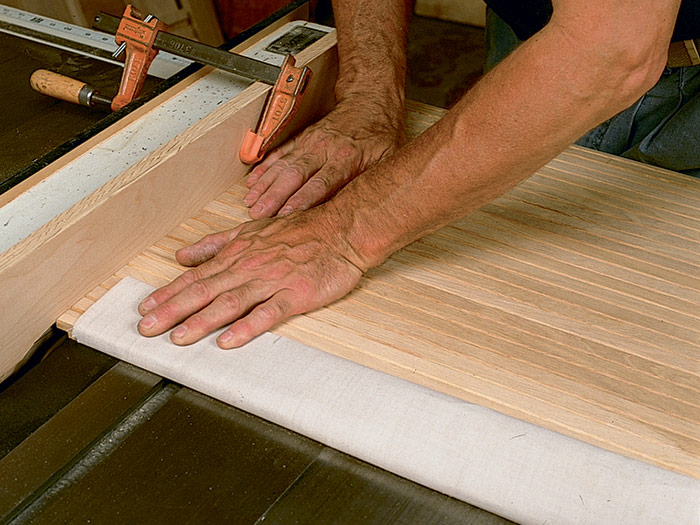
Tambour doors are made by gluing a gang of individual wooden slats to a canvas backing. The slat ends have tongues that ride in a track groove routed into the cabinet carcase. The canvas backing gives a tambour plenty of flexibility to follow gentle curves in a track, so the doors can run back into the cabinet and disappear. Their flexibility makes tambours an attractive solution for doors in a wide variety of cabinet and furniture pieces. Although tambours can be made to operate vertically, the most accessible projects involve one or two horizontally sliding doors, such as the ones in the buffet I built shown below.
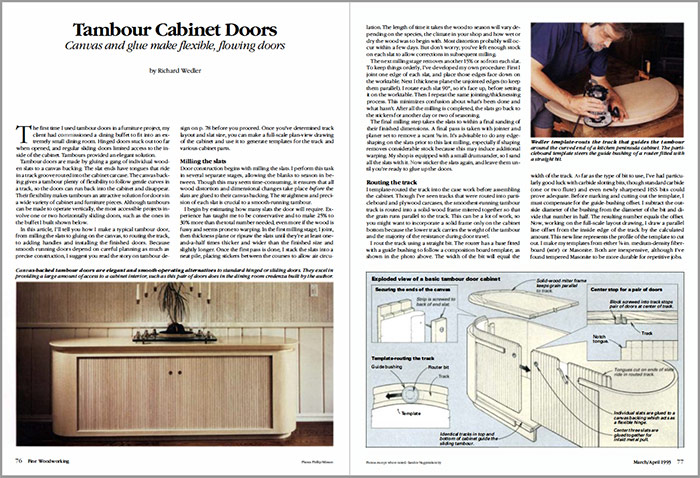
In this article, I’ll tell you how I make a typical tambour door, from milling the slats to gluing on the canvas, to routing the track, to adding handles and installing the finished doors. Because smooth-running doors depend on careful planning as much as precise construction, I suggest you read the sidebar on tambour design in the PDF before you proceed. Once you’ve determined track layout and slat size, you can make a full-scale plan-view drawing of the cabinet and use it to generate templates for the track and various cabinet parts.

Milling the slats
Door construction begins with milling the slats. I perform this task in several separate stages, allowing the blanks to season in between. Though this may seem time-consuming, it ensures that all wood distortion and dimensional changes take place before the slats are glued to their canvas backing. The straightness and precision of each slat is crucial to a smooth-running tambour.
I begin by estimating how many slats the door will require. Experience has taught me to be conservative and to make 25% to 30% more than the total number needed; even more if the wood is fussy and seems prone to warping. In the first milling stage, I joint, then thickness plane or ripsaw the slats until they’re at least one-and-a-half times thicker and wider than the finished size and slightly longer. Once the first pass is done, I stack the slats into a neat pile, placing stickers between the courses to allow air circulation. The length of time it takes the wood to season will vary depending on the species, the climate in your shop, and how wet or dry the wood was to begin with. Most distortion probably will occur within a few days. But don’t worry; you’ve left enough stock on each slat to allow corrections in subsequent milling.
The next milling stage removes another 15% or so from each slat. To keep things orderly, I’ve developed my own procedure: First I joint one edge of each slat, and place those edges face down on the worktable. Next I thickness plane the unjointed edges (to keep them parallel). I rotate each slat 90°, so it’s face up, before setting it on the worktable. Then I repeat the same jointing/thicknessing process. This minimizes confusion about what’s been done and what hasn’t. After all the milling is completed, the slats go back to the stickers for another day or two of seasoning.
The final milling step takes the slats to within a final sanding of their finished dimensions. A final pass is taken with jointer and planer. It’s advisable to do any edge-shaping on the slats prior to this last milling, especially if shaping removes considerable stock because this may induce additional warping. My shop is equipped with a small drum sander, so I sand all the slats with it. Now sticker the slats again, and leave them until you’re ready to glue up the doors.
To view the entire article, please click the View PDF button below:


Log in or create an account to post a comment.
Sign up Log in