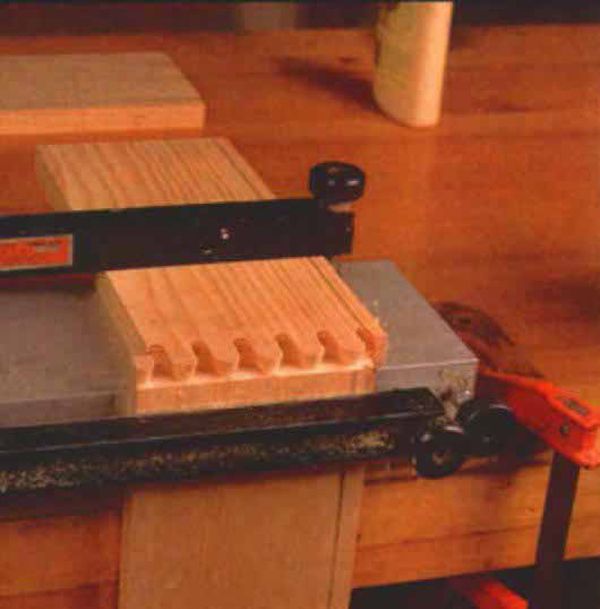
Synopsis: John Lively of Fine Woodworking prefers the strength and durability of dovetails when he makes utility drawers, without spending the time it takes to do them by hand. He cuts drawer joints for many projects with a router and dovetail fixture. He explains how the fixture clamps onto the stock and how to size drawers accordingly. He offers tips on how to select unwarped lumber for drawer stock, then explains how to prepare it and work with it (rip first, then crosscut, and keep the drawer pieces organized). You’ll learn how to make the routing go quickly, how to cut grooves for the drawer bottoms, and how to proceed with assembly, glue-up, and fitting. Side information covers setting up a dovetail fixture accurately.
The built-ins and utility furniture I make usually call for lots of drawers. I could spend a couple of days hand-cutting the dovetails for a big casework project. Or, going to the opposite extreme, I could rabbet and nail the drawers together and be done in a couple of hours. But what I really want is the strength and durability of dovetails, without spending the lime it takes to do them by hand. That is why I cut the drawer joints for projects like the ones shown here with a router and dovetail fixture.
Router dovetails
I use an inexpensive router fixture I bought from Sears 20 years ago. It cuts only half-blind dovetails (meaning they’re visible from one side only). Sears and most of the woodworking tool catalogs offer a similar fixture now for less than $100. I’ve thought about buying more expensive and more versatile fixtures that cut through dovetails, as well as halfblinds, and which promise the variable spacing of hand-cut work. But then I might as well cut them by hand if that’s the look I’m after.
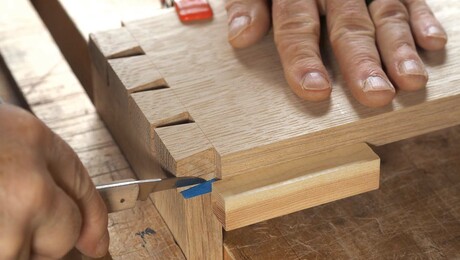
Hand-cut dovetails consist of pins, which are typically cut on drawer fronts and backs, and tails, which are cut on drawer sides, as shown below. Router dovetails, however, get pins on the drawer sides and sockets on the fronts and backs. With hand-cut dovetails, you can tailor the joint to suit the dimensions of the piece. With router dovetails, you can’t.
One thing that makes router dovetails fast is that you don’t have to lay them out. The fixture clamps two boards at 90° to each other (drawer front or back on top, side hanging clown). On top of both boards goes a finger template that controls the router and dovetail bit by means of a template-following guide bushing. The thickness of the drawer stock can vary from a little less than one-half inch to more than one inch. Width can vary too, from about three inches to 12 inches. But regardless of the width and thickness, the size and geometry of the pins and sockets stay the same.
That means you have to size your drawers to the geometry of this cookie-cutter joint. You want to end up either with a whole pin at the top of the joint or a halfpin. Anything less than a half-pin looks awkward and is liable to splinter away.
Two adjustments control the fit of the joint. The router’s vertical depth of cut determines whether the joint is too loose, too tight or just right. The in/out positioning of the finger template controls the lateral travel of the router and thereby determines the depth of the sockets.
From Fine Woodworking #99
For the full article, download the PDF below:
Fine Woodworking Recommended Products
Bessey K-Body Parallel-Jaw Clamp
Bessey EKH Trigger Clamps

Jorgensen 6 inch Bar Clamp Set, 4 Pack





Log in or create an account to post a comment.
Sign up Log in