Build a Classic Bowback Windsor
Green woodworking lends its strength to this classic chair design.

Synopsis: Harriet Hodges explains how she builds a bowback Windsor chair. She starts with green wood, in whole log form. She explains how to split, square, and round blanks for the parts and then moves on to drilling and shaping the seat, preparing the legs and stretchers, and assembling the undercarriage. Detailed photos and drawings show how to lay out and drill the seat. Then she tackles the back assembly; she bores the spindle holes with a 3/8-in. auger bit. She explains how she put it all together and finish the piece.
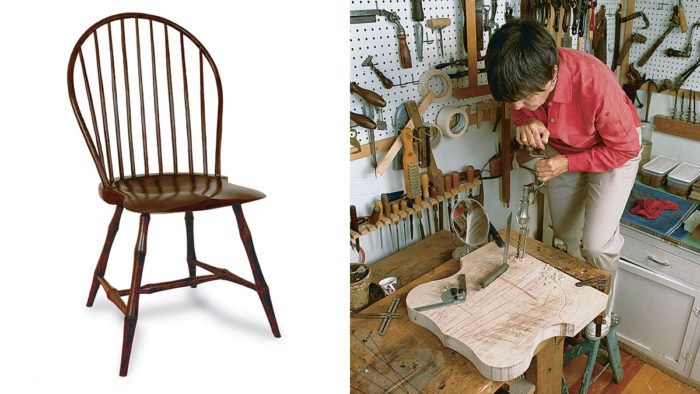
The rewards of building Windsor chairs are sweet indeed. From logs, I create objects of beauty and utility, strong but graceful, steeped in tradition and destined to last generations (see the photo at right). The process isn’t difficult as long as you take it step by step.
Preparation
Before you start to make a bowback (or any other style) Windsor, you have to get green wood, preferably in whole log form. Split out, square and then round blanks for the back-bow, spindles, legs and stretchers. I use sugar maple for legs and spindles, pine or basswood for the seat and hickory for the back-bow.
You’ll need to make a crude kiln to dry the tenons that go into wet mortises: Wet-dry joinery gives Windsors their characteristic strength. A cube of folded foil-faced insulation with a light bulb inside and plywood ends works well for me. Shape your spindles (see figure 6 on p. 96 for dimensions), and dry them for at least 24 hours. If you don’t want to build a kiln, you can put the spindles in a gas oven with a pilot for 48 hours.
Drilling and shaping the seat
Using the seat pattern from figure 2 on p. 93, scale the pattern onto a piece of cardboard or heavy paper. Now set the blank on the bench, heart side down, and trace the pattern on it. Mark the centers of spindle, backbow and depth holes. Mark leg centers on the top for reference in carving. You want to leave a lot of material around the legs for strength. Mark spindle sight lines (see figure 2). They will be used later to help drill the spindle mortises at the correct angles.
Cut the front profile of the seat, but leave the back waste intact so you’ll have corners to clamp. Then set the pattern on the bottom, lining it up at the front and marking leg centers for drilling. Also, transfer the sight marks for the legs from the pattern (marks FL and Strength belying its delicacy is the hallmark of a Windsor chair, a trait it derives from the wet-dry joinery and the long, unbroken grain sor’s classic good looks fit in almost anywhere. RL in figure 2), and then draw sight lines, as shown. Next mark the centerline of the gutter, which defines where the seat carving begins and the plateau for the back ends.
Start drilling with the center spindle mortise. Set a bevel gauge to 8° back from perpendicular, and center its blade on the sight line.
From Fine Woodworking #109
For the full article, download the PDF below:
Fine Woodworking Recommended Products

Jorgensen 6 inch Bar Clamp Set, 4 Pack

Stanley Powerlock 16-ft. tape measure

Festool DF 500 Q-Set Domino Joiner


Log in or create an account to post a comment.
Sign up Log in