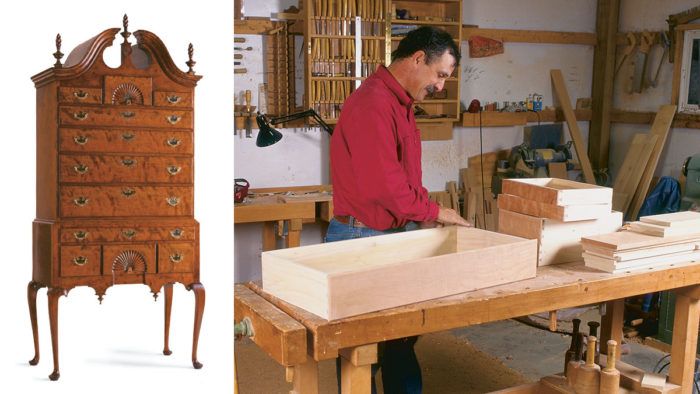
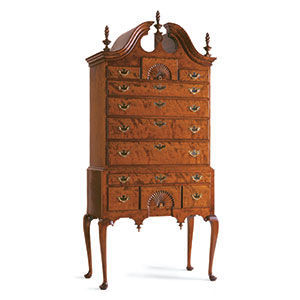
Curly Cherry Highboy, Part Two
Making the upper case, drawers and gooseneck molding
Synopsis: In the second of three articles on how to build a curly cherry highboy, Randall O’Donnell focuses on the dovetail joinery in the upper case. He explains how to build the basic box, install runners and rails, and rabbet and mortise the sides and back. A detailed project plan, with inset views, shows how all the pieces fit together. He recommends dry-fitting the case before gluing it. The article includes a scroll-board pattern and information on framing the bonnet. O-Donnell routs and carves the gooseneck molding and explains how to mount and install the hood. Then he tackles the drawers and backboards.
Earlier in my career, I built kitchen cabinets. At that time, dovetailing meant using a jig and router. I dovetailed more than a thousand drawers that way. But when I decided to become a period furnituremaker, I knew those days were over—only hand-cut dovetails would do. Abandoning the speed of a jig for tedious handwork seemed crazy at first, but with my first hand-cut joint, I learned it wasn’t as hard as I thought.
Dovetail joinery is a large part of what goes into constructing the upper case of this highboy. With its bonnet top and graceful moldings, this chest of drawers appears to be a formidable project. But stripped of embellishment, it’s simply a large dovetailed box containing smaller dovetailed boxes.
Finding high-quality, wide stock was my biggest challenge. I was fortunate to find outstanding curly cherry. I used poplar for all the secondary wood except the drawer bottoms, where I used aromatic cedar. Using cedar is more work because it involves joining narrow stock, but the wonderful smell that escapes as you open a drawer makes the effort worthwhile.
I described my approach for building the base unit in FWW #111, pp. 80-85. Now I’ll detail construction of the upper case. That involves making the carcase, framing the bonnet top, making the drawers and carving the curved crown, or gooseneck, molding.
Building the basic box
It’s virtually impossible to find a single board of figured wood wide enough for the sides. But two well-matched boards glued together look fine. The first step is to glue up stock for the case top, bottom and sides. A piece of furniture like this needs stock that’s slightly thicker than what’s usually used on case pieces. I use -in.-thick stock for the entire case, internal framing and drawer fronts.
I start by flattening one face and jointing one edge of each board. Then I thickness plane the boards to within in. of their final thickness. Next, on the tablesaw, I rip the boards to width. I usually don’t bother to joint the boards after ripping because I’ve found that with a good blade and a true-running saw arbor, it’s not necessary.
Now I glue up the boards. Once the glue has dried, I sand the pieces to thickness on a wide belt sander. Later, after all the joinery has been cut, I’ll surface all the sides, inside and out, with a handplane and cabinet scraper. This gives a handworked texture.
The case is joined at the corners with through dovetails. The top corners are hidden by the moldings and bonnet, and the bottom corners are covered by the base and the waist molding.
From Fine Woodworking #118
For the full article, download the PDF below:
Fine Woodworking Recommended Products

Dubuque Clamp Works Bar Clamps - 4 pack

Estwing Dead-Blow Mallet


Log in or create an account to post a comment.
Sign up Log in