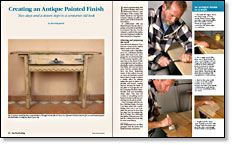
Creating an Antique Painted Finish
Two days and a dozen steps to a centuries-old look
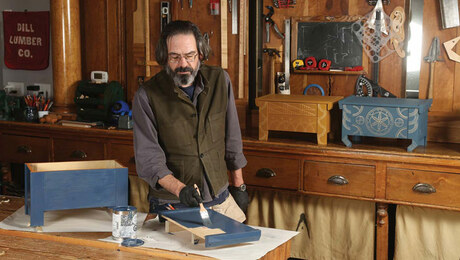
Synopsis: Kirk Kirkpatrick lives and works in New Mexico, where Native American and Spanish Colonial cultures are very much a part of the look. His paint finish makes furniture look centuries old. You start by selecting and preparing the wood you want to finish and continue step by step: burnishing the edges, using a dark stain, sealing the color with a clear coat with a low sheen. He scuff-sands the clear coat so it’ll hold a coat of paint, but then waxes it so the paint won’t completely adhere. He brushes on the flat latex paint and then covers that with a layer of hide glue so the next layer of paint will crack. Another coat of paint follows, then scraping and sanding begin. Next is a coat of tinted liquid wax, and then polishing.
I started experimenting with painted finishes that look old because I live in a very old region of the country. The Native American and Spanish Colonial cultures are still very much a part of the look here in New Mexico.
In collaboration with my friend Dwayne Stewart, who’s a painter and professional finisher in Kansas City, Mo., I’ve developed a method that makes even new furniture look like it’s been around for a long time.
Selecting and preparing the wood
I use old wood whenever I can, but new wood can be stained dark to make it look older.
Tool marks make a big difference, too. I eliminate machine marks with hand tools, and I gouge the wood intentionally. A 17th-century Spanish craftsman here in the desert Southwest might have had an adze, a drawknife, maybe a handplane (but likely not) and not much more. And he certainly didn’t have any fancy sharpening stones. So the surfaces you see on most old furniture around here is kind of rough. I achieve a similar effect by planing against the grain in places (especially near knots), causing tearout, skewing the blade on my plane so it gouges the surface, keeping the blade intentionally dull and burnishing sharp edges. This may run counter to everything you’ve learned, but the results are convincing.
Once I’m happy with the surface, finishing begins. Because I use latex paint and a quick drying clear coat, I can complete the process in less than two days. Not bad for a finish that looks like it’s seen some history.
From Fine Woodworking #120
For the full article, download the PDF below:
Fine Woodworking Recommended Products

Veritas Wheel Marking Gauge

Sawstop Miter Gauge

3M Blue Tape


Log in or create an account to post a comment.
Sign up Log in