Making Full-Sized Doors
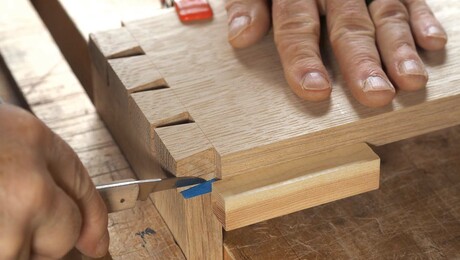
Combining machine and handwork makes a tightly coped joint where rail meets stile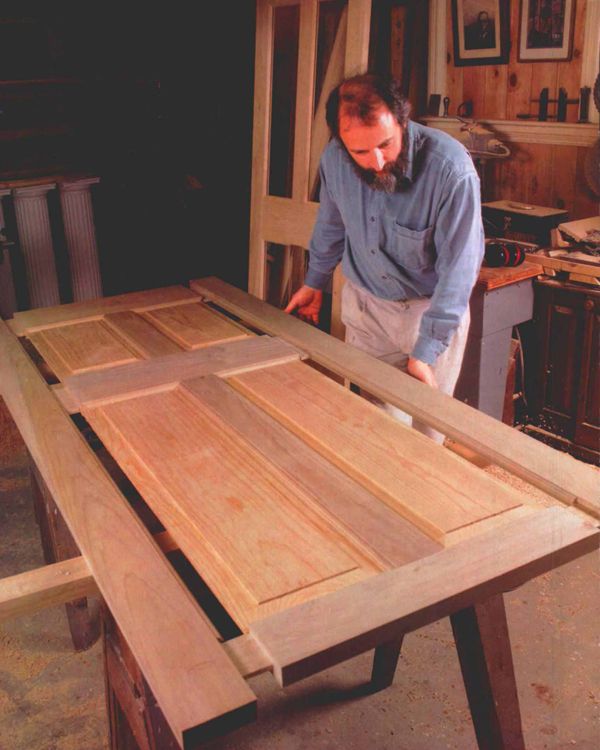
Synopsis: Joseph Beals used mortise-and-tenon joinery to make doors for his own home because he could cut the joints in a number of ways that didn’t require expensive tools or machinery. He used a shaper to cut the pattern molding on the inside edges of the rails and stiles, but you could cut it with a router, tablesaw molding head or even by hand. He laid out the joints with scraps. He explains how to clean out the mortises and shape the moldings. Beals marked the rail tenons directly from the mortises and dry-fit the door frames before assembly. He used epoxy since he made these doors for exterior use. A detailed project plan illustrates the hybrid door joinery and shows how to mark the mortises.
Making full-sized doors is a fine job for a small shop. The design for frame-and-panel doors offers an opportunity to draw from a broad spectrum of traditional styles. One of the most important design questions concerns something you can’t even see when the door is finished—the joinery that holds it together. To hold up over time, the frame must be joined with full mortise-and-tenon joinery or with dowels. I’ve made more than two dozen doors for local contractors using dowels, and I have decided that it’s a demanding, tedious and unforgiving method.
When I found time to build several doors for my own house, I devised a method that combines simple machine work and traditional mortise-and-tenon construction. The joints are strong, and they can be fitted and tuned before final assembly, a convenience that doweling does not offer. You can cut the joints in a number of ways that don’t require expensive tools or machinery. I use a shaper to cut the pattern molding on the inside edges of the rails and stiles, but you could also cut it with a router, tablesaw molding head or even by hand with a molding plane.
Lay out the joints with scraps
Rip and joint all the frame stock to the finished width. Leave all the pieces several inches long for the initial pattern shaping to allow for snipe and to dress off any bad ends. At the same time, mill several test pieces for laying out the molding, the panel groove and the joints. These test pieces can be the same width as the stiles, and the pieces should be at least a foot long for convenience and safety.
With the first test piece, set up the pattern molding and panel groove. Install a single standard pattern cutter on the shaper to make the molding. I use a single cutter as a simple profiling tool, so it’s not restricted to a particular door thickness. And I mill the pattern molding on one edge of the test piece at a time, making a separate pass for each side. If the pattern looks good, I plow the panel groove with my shaper. You could also cut the groove with a dado blade on the tablesaw. The first pass removes the bulk of the waste; a second pass made with the stock turned over will ensure a perfectly centered groove.
The depth of the panel groove must match the depth of the pattern molding. The width of the panel groove will define the thickness of the tenons, about in. for a -in.-thick exterior door and in. for a -in.-thick interior door. The exact width can be finetuned to work with the pattern molding and can be adjusted as needed.
From Fine Woodworking #120
For the full article, download the PDF below:
Fine Woodworking Recommended Products
Leigh D4R Pro

Festool DF 500 Q-Set Domino Joiner
Leigh Super 18 Jig





Log in or create an account to post a comment.
Sign up Log in