Bookcase Made with Biscuit Joinery
Lumber matched for color and figure lends elegance to this charmingly simple case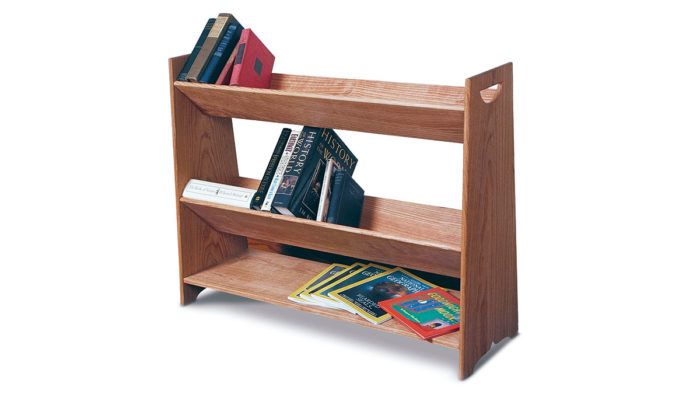
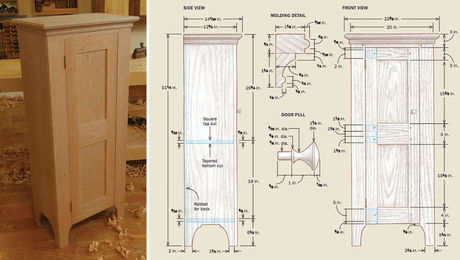
Synopsis: Peter Turner’s small, easy-to-build bookcase is modeled after one his great-grandmother owned. It’s simple, and he chose richly figured cherry to set off the wood. He roughed out the pieces from 7-in. stock, but he explains how to build it if you choose to edge-join boards. Then he joined the V-shelves, cut the biscuit slots, and shaped the edges. Multiple drawings show how a jig helps cut the tapers and various side views of the piece. The slots in the sides and shelves need to match, so he marked the location of the mating slots on the bookcase’s sides. Turner used a template for the cutouts in the sides, and he used a shopmade squaring jig during clamp-up.
Furniture with few design flourishes benefits from wood that has lots of figure. When I build simple bookcases like this one, I look for cherry with bold grain patterns, which I often find when sifting through stacks of No. 1 and No. 2 common grades. Using lumber with beautiful figure, selecting and matching all the stock, is really my favorite part of furniture-making. I modeled this bookshelf after one that once belonged to my great grandmother. It’s a small, easy-to-build piece whose few design details are quite simple. For the joinery, I use No. 10 biscuit joints for everything. All the pieces are 1⁄2 in. thick, which gives the bookshelf a light and delicate look.
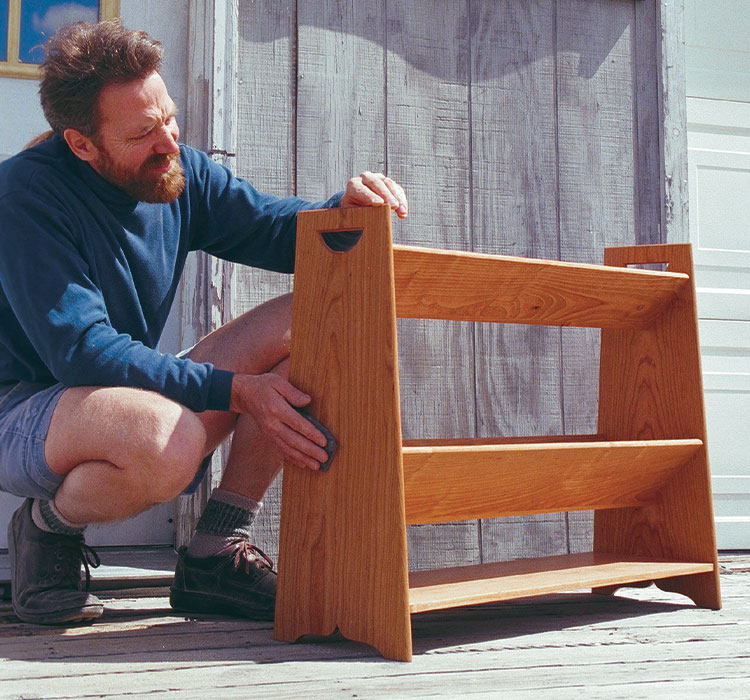
When picking lumber for this project, I select stock that’s at least 7 in. wide, so each half of a V-shelf requires only one plank. You can edge-join two boards for the sides and bottom shelf, or you can use single boards if your stock is wide enough. If I edge-join two boards for the sides, I make sure that the glue-line ends up in the exact center. I begin by flattening, edge-jointing, then thickness-planing all my stock down to 9/16 in. Then I pick through the boards and find the best matches to make up the two sides and bottom shelf. I glue up the sections using pipe clamps. After the glue is dry, I clean up any squeeze-out and joint one edge of each side and the bottom shelf. Then I select the boards for the two V-shelves, joint one edge and rip them slightly oversize on the tablesaw. At this point, I run the lumber through a thickness sander until everything is 1/2 in. thick. I prefer a sander because on highly figured woods, my planer produces tearout. You could, of course, thickness-plane the boards, and take care of any blemishes with handplanes and scrapers. Once all the stock has been sanded to 1/2 in., I rip it to final width on the tablesaw.
From Fine Woodworking #126
For the full article, download the PDF below:
Fine Woodworking Recommended Products

Suizan Japanese Pull Saw

Blackwing Pencils
Leigh Super 18 Jig



Log in or create an account to post a comment.
Sign up Log in