Wooden Planes
A small investment in time and materials yields a tool that performs beautifully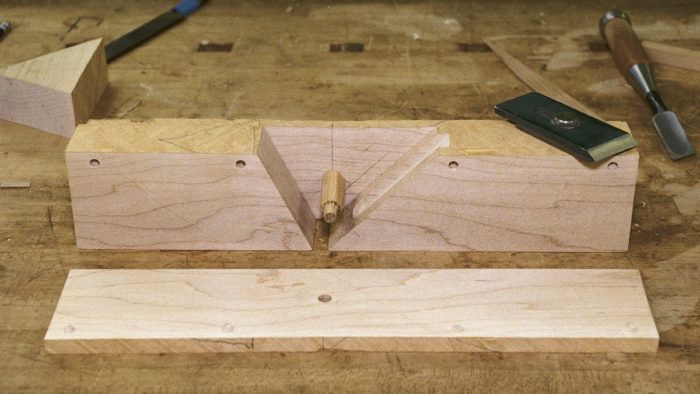
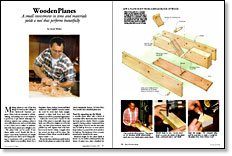
Synopsis: David Welter gets down to the nuts and bolts of how to make a wooden plane. He explains how to select the woods and irons, square up the block, and cut the cheeks. He shows how to lay out the mouth, fit the cheeks to the plane body, position and index the plane body, and put in the cross-pin. Drawings show how to saw a plane body from a single block of wood. Dry-fitting’s valuable even in a project this small, so don’t skip that, Welter advises. True up the plane body with a wedge installed, add the sole and wedge, locate and cut the mouth, and get started shaving.
 Making planes is one of the first things we teach in the College of the Redwoods’ furniture program. These tools are essential to cabinetmaking, and making one or two of them is a good way to get started. Although construction requires care, making a plane is not a difficult process, and a wooden plane is not a fussy tool to adjust or maintain. Best of all, these planes are a delight to use.
The plane body can be made of any dense, stable wood. People like the romance of an exotic hardwood; its weight feels good in use. But it can be disappointing to experiment with a precious commodity. Maple is an excellent choice for a first plane. Cherry, hickory, locust and black walnut are other suitable common materials. Look for stock that’s fairly straightgrained. A plane built from stock with tension in it will be a perpetual aggravation.
Unless the wood you’ve chosen for the body of the plane is especially dense and hard, you will need a tougher wood for the sole, one that is fine-textured, dense and polishes up well. Lignum vitae is the best, but it can be hard to obtain. Gongalo alves has served our shop well for years. The thickness of these dense woods should be kept to under in.
We use the short, thick irons made by Ron Hock for the planes we make at the school (Hock Handmade Knives; 707-964-2782). You can also use a standard plane iron.
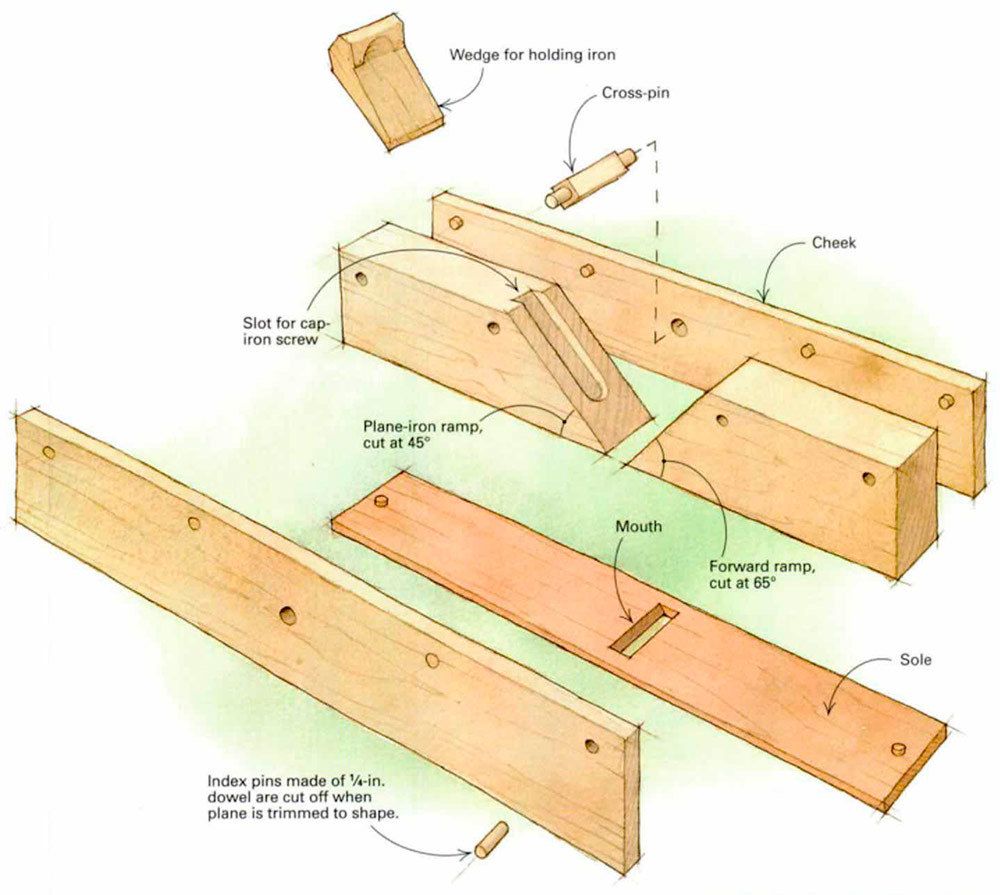
Start by squaring up the block
A wooden plane starts with a block of wood that will be sliced into three sections: the body and two cheeks. There’s a certain appeal to having a plane constructed from a single block of wood, but the stock also may be built up from two or more pieces. Keep balance in mind if the stock needs to be built up. The thickness of two or more joined pieces should be the same.
Minimum height for the plane blank is about 2 in. Its width is determined by the choice of plane iron, plus a finished dimension of in. for each cheek. To the width of the iron, add in. to get the finished width of the center block of the plane. The extra room allows the iron to be pivoted so it’s parallel to the sole without binding. Safe margins for bandsawing a solid block require 1 in. in addition to the plane iron’s width; make that in. if tablesawing the block. After jointing and thicknessing the block, mark the top of the plane with a cabinetmaker’s triangle to serve as a reference during assembly.
From Fine Woodworking #126
To view the entire article, please click the View PDF button below:
Fine Woodworking Recommended Products
Tite-Mark Marking Gauge

Marking knife: Hock Double-Bevel Violin Knife, 3/4 in.
Veritas Wheel Marking Gauge







Log in or create an account to post a comment.
Sign up Log in