From Rough to Finish
Using machines to remove cup, crook, twist and other defects from lumber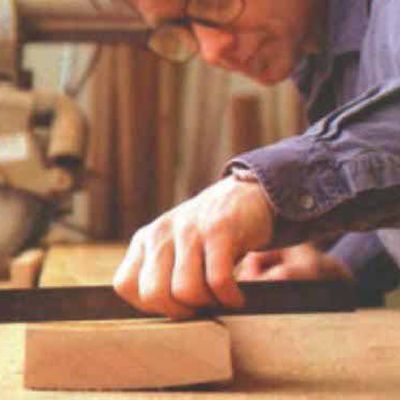
Synopsis: Sometimes you have to take the lumber you can get, even if it has defects; just have faith in your machines. Gary Rogowski explains different milling strategies for different defects so that you end up with something worth working on. He starts with examples of warped stock and offers advice for each: use bowed stock for short pieces, and push it concave side down over the jointer. He shows how to deal with high spots, bowing, cupping, and checks. He demonstrates how to use winding sticks and how to get the twist out of a piece of lumber, and how to use a saw to remove a crook.
I have paid lumberyards good money for some nasty-looking hardwood. Sometimes you just have to take what you can find, even if the stock has defects. But I do have some faith in the power of machines. Planks that look like they were pried off the hull of a beached boat can be made silky smooth and straight as an arrow with the push of a button.
Well, almost. You can’t blindly shove stock into the maw of a groaning machine and extract perfect boards. If you repeatedly pass the face of a twisted board across a jointer and don’t apply proper pressure to the opposing corners, you’ll end up with one big shingle—skinny on one edge and fat on the other.
The first step in milling is looking, not machining. Examine your stock, and identify problems such as bow, check, cup and twist. Different defects call for specific milling strategies. But even when you’re careful to identify problems, surprises sometimes arise. Recently, while planing a plank of what looked like clear sycamore, I noticed a sudden color change in the machined face. I took a closer look. Smack in the middle of the discoloration was a chunk of buckshot. Fortunately, the soft lead didn’t damage the planer’s knives.
Although it may seem like more work, I prepare stock in two steps: rough milling and finish milling. First I pick through the stock and decide what boards to use for which parts of a project. Next I crosscut the pieces 1 in. oversize in length, rip them on the bandsaw, leaving them’ in. over in width. Then I joint and plane the stock, leaving everything in. over in thickness. When rough milling, I concentrate on the serious defects and don’t worry too much about getting perfectly square edges yet. Then I sticker the stock for a few days to allow any hidden stresses in the wood to reveal themselves. Wood that’s been sitting in a rack may hold hidden surprises that show up after milling. After letting the stock settle down, I’ll do the final milling getting stock square and cutting it to the final dimensions. By then, the stock is usually pretty stable and less likely to play tricks on me.
The defects found in lumber are often a result of what happened to the wood before you bought it. As wood dries, even under ideal conditions, it suffers some degradation. Improper drying—too fast, too slow, improper stickering and other mistakes—can play havoc with wood. Here are some of the more common problems and how to solve them.
From Fine Woodworking #131
For the full article, download the PDF below:
Fine Woodworking Recommended Products

Diablo ‘SandNet’ Sanding Discs
Foam Brushes






Log in or create an account to post a comment.
Sign up Log in