Synopsis: Bill Ewing developed a quick way to cut arched doors, using an adjustable jig that allows him to cut raised-panel doors of almost any size. He says it’s best to set design parameters first, such as 1-in. arches, and then make two easy-to-build accurate templates – one for the rail, and one for the panel. He builds the doors oversized and trims them to fit. The rail-cutting sequence is key, he says, as is a dry-run. Ewing also offers tips on shaping the panel and on matching the grain to the arch. Side information describes how to find the perfect curve.
In woodworking, as in architecture, arches can be both decorative and functional. Positioned below the main structure, an arch adds strength without the visual weight of heftier underpinnings. Placed higher up, such as in the upper rail of a bookcase, an arch lends a bit of elegance. Adding an arch to the upper rail of a cabinet door is also an easy way to refine the sometimes boxy look of frame-and-panel construction.
I wanted to find a quick way to cut arched doors so that I could offer this design option to my clients. After a little planning and experimentation, and in one quick afternoon, I was able to make an adjustable jig that allows me to cut arched raised-panel doors of almost any size. The few hours spent building the jig proved worth the time; over the last four years I’ve used it to make countless doors for the kitchen cabinets that are the mainstay of my business.
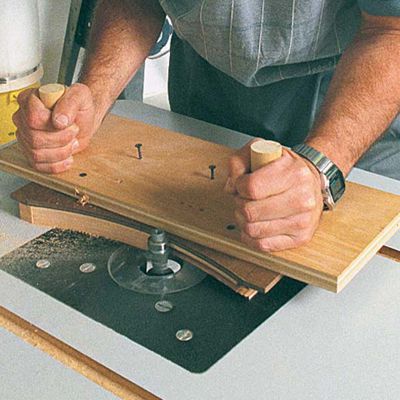
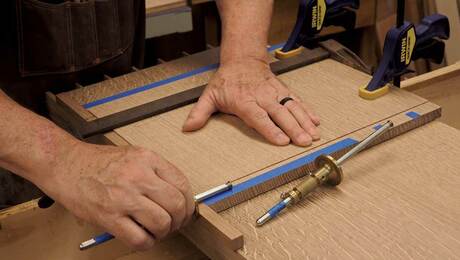
The only way to get uniformly fair arches is to work from two accurate templates— one for the rail and one for the panel. Each door width also requires a different set of templates. Using the two-piece jig shown here, I can quickly and efficiently cut a set of panel and rail templates to fit a wide range of cabinet-door sizes. By using these templates in conjunction with rail- and stile-cutting bits, you can cut the door parts for a whole set of kitchen cabinets in a day.
The key to this jig is that it can be adjusted in two different ways. The radius arm of the jig (the top piece in the drawing above) allows you to make arcs of different radii. The sliding pivot point in the base (the bottom piece) allows you to move the center point of the arc’s radius to accommodate varying widths of door rails. Another great thing about this jig is that it can be adjusted while the router is in place. To cut out the panel and rail templates, I always use a plunge router with a 1⁄4-in. straight bit.
A 1-in. arch looks best on cabinet doors
Before making panel and rail templates, you have to establish a few design parameters: the depth of the arch and the width of the rail. After some experimentation, I’ve found that a 1-in. arch looks best on most cabinet doors. An arch of less than 1 in. leaves the rail too meaty and the arch too subtle. Making an arch with a depth of more than 1 in. cuts down on rail width so much that it appears weakened.
From Fine Woodworking #138
For the full article, download the PDF below:
Fine Woodworking Recommended Products

Festool DF 500 Q-Set Domino Joiner

Starrett 12-in. combination square


Log in or create an account to post a comment.
Sign up Log in