Compound-Angle Mortise-and-Tenon Joinery
Careful tenon layout is the key to cutting and mastering this intimidating compound-angle joint.
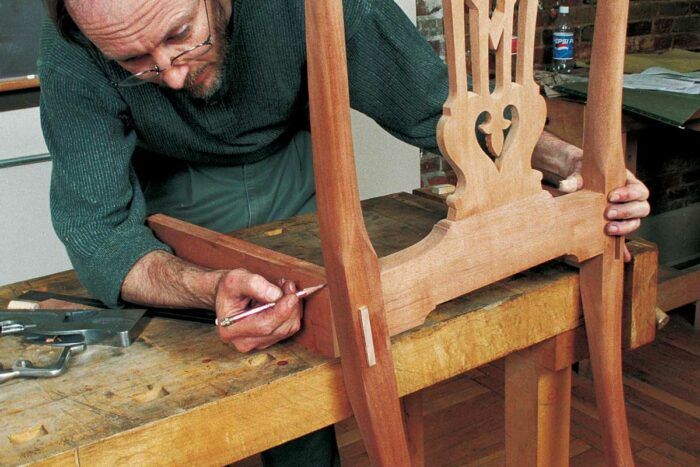
Synopsis: Will Neptune, while working as an instructor at North Bennet Street School, shares his tricks for cutting the compound angle mortise and tenon joinery, using Federal and Chippendale chairs as examples. He details the entire process from layout to the final cut. Plenty of photos show the plans he uses and the steps he takes. With this article, trapezoid-shaped seats and inward-canted legs will no longer present a challenge.
For me, chairs are easily the most satisfying projects to build, but students often are puzzled by the compound-angle joinery between the legs and seat rails. I learned how to draft, layout, and cut these joints when I was a furniture-making student years ago, and now I teach it at North Bennet Street School. Once you answer two critical questions— “Where do the layout lines come from?” and “How do I get the layout lines on the wood?”—you’ll see that cutting these joints isn’t all that hard. What’s more, once you understand how to cut compound-angle joinery, cutting joinery with a single angle becomes simple.
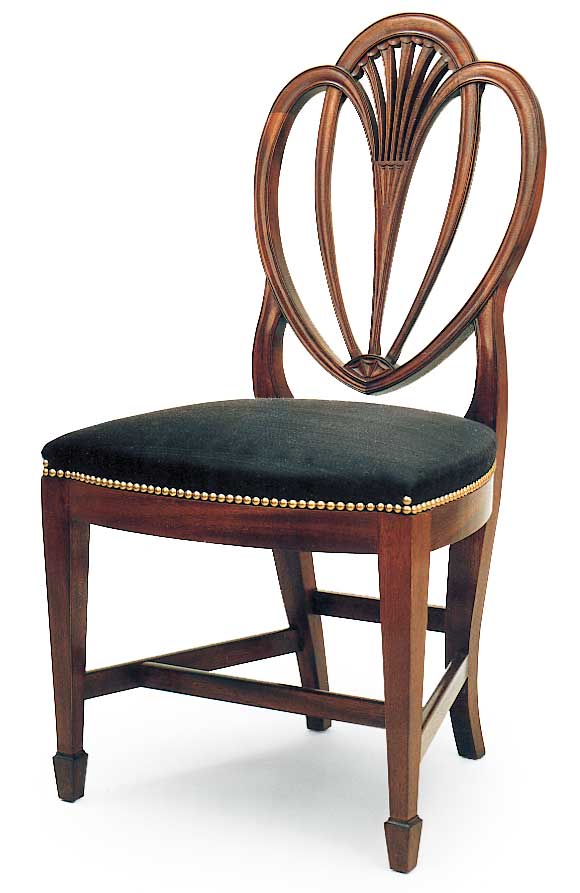
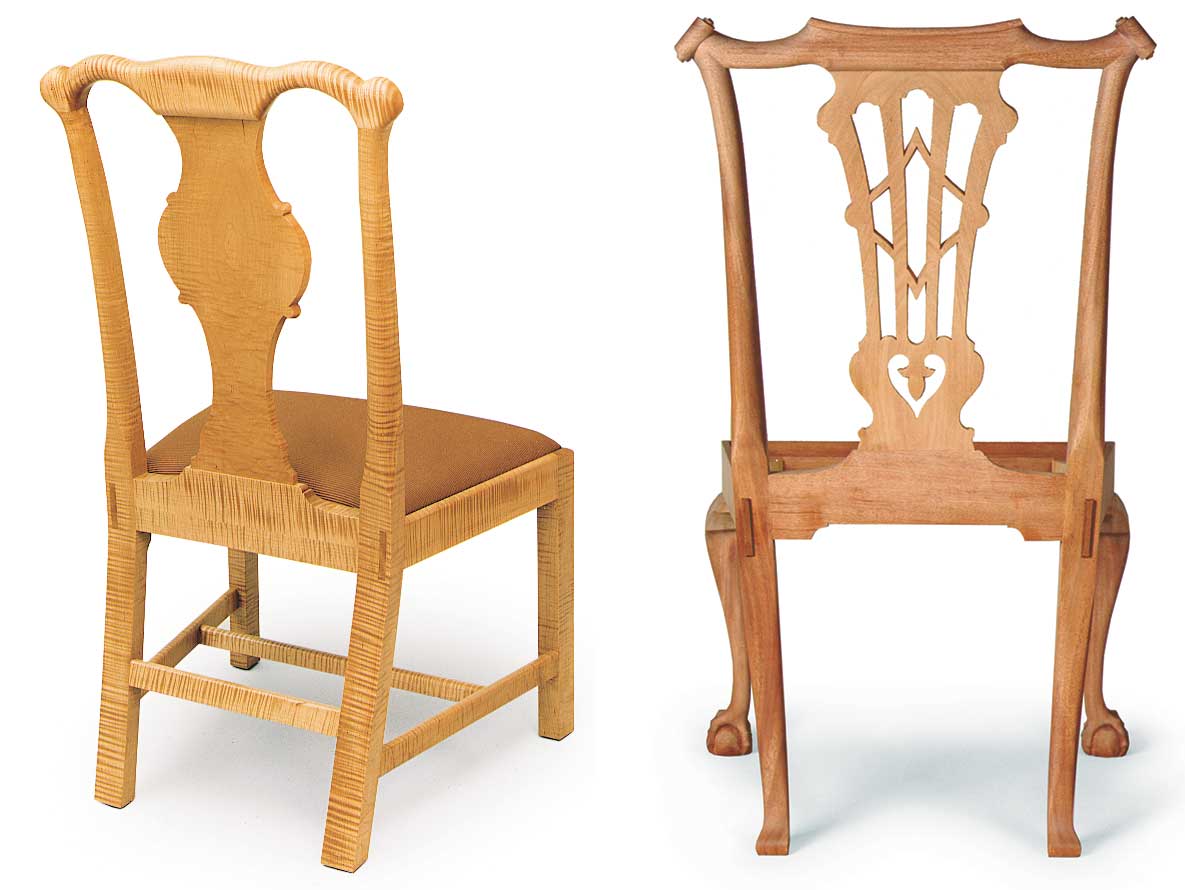
Chippendale chair above.
Recently, I built a set of Chippendale chairs. Most Chippendale chairs—and a lot of other styles of chairs—have rear legs that cant inward as they go toward the floor but front legs that are perpendicular to the floor line. Although this design lends a refined sense of upward motion to a chair, it also introduces a fussy situation when it comes to joining the rail to the back leg. To allow for the cant of the legs and the trapezoidal shape of the seat, most of the time you’ll have to cut compound-angle tenons between the legs and seat rails.
It is tempting to angle the mortises, in either the plan or elevation, to simplify the tenon problem. In the first case, the mortise would angle in the plan view at the seat-frame trapezoidal angle. In the second case, the mortise could be cut square to the back rail in front elevation to correct for the cant angle. Both of these moves force you to shorten the back rail tenon, which would weaken this critical joint. Both historically and for chair making today, I think compound-angle tenons represent the best possible technical solution to this problem. Once you have a system for laying out these joints, cutting them is not that difficult.
Draw simple elevation and plan views
No matter what style chair you’re building, there are two angles to consider: the cant of the leg, seen in a front elevation, and the seat-frame trapezoidal angle, seen in a plan (overhead) view. Start by doing a partial drafting job, just enough to get the information you need for layout.
First draw the leg from a front view and show the mortise. The mortise in the rear leg should be as far to the outside of the leg as possible without sacrificing the thickness of the mortise walls. The mortises can be cut square and slightly short in length, then chiseled to the correct angle at the top and bottom, making the mortise a parallelogram. Cutting a mortise in the shape of a parallelogram not only helps you register the rail, because it makes the rail’s top and bottom edges parallel to the floor line, but it also makes the through-tenon look better from the back of the chair.
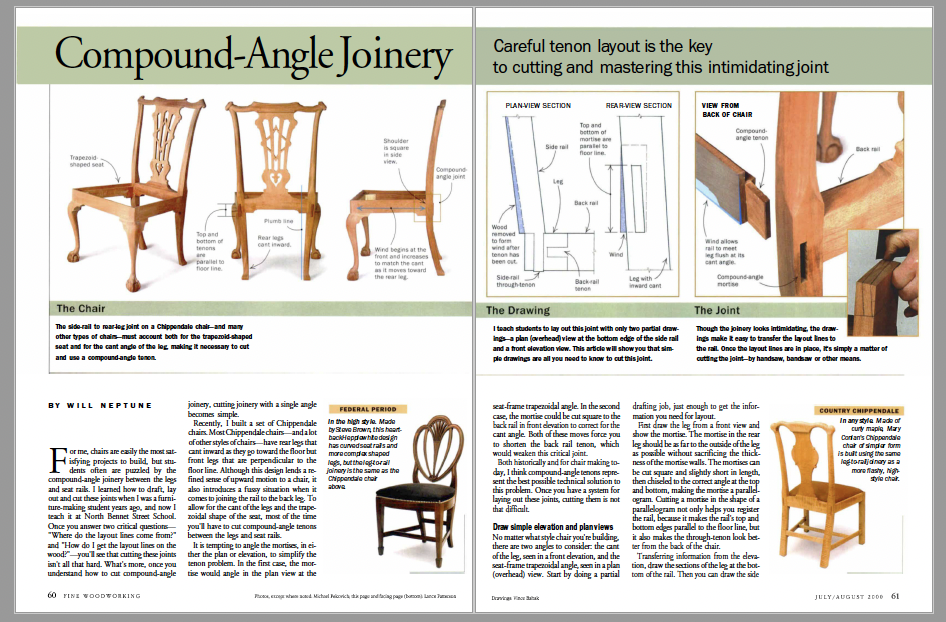 From Fine Woodworking #143
To view the entire article, please click the View PDF button below.
Fine Woodworking Recommended Products

Dividers
Leigh Super 18 Jig

Veritas Precision Square




Log in or create an account to post a comment.
Sign up Log in