Full-Extension Wooden Slides
Shopmade hardware designed to fit any drawer, large or small
Synopsis: Christian Becksvoort appreciates the resourcefulness of shopmade hardware, and he explains here how to make and install full-extension wood drawer slides. He details the required components, how to build them, and how to install them. Detailed drawings and step-by-step instruction provide everything you need to know to use these drawer slides in your next project. (From Fine Woodworking #143)
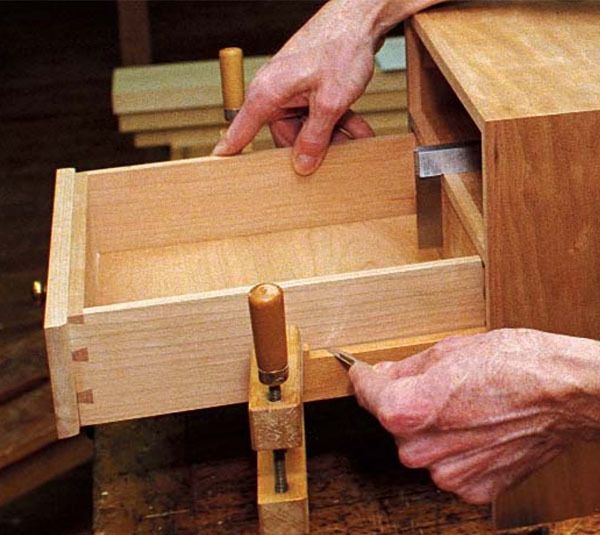
I admire the resourcefulness of shopmade hardware. If it’s entirely made of wood, all the better. I discovered full-extension wood drawer slides on an antique chest of drawers I restored. They are beautiful in their simplicity and can be made almost any size. Full-extension slides are necessary whenever access is required all the way to the back of a drawer (file drawers and card catalogs, for example). The drawer must be held in a fully open position and should be easy to remove. This system of wooden slides meets both criteria.
There are a few rules to follow when making these slides. First of all, the drawers must be 15⁄16 in. narrower than the opening. The drawer must have an applied front, obviously, to cover the gap. The carcase must be built with solid vertical dividers or sides, which provide an attachment point for the slides, and horizontal dividers, which may be solid or open web frames. The slides may be as tall as the drawer sides. For light-duty cases, you may wish to make the slides narrower, about two-thirds the drawer height. For very deep drawers, such as files, there’s no need to make the slides any wider than 6 in. At that dimension, they will provide plenty of strength. For inset drawers, the slides must be 1/4 in. shorter than the total length of the drawer sides (do not include the applied front when measuring the drawer length).
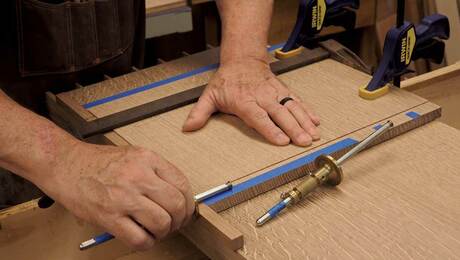
To make a pair of slides the same height as the drawer, mill two pieces of 7/16 in. thick hardwood 3/8 in. wider than the actual drawer sides and the correct length. Measure about a third of the way across one piece, set the rip fence for that dimension and rip all of the stock in two. The exact width doesn’t matter as long as everything is cut at the same setting. Put the narrow pieces aside and work on the wider halves, which will become the lower slides. (If you’re wondering how the slide parts end up becoming the same height as the drawer, here’s what happens: The saw kerf will reduce the width of the stock by 1/8 in.; and once the parts are machined for the mechanical connection, the slides interlock, reducing the width by another 1/4 in., for a total reduction of 3/8 in.)
For the full article, download the PDF below:
Fine Woodworking Recommended Products

Jorgensen 6 inch Bar Clamp Set, 4 Pack

Bessey EKH Trigger Clamps

Estwing Dead-Blow Mallet


Log in or create an account to post a comment.
Sign up Log in